
Oh, you know those desserts that just hug you from the inside out? That’s what I’m talking about when I pull one of these out of the oven. Forget fussy pastry—this is pure, bubbling, baked fruit comfort food at its absolute best. I spent a whole summer trying to nail down the perfect quick, homemade dessert using whatever berries I picked up at the farmer’s market.
And trust me, I landed on gold! This simple **Blueberry Cobbler** recipe is my go-to when company drops by last minute or when I just need a warm treat after dinner. It’s truly for anyone; the topping is just a drop-biscuit layer, so there is zero rolling involved. It comes together faster than most cakes, and those bubbly, tart berries underneath that golden crust? They’re just magic, promise.
Why This Simple Blueberry Cobbler Recipe Works (Quick Wins)
Listen, I don’t have time for anything fussy when I’m craving baked fruit, and I bet you don’t either! This recipe is designed for maximum payoff with minimum effort. If you’re looking for an easy dessert that still knocks everyone’s socks off, you’re in the right spot. People look at that golden brown top and figure it took hours of whisking and careful chilling, but nope!

- Quick Prep Time for Your Blueberry Cobbler: Seriously, you can have the fruit mixed and the topping ready in about 15 minutes. That’s less time than it takes to decide what movie to watch!
- Easy Biscuit Topping for the Best Blueberry Cobbler: Forget complicated pastry dough, friends. This topping is a simple drop-biscuit batter. You mix it, you dollop it right on the berries, and it bakes up perfectly tender. It’s ridiculously easy which makes it the best **blueberry cobbler** when you’re hungry now.
If you love quick fruit bakes, you might want to check out my secret for those fluffy blueberry pancakes sometime too—same amazing fruit, totally different vibe!
Essential Ingredients for a Perfect Blueberry Cobbler
The beauty of this recipe is that you don’t need a mountain of specialty items. It’s all pantry staples mixed with beautiful berries. When I first started making this, I used whatever blueberries were on sale, but I’ve learned a few things about what makes the flavor *pop*.
Speaking of berries, about fresh versus frozen: If you’re using frozen, please, please, please, don’t thaw them first! Just toss them in straight from the freezer. They’ll release their juices perfectly fine while baking and everything settles together. If it’s summer and you’ve got those perfect, plump local berries, use them! This guarantees the best flavor, but hey, this recipe is forgiving enough for a winter bake, too.
If you’re keen on other berry bakes, check out my recipe for blueberry scones—they use a similar flavor profile!
For the Blueberry Filling
This part is all about balancing the tartness of the fruit with a little bit of sweetness and making sure it thickens up nicely so it isn’t soup under the topping.
- 4 cups fresh or frozen blueberries
- 1 cup granulated sugar
- 1/4 cup all-purpose flour
- 1 teaspoon lemon juice
- 1/2 cup unsalted butter, melted (you’ll use this later, but keep it melted and ready!)
For the Drop Biscuit Topping of the Blueberry Cobbler
This is where the magic happens! We’re essentially making thick, buttery biscuits that drape over the filling. The trick here is using cold butter—it creates those beautiful pockets of steam when it melts, giving you that fluffy lift on top of your **blueberry cobbler**.
- 1 cup all-purpose flour
- 1/2 cup granulated sugar
- 2 teaspoons baking powder
- 1/2 teaspoon salt
- 1/2 cup milk
Step-by-Step Instructions to Make Blueberry Cobbler
Okay, time to put it all together! This is the fun part where everything goes into the dish and starts smelling like heaven. Don’t rush these steps, especially when mixing the topping, because that’s what gives you that signature texture. If you’re looking for another incredibly easy baked fruit dessert, my foolproof apple crumble is next on your list!
Preparing the Blueberry Cobbler Filling
First things first: get that oven humming! You need to preheat it to 375 degrees Fahrenheit (that’s 190 Celsius). While it warms up, grab your 8×8 inch baking dish. In a bowl, combine your lovely blueberries—frozen or fresh, remember?—with the 1 cup of sugar, the 1/4 cup of flour, and that little dash of lemon juice. Mix it gently until everything looks coated and slightly saucy. Pour that whole glorious mix right into the bottom of your prepared dish. That’s half the battle won!
Mixing the Drop Biscuit Topping for Blueberry Cobbler
Now, we switch bowls for the topping. In a separate bowl, whisk together the remaining 1 cup of flour, the remaining 1/2 cup of sugar, the baking powder, and the salt. You need to get the cold butter cut into this dry mixture. I like to use my fingers or a pastry blender to work it in until it looks like coarse, tiny pebbles. Don’t overwork it! Once it looks like coarse crumbs, stir in the milk just until it barely comes together to make a thick batter. Watch it closely; we don’t want to wake up the gluten in this **blueberry cobbler** topping!
Assembling and Baking Your Blueberry Cobbler
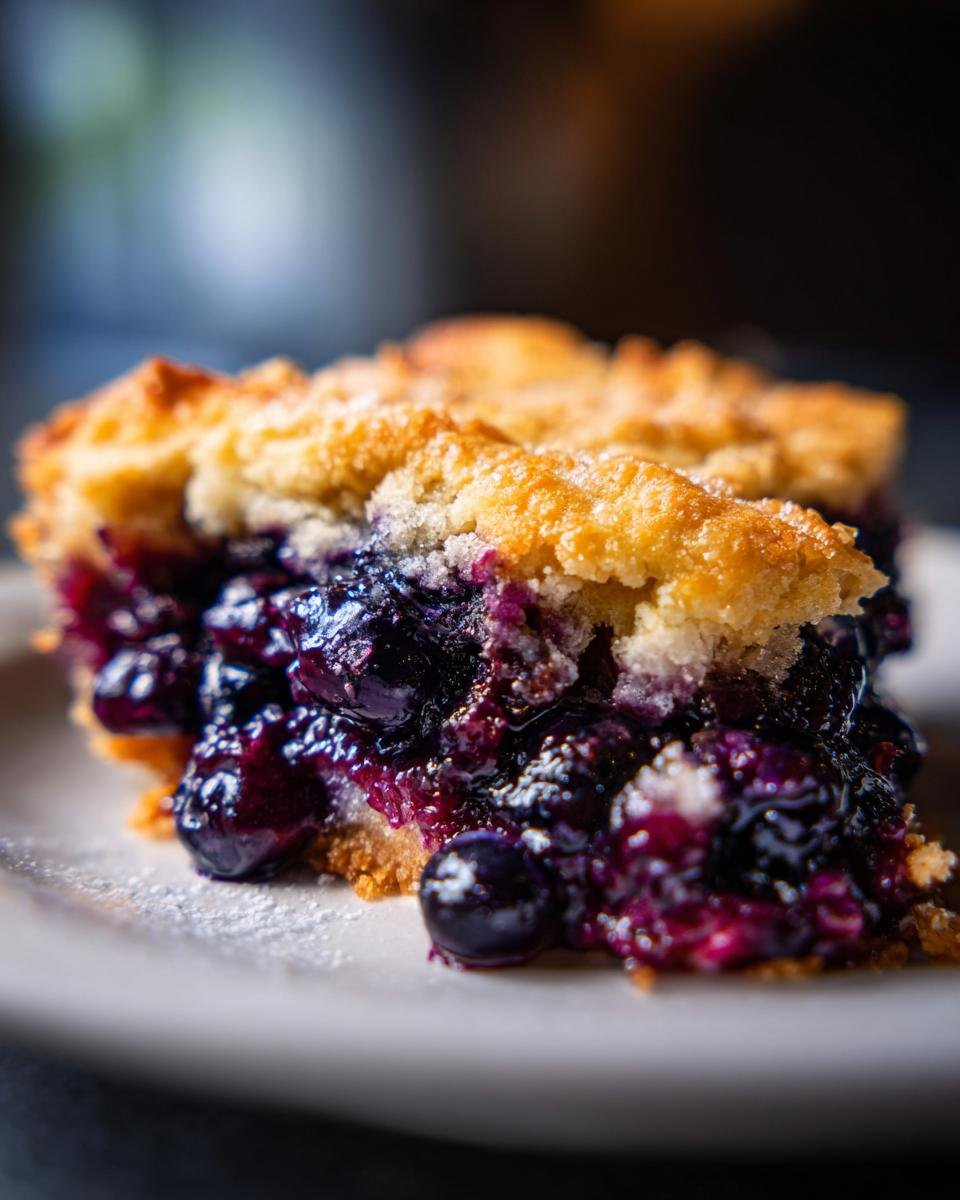
This is the grand finale before the oven! Take spoonfuls of that thick batter—don’t try to spread it—and drop them evenly right on top of your blueberry mixture in the pan. They don’t have to touch; they’ll spread when they bake. Pop that dish into the nice hot oven. You are looking for about 35 to 40 minutes. You’ll know it’s done when the topping is that beautiful golden brown color and you can see the berries bubbling up the sides. Seriously, the smell alone is worth the wait for your **blueberry cobbler**!
Tips for the Most Delicious Blueberry Cobbler
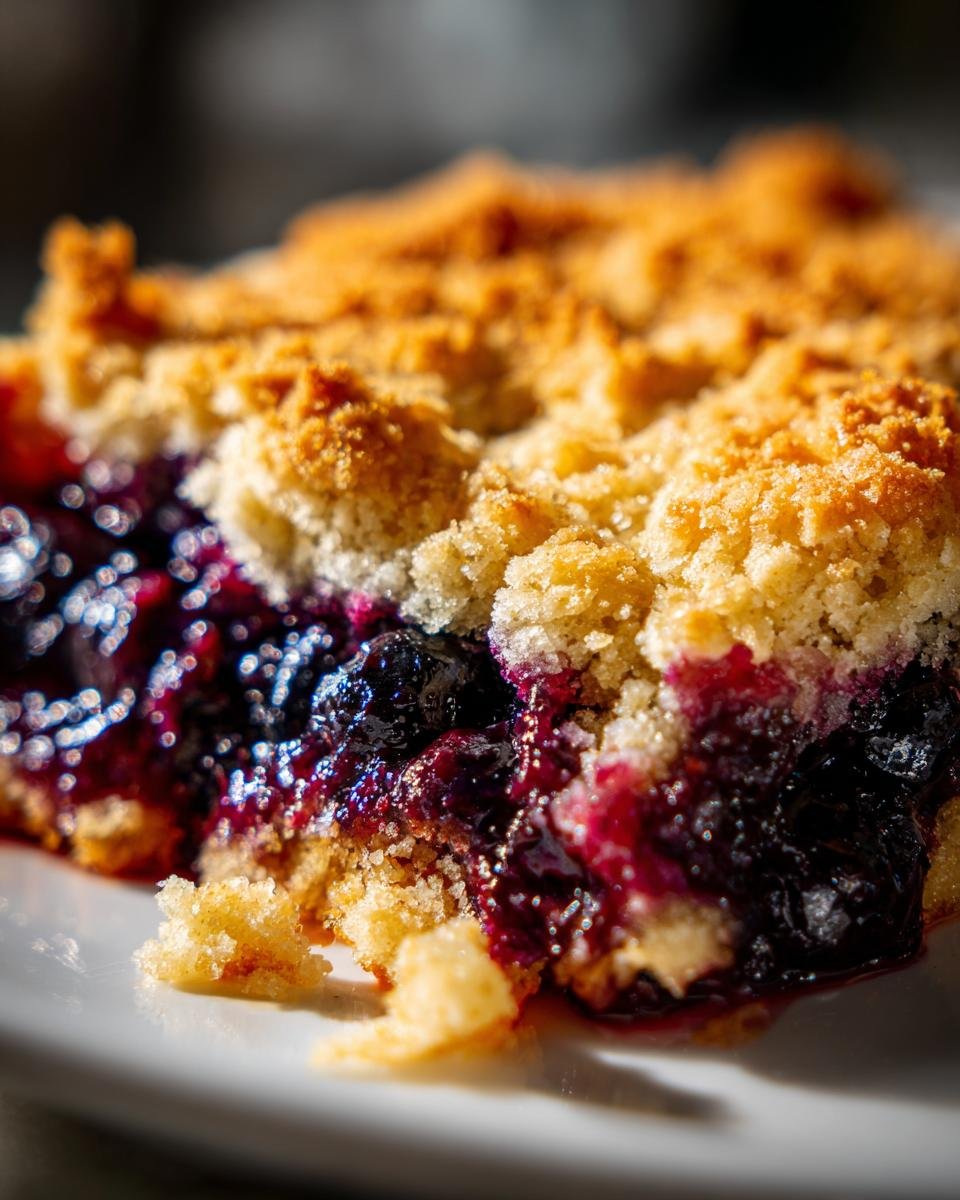
Even with an easy recipe like this, a few little secrets can take your cobbler from great to absolutely legendary. I’ve learned these tricks over lots of trial-and-error batches! Getting that contrast between the buttery top crust and the jammy fruit underneath is everything. So, listen up, because these small details make a huge difference for your **blueberry cobbler**.
If you want to dive deeper into the world of perfect fruit bakes, you have to see what I do to keep my moisture levels perfect in my blueberry coffee cake—it shares some similar concepts!
Handling Frozen Blueberries in Your Blueberry Cobbler
This is such a common question, and I need to stress this one point again: If you are using frozen blueberries—and please, don’t stress if you are!—do not, under any circumstances, thaw them out first. I tried that once because I was impatient, and the fruit mixture just turned into watery soup before baking! When you toss them in frozen, they keep their shape a little better initially and release their liquid slowly as the oven heats up. They’re tough little guys and they handle the heat perfectly fine right out of the freezer bag.
Just make sure you follow the filling instructions exactly and use that small amount of flour—that’s what’s going to catch all that extra juice that releases during baking and turn it into that thick, perfect syrup we’re looking for.
Serving Suggestions for Warm Blueberry Cobbler
Once it comes out bubbly and golden, you have my permission to stick a fork right in it, but honestly, letting it cool for just ten minutes makes a huge difference. The filling sets up a little bit, and you won’t burn your tongue off! My absolute favorite, never-fail way to serve this **blueberry cobbler** is straight from the pan, still warm, with a giant scoop of good quality vanilla ice cream melting right over the top.

The contrast between the hot, spiced berries and the cold, creamy ice cream? That’s happiness on a plate, right there. If ice cream isn’t your thing, a big dollop of fresh, slightly sweetened whipped cream works just as beautifully. Either way, never let it get room temperature before you serve it!
Variations on This Classic Blueberry Cobbler
This recipe is already fantastic because it’s so simple, but sometimes you want to shake things up a little bit without turning it into a totally different recipe, right? I love experimenting when I have a few extra minutes or when I find a random spice jar lurking in the back of my cabinet. It’s amazing how small additions can totally change the aroma and the depth of flavor!
We’re keeping the structure exactly the same—the fruit base and the drop-biscuit topping—but we’re introducing just a few extra elements to play around with. For some fun inspiration on how to use blueberries in unexpected ways, you should check out my recipe for amazing blueberry feta flatbread with hot honey. It’s savory, but the fruit profile is similar!
Adding Zest or Spice to the Filling
The lemon juice I call for does a great job of brightening up the berries, but if you’ve got a fresh lemon rolling around, try grating about a teaspoon of that bright yellow zest right into that fruit mixture before you pour it into the pan. It really boosts the fresh flavor!
If you want something warmer, especially if you’re baking this in the fall or early winter, try mixing in about half a teaspoon of ground cinnamon along with the flour in the filling. A tiny pinch of nutmeg, maybe a quarter teaspoon, gives it this lovely, cozy depth that pairs beautifully with the sweet/tart burst of the blueberries. It feels fancy, but it takes zero extra effort!
Topping Customizations
The topping is already excellent as is, but think about texture for a second. We want that satisfying crunch juxtaposed against the soft biscuit topping, don’t we? Right before you drop spoonfuls of that batter onto the fruit, try mixing maybe a tablespoon of coarse sugar—like turbinado or demerara sugar—into the topping batter. That coarse sugar stays crunchy even after baking, giving you delightful little bursts of crunch.
Or, if you have some chopped pecans or walnuts hanging around, toss about a quarter cup of them into that topping mix! They toast up beautifully while baking. The nuts add a great richness and chewiness to the surface. Just make sure your nuts are chopped small enough so they don’t prevent the batter from spreading nicely over the fruit layer. It’s an easy way to elevate something simple!
Storage and Reheating Your Blueberry Cobbler
The great thing about a baked fruit dessert like this is that it keeps well, but you have to store it right if you want that topping to stay decent! I find that by the time we get to the second day, I’m already thinking about an excuse to eat the leftovers, and I want them to taste as close to fresh-from-the-oven as possible.
Never leave your finished **blueberry cobbler** sitting out on the counter for more than two hours. While the sugar content helps preserve it a bit, we’re dealing with cooked fruit here, so if you don’t plan on eating it all in one sitting, you must cover it tightly and pop it into the fridge. It’ll stay perfectly good in the refrigerator, covered well, for about three to four days. Seriously, that sweet, spiced aroma will still perfume your fridge!
Now, for reheating, this is the key step to bringing it back to life! If you just microwave a slice, the topping gets instantly soggy and sad, and we can’t have that. The best way to revive your **blueberry cobbler** is in the oven or an air fryer. Pop a slice (or the whole pan if you’re feeling brave!) onto a piece of foil or directly on a baking sheet. Heat it up at about 350 degrees Fahrenheit for about 8 to 10 minutes.
This low and slow reheating method warms the berries until they are bubbling hot again and, most importantly, it crisps up that biscuit topping again! It makes the crust return to life, giving you that wonderful contrast. If you want to learn how to freeze things for later use, you might want to check out this neat trick on how to freeze fresh herbs in olive oil—it’s about preservation, which is always important!
Common Questions About Making Blueberry Cobbler
I get so many messages about this recipe, and honestly, I love hearing what you all are up to in your kitchens! Most of the time, folks just want to know if they can cheat a little bit or if they are using the right tools for the job. Don’t worry; I’ve gathered the most frequent questions about making this easy dessert right here, so you can have perfect results every time. Let’s clear up any confusion so you can get baking!
Can I use different berries instead of blueberries in this cobbler?
Oh yes, absolutely! This cobbler structure is so versatile. If you have a mix of berries—say, raspberries, blackberries, or even chopped peaches—toss them right in there! The only thing I would suggest is if you are using very tart berries, like straight cranberries, you might want to bump that 1 cup of sugar in the filling up by another quarter cup, just to balance things out. But honestly, any summer or fall fruit works wonderfully with that buttery biscuit topping you’re making.
What is the best pan size for this Blueberry Cobbler recipe?
For the exact measurements listed, the 8×8 inch baking dish is absolutely perfect. It gives you a nice depth to the filling that allows those biscuits to sit high on top without spilling over. If you use a larger pan, like a 9×13 inch dish, the filling will be spread too thin, and those biscuits will end up looking more like flat cookies than fluffy tops on your **blueberry cobbler**. If you only have a deep-dish pie plate (about 9 inches), that will work in a pinch! It might take an extra 5 or 10 minutes in the oven since it’s a bit deeper, so just keep an eye on that golden color.
How do I prevent the topping from sinking into the filling?
This is the number one rookie mistake, and it’s usually caused by two things. First, make sure you are cutting that butter into the dry topping ingredients until it truly resembles coarse crumbs—if it’s too powdery, it dissolves. Second, when you drop the topping batter onto the berries, do not spread it with a knife or spatula.
Use two spoons or an ice cream scoop to drop distinct dollops evenly across the top. These dollops create little islands or domes that bake up firm and keep the fruit juice underneath. If you smear the batter everywhere, it essentially becomes one big, soggy layer, and the whole point of a cobbler is that lovely separation between the warm, gooey fruit and the slightly crisp biscuit top. If you really want to make sure they don’t mingle, you could even chill the topping batter for 10 minutes before you drop it on!
If you’re looking for other recipes that feature blueberries in fun ways, you might enjoy my recipe for blueberry nice cream for a summer treat!
Nutritional Estimate for Simple Blueberry Cobbler
Now, I’m not a nutritionist, heaven knows! The kitchen is my happy place, not a lab, so please take these numbers with a big grain of salt—or maybe a big scoop of vanilla ice cream! These figures are just a rough estimate based on standard ingredient calculations, so they can definitely shift depending on the exact sugar or butter brand you use. Don’t panic about the numbers; focus on how delicious this easy dessert tastes when it comes out of the oven!
But for those of you who track the macros, here is the general breakdown per serving, assuming this whole thing makes six generous servings:
- Serving Size: 1 serving
- Calories: 350
- Sugar: 45g (That’s where all the joy is!)
- Sodium: 150mg
- Fat: 15g
- Saturated Fat: 9g
- Unsaturated Fat: 6g
- Trans Fat: 0g (Yes!)
- Carbohydrates: 55g
- Fiber: 3g
- Protein: 4g
- Cholesterol: 35mg
My personal takeaway? It’s fruit and butter, so the sugar is expected! The goal here is comfort, not counting, but it’s good to have a guideline if you’re curious. Enjoy it warm!
Share Your Simple Blueberry Cobbler Experience
Whew! Seeing that golden-brown goodness come out of the oven is just the best feeling, isn’t it? Now that you know how wonderfully easy this simple **Blueberry Cobbler** is to whip up, I really, truly want to know what you think!
Did you manage to sneak a bite while it was still piping hot? Were you tempted to add those spices or nuts we talked about in the variations section? Please don’t be shy!
Head down to the comments section below and leave me a rating—even if you just give it five stars for effort! Tell me which berry you swapped in or if you followed my advice and served it overflowing with vanilla ice cream. I live for hearing about your kitchen triumphs!
If you snapped a picture of your beautiful, bubbly cobbler before everyone dug in, I’d absolutely love to see it! Tag me on social media or feel free to reach out via my contact page—seeing your finished bakes makes all this recipe writing worth it. Happy baking, and I can’t wait to read your feedback!
Print
Simple Blueberry Cobbler
- Total Time: 55 min
- Yield: 6 servings 1x
- Diet: Vegetarian
Description
A straightforward recipe for a warm blueberry cobbler with a biscuit topping.
Ingredients
- 4 cups fresh or frozen blueberries
- 1 cup granulated sugar
- 1/4 cup all-purpose flour
- 1 teaspoon lemon juice
- 1/2 cup unsalted butter, melted
- 1 cup all-purpose flour
- 1/2 cup granulated sugar
- 2 teaspoons baking powder
- 1/2 teaspoon salt
- 1/2 cup milk
Instructions
- Preheat your oven to 375 degrees Fahrenheit (190 degrees Celsius).
- In a medium bowl, mix the blueberries, 1 cup sugar, 1/4 cup flour, and lemon juice. Pour this mixture into an 8×8 inch baking dish.
- In a separate bowl, whisk together the remaining 1 cup flour, 1/2 cup sugar, baking powder, and salt.
- Cut in the cold butter until the mixture resembles coarse crumbs.
- Stir in the milk until just combined to form a thick batter.
- Drop spoonfuls of the batter evenly over the blueberry mixture in the baking dish.
- Bake for 35 to 40 minutes, or until the topping is golden brown and the filling is bubbly.
- Let cool slightly before serving.
Notes
- If using frozen blueberries, do not thaw them before mixing.
- Serve warm with vanilla ice cream or whipped cream.
- Prep Time: 15 min
- Cook Time: 40 min
- Category: Dessert
- Method: Baking
- Cuisine: American
Nutrition
- Serving Size: 1 serving
- Calories: 350
- Sugar: 45g
- Sodium: 150mg
- Fat: 15g
- Saturated Fat: 9g
- Unsaturated Fat: 6g
- Trans Fat: 0g
- Carbohydrates: 55g
- Fiber: 3g
- Protein: 4g
- Cholesterol: 35mg
Keywords: blueberry cobbler, easy dessert, baked fruit, summer dessert, fresh blueberries