
Listen, sometimes you just need that rich, dark chocolate flavor hit, but you don’t want a whole cake staring you down. That’s why mastering the humble cupcake is key, especially when it involves that perfect crunchy, creamy combo we all obsess over! These **Oreo Cupcakes** are my go-to solution when a serious craving strikes. After years of trying to get that bakery-style crumb without the fuss, I finally locked down the secret to a super moist chocolate batter—and I promise, it involves boiling water, stay with me here!

I’m going to walk you through every single step, from mixing the dry goods to whipping up a frosting that tastes like pure childhood dreams. Seriously, ditch the boxed mix; this recipe is faster than you think and the results are unbelievably good. Get your liners ready; we’re making the best batch of homemade Oreo Cupcakes you’ve ever tasted!
Why You Will Love These Simple Oreo Cupcakes (Keyword Focus)
Honestly, why make these? Because they are pure comfort food, that’s why! The chocolate cake is impossibly moist—I mean, seriously damp in the best possible way. Plus, we are skipping complicated steps; this recipe moves fast, making it perfect for a weeknight treat.
The best part, though, is the texture contrast: tender cake meeting creamy frosting loaded with those crunchy cookies. If you are looking for an easy dessert that screams indulgence, these are it. You can even check out my simple Oreo Dump Cake if you need an even faster option sometime!
Essential Ingredients for Perfect Oreo Cupcakes
Getting the ingredients right before you even turn on the mixer is half the battle won, trust me! I’ve broken this down into two main parts so you don’t accidentally use your frosting butter in the cake batter—oops! These specific measurements ensure the batter has the right balance of wet and dry magic.
If you ever need a change, you can look at my tips for things like making vanilla keto cupcakes, but for this rich chocolate version, stick close to this list!
For the Chocolate Cupcakes
- 1 3/4 cups all-purpose flour
- 3/4 cup unsweetened cocoa powder
- 1 3/4 cups granulated sugar
- 1 1/2 teaspoons baking soda
- 1 1/2 teaspoons baking powder
- 1 teaspoon salt
- 2 large eggs (make sure they are at room temperature!)
- 1 cup milk
- 1/2 cup vegetable oil
- 2 teaspoons vanilla extract
- 1 cup boiling water (don’t skip this, it’s vital!)
- 12 Oreo cookies, crushed (for mixing right into the batter)
For the Creamy Oreo Frosting
- 1 cup (2 sticks) unsalted butter, softened completely
- 3 cups powdered sugar, sifted if it looks clumpy
- 1/2 cup milk (plus a tiny bit more if needed later)
- 1 teaspoon vanilla extract (for the frosting boost!)
- 1 cup Oreo cookie crumbs (these need to be finely crushed – use just the cookie part if you want, or the whole thing for maximum flavor!)
Step-by-Step Instructions for Amazing Oreo Cupcakes
Now for the fun part! Making these chocolate cupcakes is really straightforward if you follow the order of operations. We have to treat that boiling water right, or we ruin the whole structure—it’s a delicate dance, I promise it’s worth the attention.
Preparing the Chocolate Cupcake Batter
First things first, get your oven ready to go! Preheat it to 350°F (175°C) and line up your 12-cup muffin tin with those cute paper liners. In a big bowl, just whisk together your dry stuff: the flour, cocoa, sugar, baking soda, baking powder, and salt. Take your time making sure that baking powder is evenly distributed!
Next, grab your mixer—electric works best here. Add the eggs, milk, oil, and vanilla right into that dry mixture. Beat it on medium just until everything comes together. Don’t overdo it yet! Now comes the magic: slowly pour in that boiling water while the mixer is on low. This helps bloom the cocoa powder, making the chocolate flavor super deep! My biggest tip here, and listen closely: as soon as the batter is smooth, stop mixing. You don’t want to overwork those bubbles you just created.
Finally, gently fold in those 12 crushed Oreos. We want those chunks intact for flavor pockets later!
Baking and Cooling the Oreo Cupcakes
Spoon that glorious batter into your lined cups until they are about two-thirds full. That gives them room to rise without spilling over the edges. Pop them into your preheated oven for 18 to 20 minutes exactly. You’ll know they are done when a toothpick stuck in the center comes out clean—just moist crumbs clinging to it, no wet batter!
Let them chill out in the pan for about 5 minutes after pulling them out; this helps them set up. Then, carefully move them to a wire rack. They absolutely MUST be completely cooled down before you even think about adding frosting. I learned that the hard way once, and ended up with chocolate soup instead of frosting!
Making and Applying the Oreo Frosting
Time to treat yourself! Make sure your butter is really, truly softened—room temperature makes all the difference. Beat that butter until it looks pale and creamy; this incorporates air for fluffiness. Then, start adding your powdered sugar slowly, mixing on low until it’s incorporated, then increase the speed.
Once it looks okay, pour in the milk and the vanilla and beat it on high for a few minutes until it looks really light and airy. This is how you get that perfect professional texture! Gently fold in that cup of finely crushed Oreos by hand with a spatula—we don’t want to deflate all that gorgeous air we just whipped in.
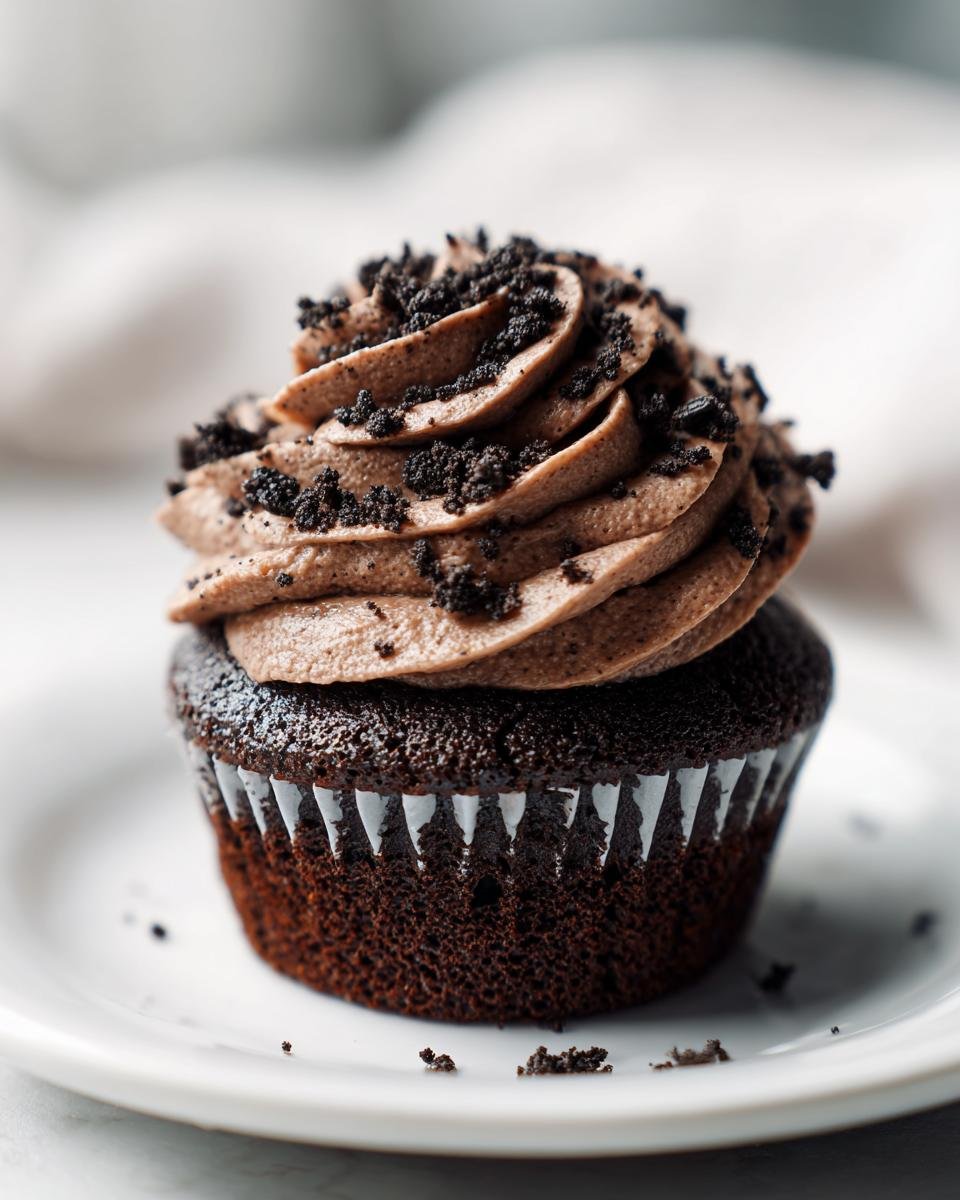
Once the cupcakes are stone cold, go wild! Pipe it high or just spread it on thick with an offset spatula. A little extra sprinkle of cookie crumbs on top makes them look instantly professional!
Tips for Making the Best Oreo Cupcakes
Okay, we’ve got the recipe down, but I want to share a couple of little baker secrets that take these from ‘really good’ to ‘I need the recipe immediately’ territory. These are the things I learned from trial and error over the years!
My absolute number one piece of advice for *any* chocolate cupcake is ingredient temperature. Room temperature eggs and milk truly make a difference because they combine into a smooth emulsion so much easier than cold ingredients. If your eggs are cold, they can actually cause the batter to curdle slightly when mixed with the fat, which ruins that beautiful, fluffy texture we worked so hard for.
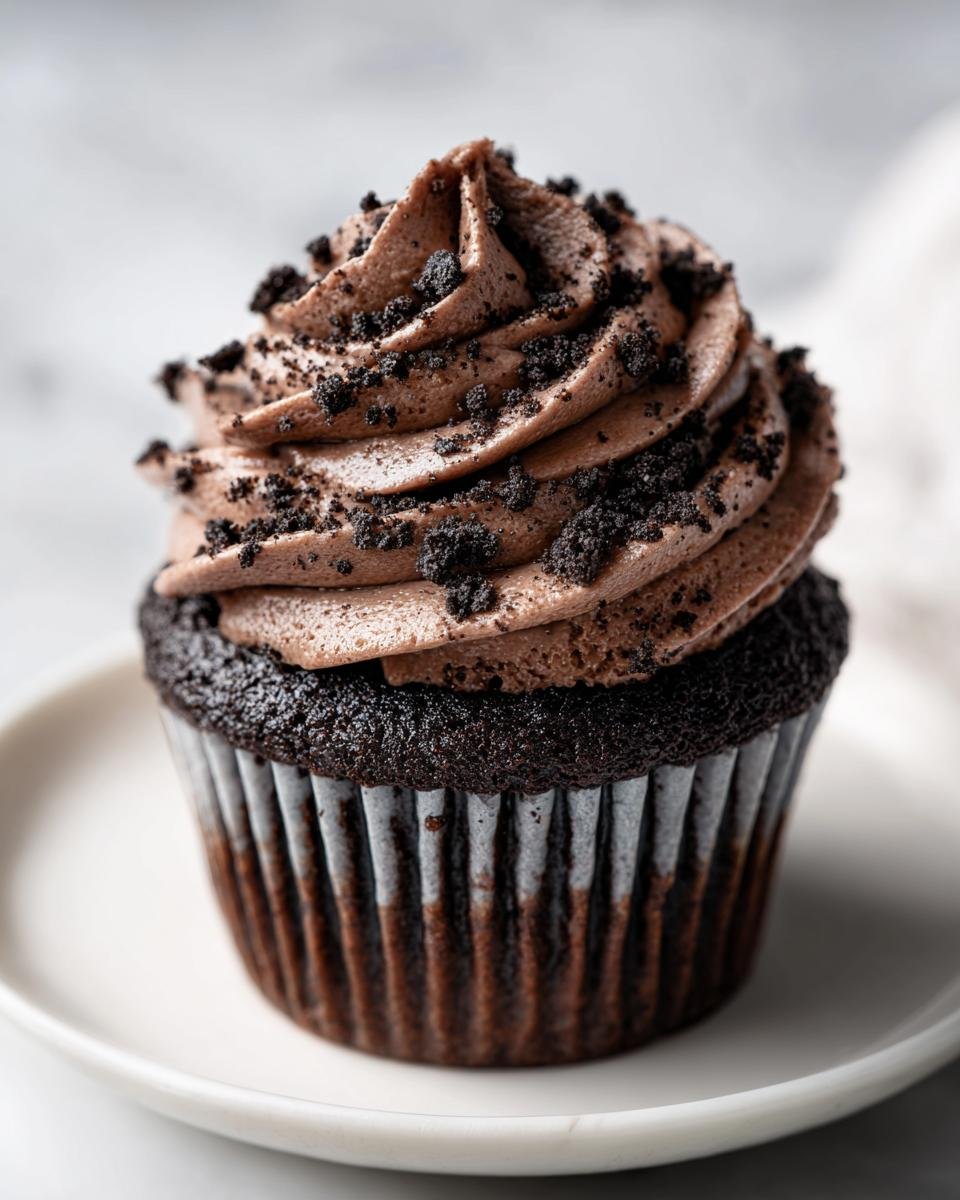
Another trick is all about the Oreos for the frosting. If you want a really smooth, elegant look, you should process your frosting Oreos until they are almost a fine powder—just a few pulses in the food processor will do it. If you like that slightly chunkier, more casual look, just chop them roughly with a knife. Totally up to you!
If you happen to be out of vegetable oil—which is important for the moisture in this cake—you *could* substitute melted coconut oil, but be warned, it might add a very subtle flavor note. I usually advise using the oil, but if you need an option, try pouring in a hot cup of coffee instead of boiling water for an unbelievably deep, rich chocolate flavor. That coffee trick is amazing for intensifying the cocoa! If you want to learn more about getting your dry ingredients just right, I have a guide on making your own cake flour substitute in a pinch.
Lastly, if your frosting seems a touch soupy after you fold in the milk and crumbs, don’t panic! Just pop the whole bowl of frosting into the fridge for about 10 minutes. It stiffens up really fast, and that brief chill time makes piping so much easier!
Oreo Cupcakes: Ingredient Notes and Substitutions
I know we listed everything out, but let’s talk about *why* we use what we use here, because that’s where the real baking knowledge comes from! Remember those room temperature eggs? That’s seriously important for the cake batter. Cold eggs shock the system when they hit the warm butter/oil mixture we start with, and they just don’t combine as smoothly. Room temperature lets them incorporate evenly, creating a better final crumb structure—no weird dense spots!
And that famous boiling water? Wow, some newcomers get scared by that! I use it because it “blooms” the cocoa powder. It dissolves the cocoa solids, making the chocolate flavor jump out at you instead of tasting flat. If you want an even *deeper* chocolate experience, you can totally use hot, strong brewed coffee instead of water—shh, don’t tell anyone, but it makes the chocolate taste even more chocolatey!
Also, when it comes to the Oreos, don’t sweat the filling when you crush them for the batter. The filling melts right in, adding bonus fat and tenderness. For the frosting, though, you might want to scrape out the filling if you want a super stable, bright white frosting base, but I usually just leave it all in because, honestly, more sugar is always a win in my book!
Storing and Reheating Your Oreo Cupcakes
I know these are going to disappear fast, but if, by some miracle, you have leftovers of these incredible Oreo Cupcakes, storage is super important! You want to keep that frosting fluffy and the cake tender, right?
For short-term storage—say, the next day—you can totally keep them out on the counter. Just make sure they are stored in an airtight container. I usually try to place a paper towel in the bottom of the container that isn’t touching the frosting, just to absorb any extra moisture that might try to make the cake soggy. At room temperature, they are perfectly happy for about two days. Don’t put them in the fridge unless you absolutely have to, because cold air tends to dry out cake faster, even if the frosting stays firm.
If you need them to last longer, though, you’ll have to refrigerate them. Pop them into a container, and they should last up to four days. Just remember this key step: before you serve them after refrigeration, take them out about an hour beforehand. Letting them come back to room temperature lets the butter soften up in the frosting again and brings back that fresh-from-the-oven tenderness to the chocolate cake. It makes a huge difference!
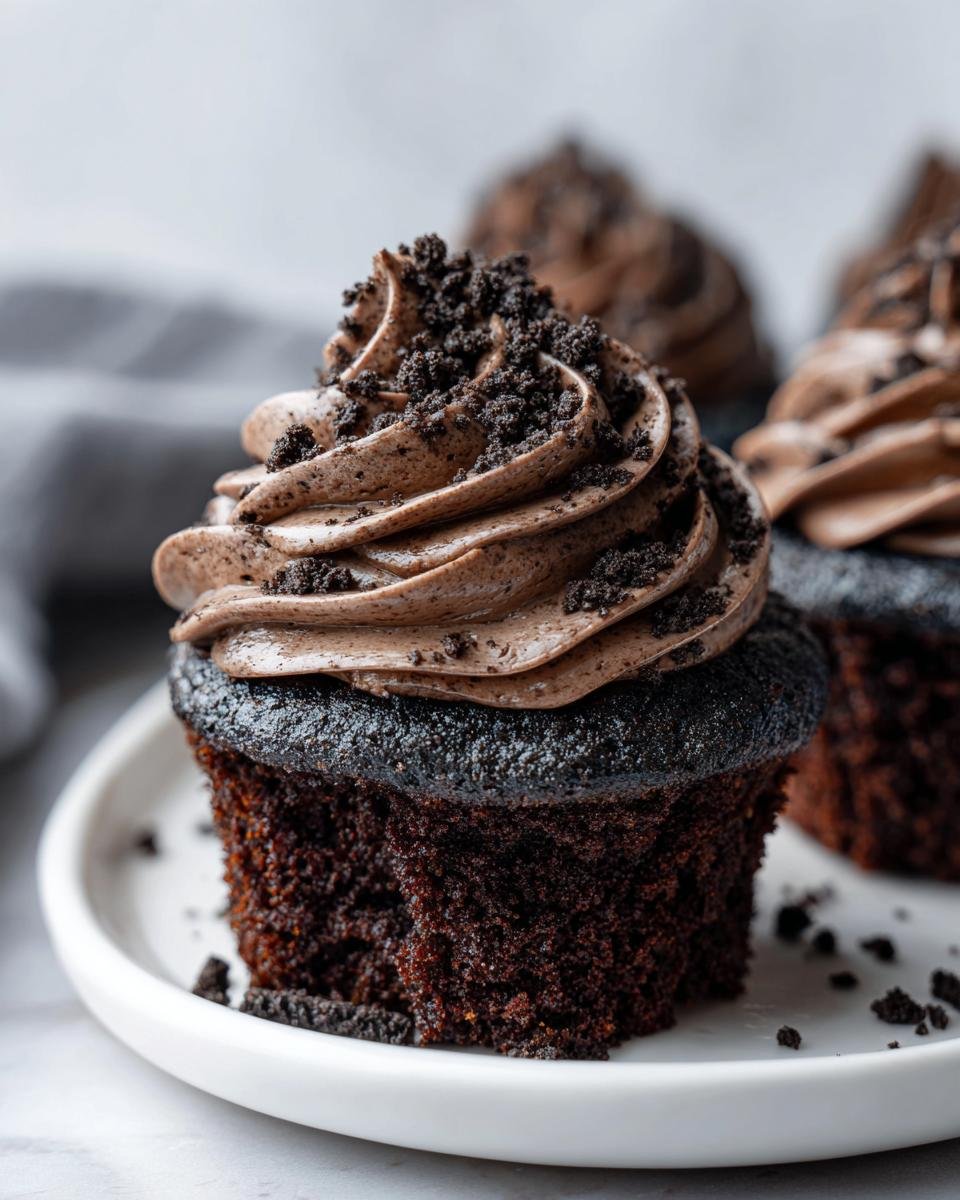
As for reheating? Since they are frosted, definitely don’t put them in the microwave—that frosting will melt into a puddle instantly! If you are just trying to revive the cake part and you’ve managed to keep them unfrosted, you could zap a single cupcake for about 8 seconds, but honestly, letting them sit out for an hour is the best way to enjoy these beauties. If you’re ever curious about how to make your own cake flour substitute to keep things super soft, check out my notes on that here!
Serving Suggestions for Your Oreo Cupcakes
Okay, you’ve just made these incredible Oreo Cupcakes, and they are cooling—what should you drink with them? These are rich, heavy hitters, so you need something to cut through that chocolate and creaminess, or something that doubles down on the indulgence!
For a beverage pairing, you can’t go wrong with a classic ice-cold glass of milk. Seriously! It’s simple, but that dairy crunch really complements the salty cookie bits in the frosting. If you want something a little fancier, a strong, nearly black coffee works wonders. The bitterness of the coffee balances the sweetness of the sugar perfectly.
If you happen to be making a whole dessert spread, skip the fancy pies and pair these with something light! Maybe a simple bowl of fresh raspberries or even a scoop of vanilla bean ice cream on the side is all you need. A little fresh fruit brightens up the whole plate.
And if you want to go all out for a major chocolate overload (because why wouldn’t you?), you absolutely must check out my recipe for the Ultimate Chocolate Milkshake. It’s the perfect decadent partner for these cupcakes!
Frequently Asked Questions About Oreo Cupcakes
Can I use cream cheese instead of butter in the Oreo frosting?
Oh, you absolutely can swap it out, but you’re making a totally different frosting! If you use cream cheese instead of butter, you’ll get that tangy, fluffy texture, like a classic cream cheese frosting, rather than the rich, buttery one in the main recipe. You’ll need to use slightly less milk too, because cream cheese is wetter than butter. Just be sure to chill that frosting for a good half hour if you use cream cheese, as it won’t hold its shape quite as stiffly as the butter version.
Why did my chocolate cupcakes sink in the middle?
That sinking feeling is the worst, isn’t it? Usually, when a cupcake sinks, it means it was either taken out of the oven too soon—the center structure hadn’t set yet, so it collapsed once it started cooling down—or you opened the oven door too often! Peeking ruins the heat balance. If your oven temperature runs hot, that can also cause a quick, high rise that collapses. Try checking them right at the 18-minute mark next time you bake these simple chocolate cupcakes.
How can I make these Oreo Cupcakes gluten-free?
I love that you’re adapting this recipe for everyone! Luckily, this batter is pretty forgiving because of all that liquid! You can substitute the all-purpose flour with a good 1-to-1 gluten-free baking blend that already contains xanthan gum. Just substitute it cup for cup. The texture might be *slightly* different because gluten adds stretch, but because we use oil and boiling water, these **Oreo Cupcakes** stay incredibly moist even when gluten-free. You won’t miss a thing, I promise!
If you’re looking for other amazing no-bake treats that skip the flour entirely, you have to try my recipe for Oreo Carlota!
Estimated Nutritional Information for Oreo Cupcakes
Okay, so they taste like heaven, but what about the numbers? When I calculate nutrition for my blog, I use standard databases for estimation, but you know how it is—every brand of cocoa powder or difference in frosting thickness can change things just a little bit! These numbers give you a good ballpark idea of what you’re looking at per cupcake.
These are definitely a treat, not necessarily an everyday snack, but totally worth it when that chocolate craving hits hard! Remember, these estimations come from dividing the total recipe yield by 12 servings, so if you make smaller cupcakes, the numbers will change.
- Serving Size: 1 cupcake
- Calories: 350
- Sugar: 40g (Yep, that’s the sweet spot!)
- Fat: 18g
- Saturated Fat: 9g
- Carbohydrates: 45g
- Protein: 4g
- Cholesterol: 45mg
Just a friendly little disclaimer before you dive in: these numbers are just estimates! They fluctuate based on the exact brand of butter, the type of milk, and how heavily you pile on that amazing homemade Oreo frosting. Use this as a guide, but enjoy them guilt-free because they are homemade!
Print
Simple Oreo Cupcakes
- Total Time: 40 min
- Yield: 12 servings 1x
- Diet: Vegetarian
Description
A recipe for making moist chocolate cupcakes topped with a creamy Oreo frosting.
Ingredients
- 1 3/4 cups all-purpose flour
- 3/4 cup unsweetened cocoa powder
- 1 3/4 cups granulated sugar
- 1 1/2 teaspoons baking soda
- 1 1/2 teaspoons baking powder
- 1 teaspoon salt
- 2 large eggs
- 1 cup milk
- 1/2 cup vegetable oil
- 2 teaspoons vanilla extract
- 1 cup boiling water
- 12 Oreo cookies, crushed (for batter)
- 1 cup (2 sticks) unsalted butter, softened
- 3 cups powdered sugar
- 1/2 cup milk (for frosting)
- 1 teaspoon vanilla extract (for frosting)
- 1 cup Oreo cookie crumbs (for frosting)
Instructions
- Preheat your oven to 350°F (175°C). Line a 12-cup muffin tin with paper liners.
- In a large bowl, whisk together the flour, cocoa powder, sugar, baking soda, baking powder, and salt.
- Add the eggs, milk, oil, and vanilla extract to the dry ingredients. Beat with an electric mixer on medium speed until just combined.
- Carefully pour in the boiling water and mix on low speed until the batter is smooth. Do not overmix.
- Fold in the 12 crushed Oreo cookies.
- Divide the batter evenly among the cupcake liners, filling each about two-thirds full.
- Bake for 18 to 20 minutes, or until a toothpick inserted into the center comes out clean. Let the cupcakes cool in the pan for 5 minutes before transferring them to a wire rack to cool completely.
- To make the frosting, beat the softened butter until creamy. Gradually add the powdered sugar, mixing until smooth.
- Add the milk and vanilla extract to the frosting and beat until light and fluffy.
- Gently fold in the 1 cup of Oreo cookie crumbs.
- Once the cupcakes are completely cool, pipe or spread the frosting onto each one. Top with extra cookie crumbs if desired.
Notes
- Use room temperature eggs and milk for the best cake texture.
- For a richer chocolate flavor, you can substitute coffee for the boiling water.
- Chill the frosting for 10 minutes if it seems too soft before piping.
- Prep Time: 20 min
- Cook Time: 20 min
- Category: Dessert
- Method: Baking
- Cuisine: American
Nutrition
- Serving Size: 1 cupcake
- Calories: 350
- Sugar: 40g
- Sodium: 250mg
- Fat: 18g
- Saturated Fat: 9g
- Unsaturated Fat: 9g
- Trans Fat: 0g
- Carbohydrates: 45g
- Fiber: 2g
- Protein: 4g
- Cholesterol: 45mg
Keywords: Oreo cupcakes, chocolate cupcakes, cream cheese frosting, easy dessert, homemade cupcakes