
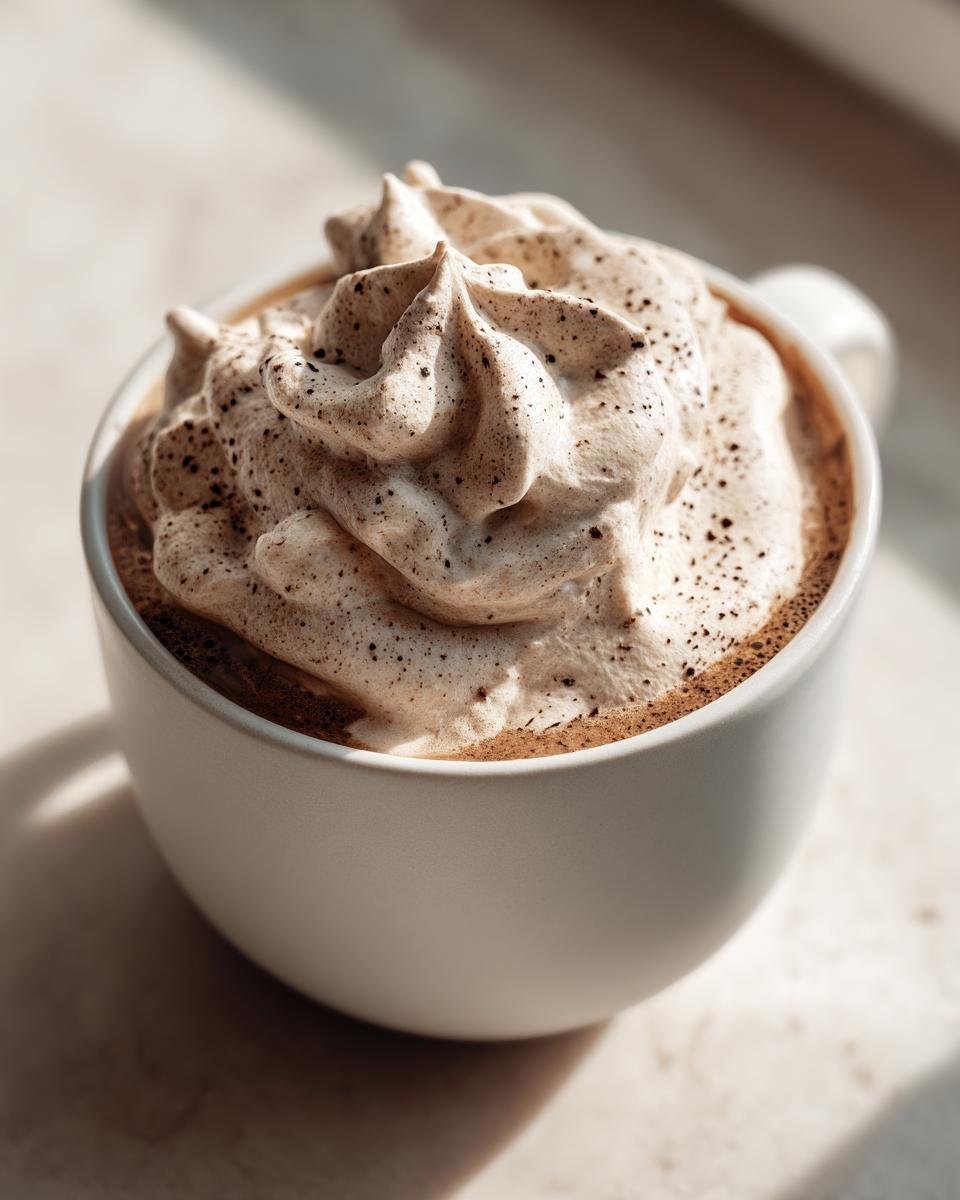
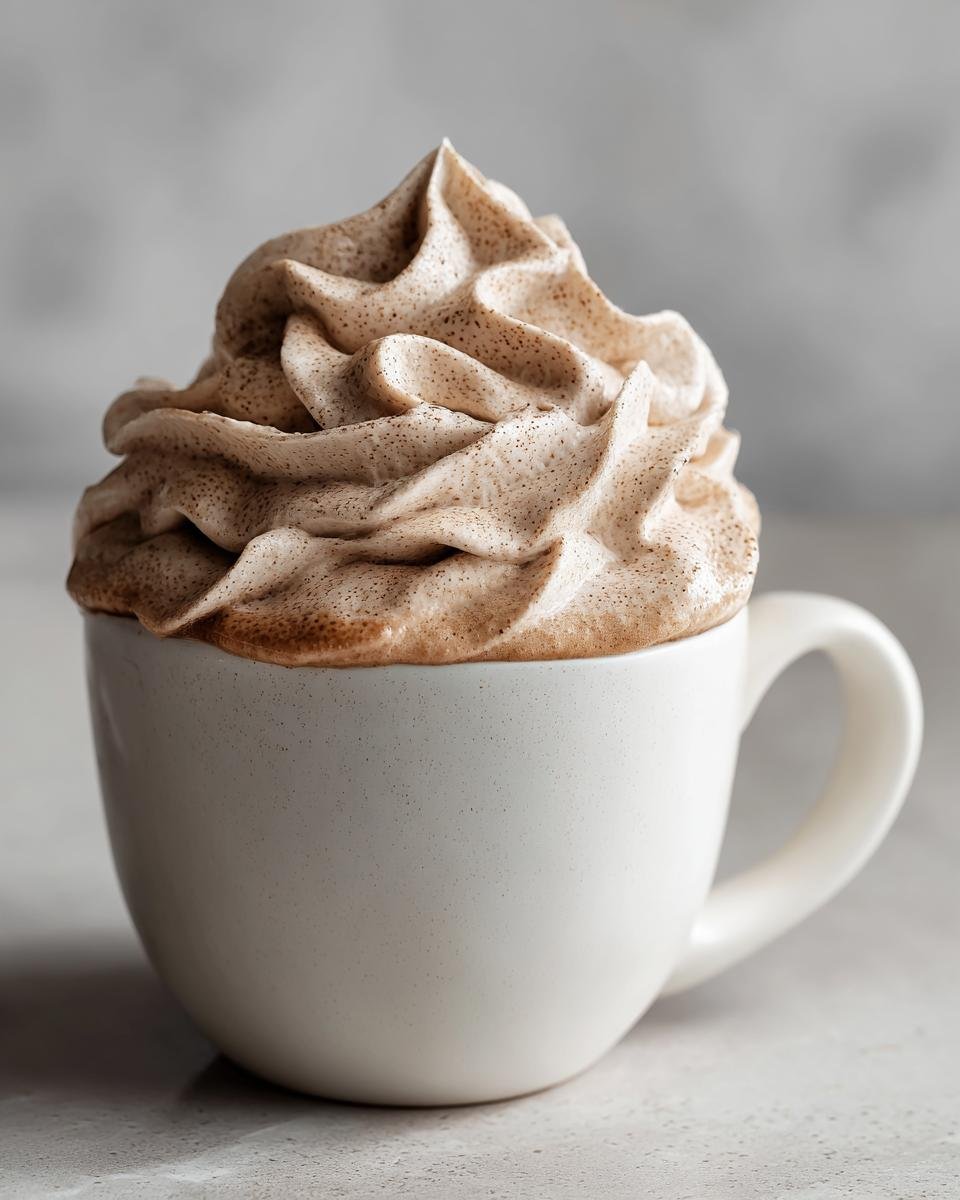
We all deserve that little bit of luxury in our day, right? Forget those watery, thin toppings. I’m here to tell you about something that totally transforms a simple cup of coffee into a dessert experience: my ridiculously easy, five-minute Coffee Whipped Cream. Seriously, this stuff whips up faster than you can brew a pot on a slow Tuesday morning.

I started making this Coffee Whipped Cream when I needed a quick, decadent topping for my morning brew but didn’t have time for syrups or fancy gadgets. The magic is in how quickly the instant coffee marries the cream. It’s light, airy, and carries that perfect kick of roasted coffee flavor without being overly sweet. Trust me, once you try this homemade topping, you won’t go back to the can!
Why This Coffee Whipped Cream Recipe Works So Well
Honestly, this recipe is all about efficiency, which is exactly what I need before my first cup of coffee. It really works because we keep things incredibly simple. If you’re looking for a quick way to elevate your desserts, this is it. You can learn some more quick coffee tricks over here if you’re interested in ways to enhance your brew, like this weight loss recipe.
- Speed and Simplicity of Making Coffee Whipped Cream: We’re talking five minutes total, tops. There’s zero actual cooking involved, which keeps cleanup down to just one bowl. This Coffee Whipped Cream is pure, unadulterated topping magic right out of the gate.
- Intense Coffee Flavor Without Bitterness: Because we rely on quality instant coffee granules, we get intense flavor without adding extra liquid. That means your cream stays perfectly thick. This concentrated flavor is what makes our Coffee Whipped Cream taste like it came from a fancy café!
Essential Ingredients for Perfect Coffee Whipped Cream
When you’re whipping something this quickly, the quality of your ingredients really shows through. You can’t hide anything in a recipe this straightforward! I learned this the hard way when I tried substituting things—it never works out right. For the creamiest, stiffest Coffee Whipped Cream, you have to stick to the plan here.
You only need four things, and keeping them cold is the absolute key to success. If anything is warm, you’ll end up with slightly sweetened coffee milk, and trust me, nobody wants that!
Ingredient Specifics and Quality Notes
Let’s look at what goes into the bowl. First and foremost, your heavy whipping cream must be freezing cold. I mean it—take it straight from the back of the fridge, nowhere near the door! If it’s not cold, it just won’t hold those lovely peaks.
Next up, we use powdered sugar, not granulated. Granulated sugar just doesn’t dissolve as easily and can sometimes lead to a grainy texture, which defeats the purpose of this silky topping. For the flavor bomb, you need good instant coffee granules. Don’t skimp here; a cheap, dusty instant coffee will taste chalky in this amazing Coffee Whipped Cream. Finally, just a splash of pure vanilla extract to round out that dark coffee background note.
Step-by-Step Instructions for Fluffy Coffee Whipped Cream
Okay, this is where the magic happens, and trust me, this process takes less time than it takes to find your favorite coffee mug. Since this Coffee Whipped Cream is so quick, organization is key. If you don’t want to end up stressed with runny cream, follow these steps to the letter. Better yet, if you love making creamy things for your beverages, check out this great White Russian recipe!
Preparing Equipment for Optimal Coffee Whipped Cream
Before you even *think* about turning on the mixer, we need to chill everything down. I’m super serious about this part—warm metal is the enemy of volume! Put your mixing bowl (the actual bowl, not the mixer stand) and your whisk attachments into the freezer for about ten minutes. You want them frosty but not frozen solid. This initial cold shock helps the cream stiffen up super fast. It’s my number one secret for achieving maximum volume in this Coffee Whipped Cream instantly.
Whipping Technique for Stiff Peaks in Your Coffee Whipped Cream
All your cold ingredients—the cream, sugar, instant coffee, and vanilla—go into that chilled bowl. Start your electric mixer on a medium speed first. This helps combine everything without splattering hot cream all over your cabinets. Run it on medium for about a minute until you see everything starting to thicken slightly.
Now, crank that mixer up to medium-high or high speed. Watch it like a hawk! It goes from perfect to sadly over-mixed unbelievably fast. You are looking for stiff peaks, which means when you lift the whisk, the cream stands straight up and doesn’t droop over.
The second those peaks hold their shape perfectly, turn the mixer OFF. Seriously, turn it off! If you beat it for another 30 seconds, you’ll have butter. That slight resistance when you lift the beaters is exactly what we want for the best Coffee Whipped Cream.
Expert Tips for Next-Level Coffee Whipped Cream
Now that you’ve mastered the basics, let me share a couple of tricks that take this from ‘good’ to ‘I can’t believe I made this myself’ territory. When you’re dealing with concentrated flavor like instant coffee, a tiny technique change can make a huge difference in how integrated that flavor is, especially in your Coffee Whipped Cream.
For those looking to add some extra depth or maybe you’re whipping up a batch for a special occasion, check out this amazing pumpkin spice syrup recipe—it pairs beautifully if you decide to swap the coffee for spice!
Boosting the Coffee Flavor in Your Coffee Whipped Cream
Okay, if you tasted your cream and thought, “I wish that coffee taste was a little deeper, a little less granular,” I have the perfect fix. The recipe calls for adding the dry instant coffee granules right into the cold cream mixture. That works fast, but sometimes the granules don’t fully dissolve, leaving little bitter pockets.
My expert move is this: Before you start whipping, take those instant coffee granules and dissolve them in just half a teaspoon of *hot* water until it’s a dark, thick little coffee paste. Let this paste cool for just thirty seconds—you don’t want it hot! Then, add your cooled coffee paste right into the chilled cream mixture along with the sugar and vanilla.
By dissolving it first, the coffee flavor incorporates beautifully and evenly throughout the entire batch of Coffee Whipped Cream. It gives you that true espresso flavor without any chalkiness.
Troubleshooting Common Coffee Whipped Cream Issues
Don’t panic if your cream isn’t whipping up right away! It happens to the best of us, usually because something wasn’t cold enough. If you see the mixture staying runny even after a couple of minutes on high speed, immediately stop the mixer. Check your cream; if it feels even slightly warm to the touch, your bowl probably wasn’t chilled enough.
The fix is simple, though perhaps not fast: take the whole bowl and put it back in the freezer for five minutes. Scrape down the sides, pop it back on the mixer, and try again. Warmth kills the air structure we are trying to build!
Now, the dreaded opposite problem: over-whipping. If you walk away for 30 seconds and suddenly your cream looks grainy and stiff, you’ve gone too far. Stop immediately! If it’s slightly grainy, you can stir in a teaspoon of *cold* heavy cream by hand really gently. That might save your batch, but honestly, the line between perfect Coffee Whipped Cream and butter is super thin, so always watch carefully near those stiff peaks!
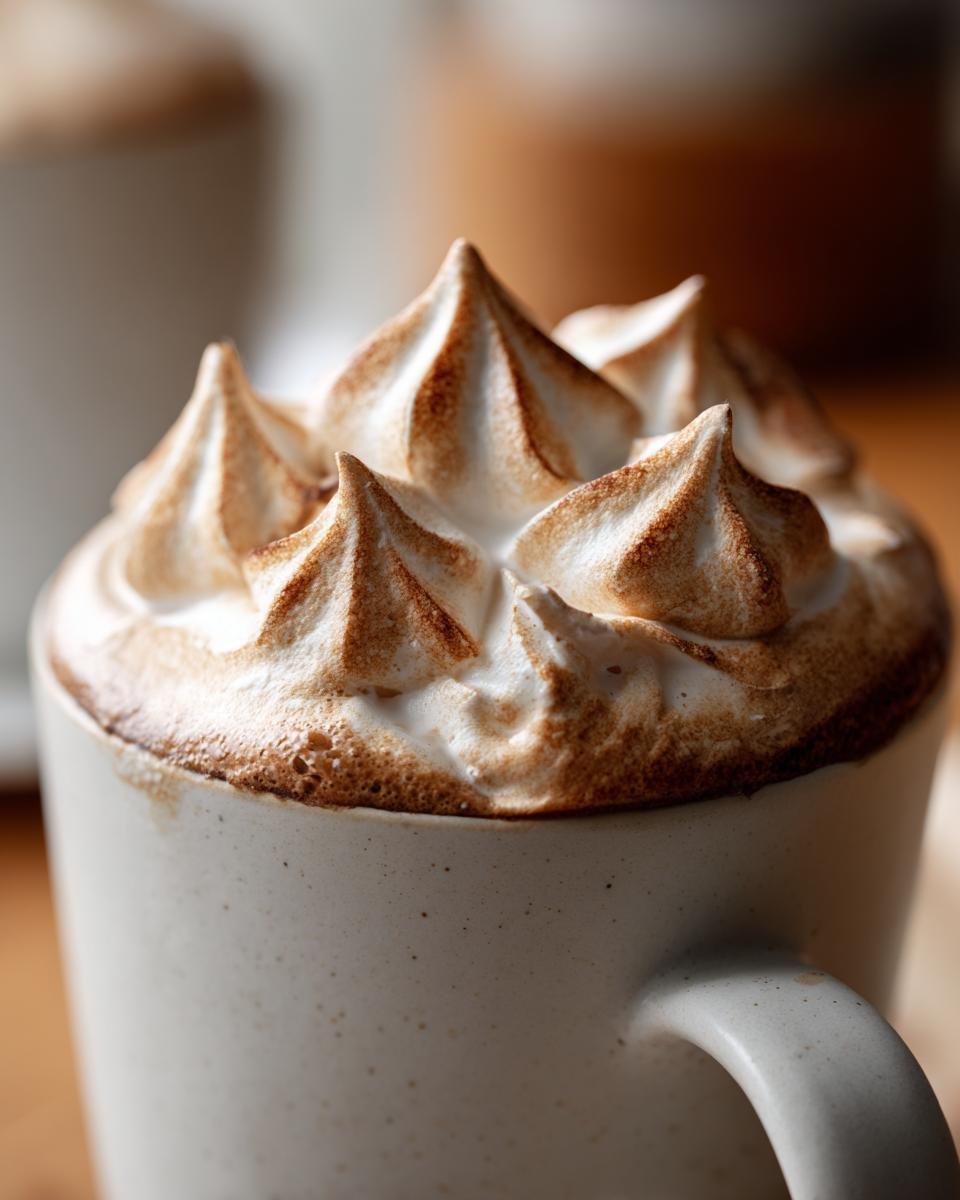
Serving Suggestions for Your Homemade Topping
Now that you have a cloud of fragrant, coffee-infused perfection, what are you going to do with it? Honestly, I often just grab a spoon and eat half of it standing over the sink, but that’s not exactly elegant for company, is it?
This sweet cream is so versatile because the coffee flavor is powerful yet balances nicely with the sweetness. You absolutely must try it piled high on these options:
- A classic iced latte, of course! Don’t just stop at plain cream; dollop this on top, add a sprinkle of cocoa powder, and you have a drink that tastes like dessert.
- It’s incredible on cold brew or even just plain milk for a quick treat. It melts slowly, giving you that lovely coffee swirl.
- I love using it as a topping for simple desserts. Think about brownies, or even just a slice of plain pound cake. It contrasts beautifully with something rich and chocolatey. You know, if you’re feeling ambitious, you could even whip up this ultimate chocolate milkshake and crown it with a mountain of this coffee goodness!
- My favorite sneaky use? A spoonful on top of cold chocolate pudding. It sounds strange, but the dark chocolate and the coffee notes play so nicely together.
Remember, this topping is meant to be enjoyed immediately for the best volume, so don’t let it sit waiting for the perfect dessert—make the dessert around the cream!
Storage and Shelf Life of Coffee Whipped Cream
Okay, so you made a gigantic bowl of perfect, fluffy Coffee Whipped Cream, and now you have leftovers because you’re a very responsible baker (or maybe you just couldn’t stop eating it with a spoon). While it’s certainly best when it’s fresh and stiff, you can totally save some for later!
The biggest thing to know about storing whipped cream of any kind is that it dislikes air and warmth. It’s going to deflate a bit—that’s just physics when you’re dealing with all those tiny air bubbles we carefully whipped in there! Don’t let that scare you off, though. It’ll still taste amazing.
Your best defense is a really good airtight container. I use a glass container with a tight-fitting lid. If you have one of those special containers with a sealing disk on top, even better, though mine doesn’t have one and it still works fine. Press a piece of plastic wrap directly onto the surface of the Coffee Whipped Cream before you seal the lid on top. This stops the direct air exposure which is what causes that quick deflation.
If you’ve stored it correctly in the fridge, your Coffee Whipped Cream should last for about two days. When you pull it out on day two, it will definitely be softer and flatter than when it first came out of the mixer. Don’t worry! You can bring it right back to life.
If it’s too soft, just pop the leftovers back into your chilled mixing bowl, put the whisk attachment on low speed for about 20 or 30 seconds, and it should firm right back up. It reheats its structure beautifully! Just promise me you won’t try to freeze it; that just turns it into icy, separated sadness.
Frequently Asked Questions About Coffee Whipped Cream
I get so many questions about this recipe once folks realize how easy it is! It’s truly versatile, but there are a few key things people always ask when they’re trying to make the perfect batch of Coffee Whipped Cream for the first time. Here are the things I hear most often:
Can I use brewed coffee instead of instant coffee for this Coffee Whipped Cream?
Oh, I love that you’re thinking about using freshly brewed coffee—it smells amazing! But for this specific recipe, you really, really shouldn’t. If you add liquid brewed coffee, you are just adding water to the heavy cream. Since the entire structural integrity of this topping relies on fat and minimal liquid to hold those stiff peaks, adding brewed coffee will absolutely prevent it from whipping up. You’ll end up with delicious, barely sweetened coffee milk instead of Coffee Whipped Cream, and nobody wants that sad outcome!
What is the best way to sweeten this homemade topping?
I definitely recommend sticking to the powdered sugar we used in the main recipe. Powdered sugar, sometimes called confectioners’ sugar, is fantastic because it has cornstarch mixed in, which provides a sneaky little bit of stability to the whole creation. It dissolves instantly into the cold ingredients, keeping that silky texture consistent. If you only have granulated sugar, you *can* use it, but make sure you whip it for an extra minute or two longer than usual to dissolve it completely, or you might end up with a slightly gritty sweet cream.
If you’re looking for other ideas that are quick and tasty, like a simple treat that hits all the right notes, check out this amazing coffee mug cake. It’s a perfect partner for a dollop of our Coffee Whipped Cream!
Nutritional Snapshot for Your Coffee Whipped Cream
Now, I want to be super honest with you all here—I don’t usually track calories when I’m making something this delicious, because honestly, life is too short to stress about whipped cream! But since so many of you ask about the breakdown, I’ve put together an *estimate* on the nutrition facts based on the yield of this recipe.
Remember, this is just a ballpark figure based on standard ingredient measurements for a batch that makes about two cups! If you use fancier cream or different amounts of sugar, these numbers will shift a bit. Don’t treat this as gospel science, just a general guide for your sweet cream topping!
Here’s what you’re looking at, based on a serving size of 1/4 cup:
- Serving Size: 1/4 cup
- Calories: Around 150 (That’s pretty good for something this decadent!)
- Fat: About 16 grams (Remember, most of that is the good stuff from the heavy cream that helps us get those stiff peaks!)
- Saturated Fat: Roughly 10 grams
- Carbohydrates & Sugar: Around 6 grams of carbs, mostly coming from the powdered sugar we added.
- Protein: Just 1 gram, mostly from the dairy.
It’s an indulgence, for sure, but a small dollop on your morning drink or dessert helps keep those calories tracked reasonably when you know exactly what’s in the bowl—which is much better than those aerosol cans, trust me on this one!
Share Your Coffee Whipped Cream Creations
Whew! Now that you have a bowl of the lightest, most intensely flavored Coffee Whipped Cream you’ve ever made, I’m dying to know what you did with it! Did you pile it high on an iced coffee? Did you use it to dress up a slice of homemade pound cake? I need all the details!
I put so much energy into making sure this simple recipe turns out perfectly for you, and the best feedback I can get is seeing your results. Don’t be shy! Leave a rating for this recipe right below—five stars if it blew away your expectations, or tell me what you thought if you had any bumps along the way. Your input helps other home cooks feel confident trying it out too.
If you took a picture of your amazing creation—maybe you added a dusting of cocoa or a tiny cinnamon stick on top—I would absolutely love to see it! You can send me a note or a picture through my contact page. It absolutely makes my day to hear from you and see how this little recipe is sprucing up your coffee breaks. Happy scooping!
Print
Simple Coffee Whipped Cream
- Total Time: 5 min
- Yield: About 2 cups 1x
- Diet: Vegetarian
Description
A quick recipe for making light and airy whipped cream flavored with coffee.
Ingredients
- 1 cup heavy whipping cream, cold
- 2 tablespoons powdered sugar
- 1 teaspoon instant coffee granules
- 1 teaspoon vanilla extract
Instructions
- Place the heavy whipping cream, powdered sugar, instant coffee granules, and vanilla extract into a chilled mixing bowl.
- Using an electric mixer or a whisk, beat the mixture on medium-high speed.
- Continue beating until stiff peaks form, about 3 to 5 minutes.
- Stop mixing when the cream holds its shape.
- Serve immediately over coffee or desserts.
Notes
- For a stronger coffee flavor, dissolve the instant coffee granules in 1/2 teaspoon of hot water before adding it to the cream mixture.
- Keep all ingredients and equipment cold for best results.
- Prep Time: 5 min
- Cook Time: 0 min
- Category: Topping
- Method: Whipping
- Cuisine: American
Nutrition
- Serving Size: 1/4 cup
- Calories: 150
- Sugar: 6
- Sodium: 10
- Fat: 16
- Saturated Fat: 10
- Unsaturated Fat: 6
- Trans Fat: 0
- Carbohydrates: 6
- Fiber: 0
- Protein: 1
- Cholesterol: 55
Keywords: coffee whipped cream, instant coffee, homemade topping, sweet cream