
Oh, the smell of fall! Nothing screams cozy nostalgia quite like biting into a perfect, sticky caramel apple, right? I remember trying to make these years ago and ending up with liquid goo—it’s a total disaster when that happens! That’s why I spent ages perfecting this straightforward recipe for classic, homemade Caramel Apple Creations. Forget the complicated stuff; this method skips the fussy steps but delivers that satisfying, chewy shell every time. Trust me, I’ve mastered the candy thermometer dance over the years, and this technique guarantees a thick, delicious coat that actually sticks to the apple. Get ready, because this is the easiest, most reliable sweet treat you’ll make all season!
Why You Will Love These Simple Caramel Apple Creations
Honestly, making homemade Caramel Apple Creations feels like a huge victory, but this recipe makes it so approachable. You don’t need to be a professional candymaker to nail this one!
- Seriously simple cleanup! We aren’t dealing with complicated, super-thick candy mixtures.
- That “firm ball stage” magic makes for a perfect, chewy coating that hugs the apple just right.
- You can make these Caramel Apple Creations start-to-finish in under an hour—way faster than the bakery!
- The rich, buttery flavor is exactly what you want in a classic fall treat.
- They are fantastic on their own, but they’re the perfect base for adding sprinkles or nuts later. Check out how amazing they look when you use caramel popcorn balls bits on top! (Just an idea!)
- You control the quality—no weird preservatives here, just pure sugar, cream, and butter working together.
This is the kind of simple treat that makes everyone gather around the kitchen counter, waiting for that perfect cool-down time.

Essential Ingredients for Perfect Caramel Apple Creations
Okay, when you’re making candy, you absolutely cannot wing it with the ingredients. This isn’t like baking cookies where a little extra flour won’t instantly ruin things. For these Caramel Apple Creations to be chewy and not runny, you need precision, especially with the sugar and the cream. I’ve listed everything out below, and trust me, stick to these measurements tightly!
- 6 medium apples—must be firm!
- 1 cup granulated sugar, measured out nice and level.
- 1/2 cup light corn syrup—this is the secret to preventing crystallization, so don’t skip it!
- 1/2 cup heavy cream, the real stuff, please.
- 1/4 cup unsalted butter, cut into a few pats.
- 1 teaspoon vanilla extract; I use pure vanilla because it really sings with caramel.
- 6 sturdy wooden sticks for dipping.
See? It’s pantry staples, but the measurements matter more here than usual!
Choosing the Right Apples
You absolutely need a crunchy apple whose texture can stand up to that thick, hot caramel. If you use a softer apple, it’ll get mushy by the time the caramel cools. I always go for Granny Smiths because their tartness cuts through the intense sweetness of the caramel perfectly. Honeycrisp or Fuji work too, but you want something firm that won’t bruise easily when you’re shoving that stick in.
Equipment Needed for Your Caramel Apple Creations
This process relies on heat, so having the right tools makes all the difference between a perfect sticky coating and a burned mess! You don’t need a ton of gadgets, but one item is non-negotiable when working with candy like this.
First, a heavy-bottomed saucepan is your best friend. It spreads the heat out evenly, which stops the sugar from scorching on the bottom when you are trying to cook it to temperature. Trust me, thin pans are the enemy here!
- A reliable candy thermometer. This is the MVP of the whole operation. You must hit that 245°F mark, and there’s no guessing when it comes to candy making—you need accuracy!
- A sturdy wooden spoon or heat-resistant spatula for that initial stirring.
- A medium-sized bowl or a baking sheet completely lined with parchment paper. This is where your beautiful Caramel Apple Creations will cool down and cure.
- A small bowl of water nearby, just in case you need to quickly dip your spoon to clean off hardened sugar bits (candy residue gets sticky fast!).
That thermometer is your assurance that these Caramel Apple Creations will set up beautifully and not just drip off the apple when you carry it across the room. Don’t worry, they are inexpensive, and once you have one, you can make amazing caramel sauce too!
Step-by-Step Instructions for Making Caramel Apple Creations
Alright, deep breath! This is where the excitement really builds, but remember what I said about precision? Follow these steps exactly, and you’ll have professional-looking Caramel Apple Creations coming out of your kitchen. Don’t rush the heat, and be patient during the setting time!
Preparing the Apples for Dipping
First things first, we have to get those apples ready to accept the caramel hug. You need to wash them really well to remove any wax or residue they might have from the store. After washing, you must dry them. And I mean bone dry. If there is even a tiny bit of water left on that skin, I promise you, the caramel will slide right off when it cools. It’s like trying to glue something to a wet surface! Once they’re dry, pop those wooden sticks right into the center core. Push them in until they feel super secure, because you’ll be handling them quite a bit soon.
Cooking the Caramel to Firm Ball Stage
Get your medium saucepan going over medium heat. Toss in the sugar, corn syrup, that heavy cream, and the butter. Start stirring everything constantly until you see that sugar completely dissolved. Once it starts bubbling—that’s the sign—you stop stirring completely! That stirring action incorporates air, which messes up the final texture. Now, you watch that candy thermometer like a hawk. You need that thermometer to climb all the way up to 245 degrees Fahrenheit. That’s called the firm ball stage. If it’s lower, your caramel will be too soft and runny. This usually takes about 10 to 15 minutes of patient boiling.
When you hit that perfect 245°F, pull that pan off the heat immediately! Stir in the vanilla extract—you can smell that lovely aroma already! Then, you need to let the mixture chill out for about five minutes before dipping. If it’s too hot right off the stove, you’ll cook the apple and melt off the coating as you dip. If you need extra sauce later for drizzling, check out my quick recipe for divine caramel sauce in 8 minutes.
Dipping and Setting Your Caramel Apple Creations
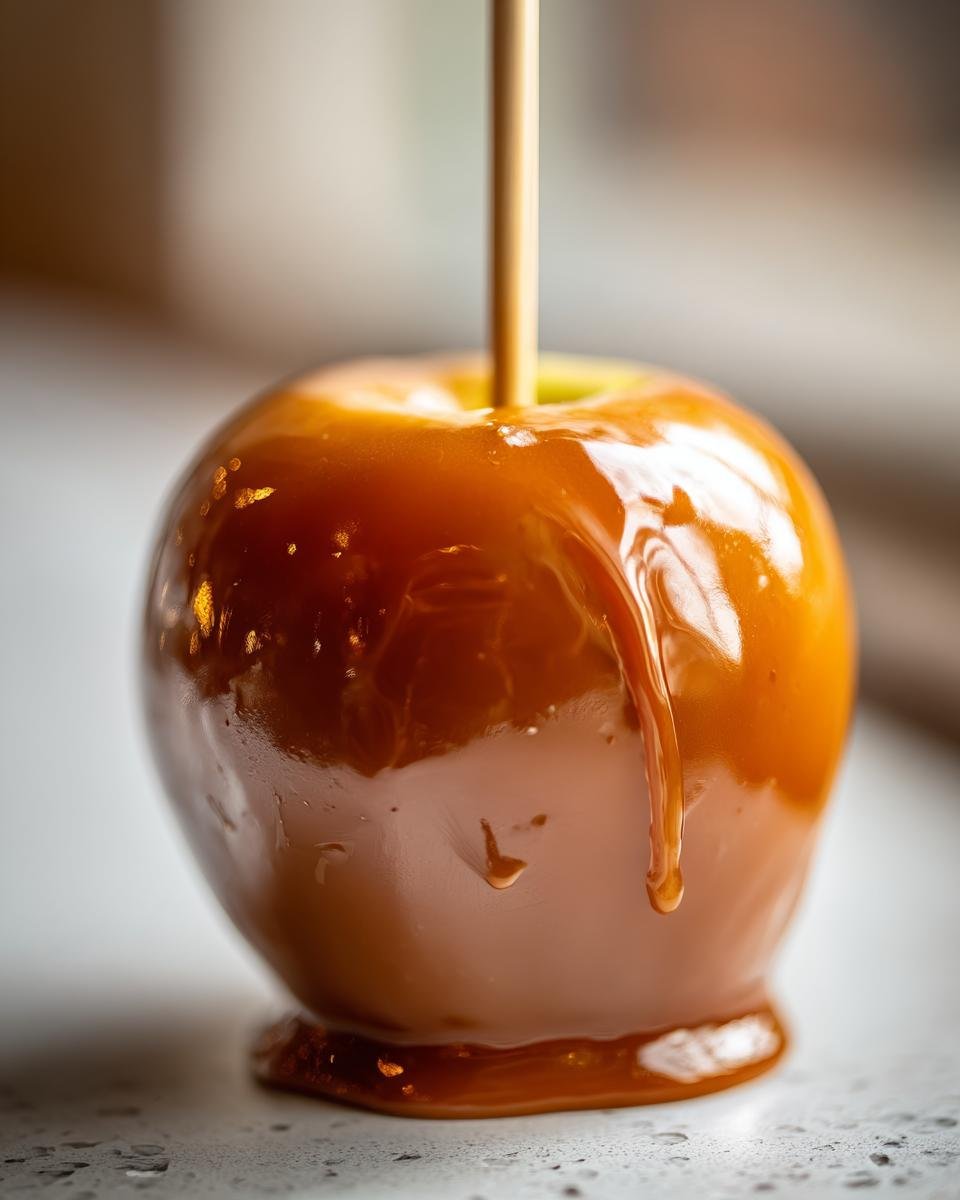
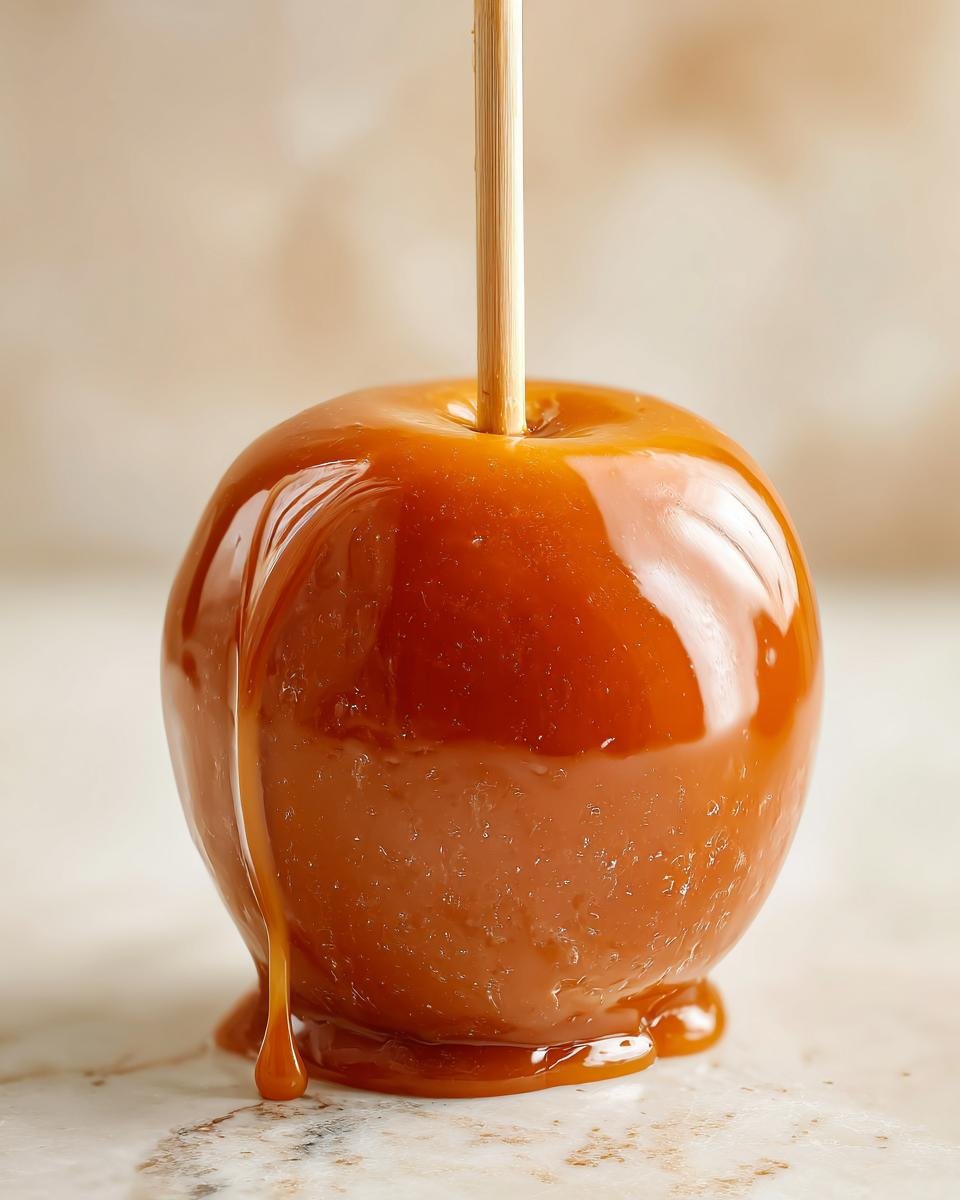
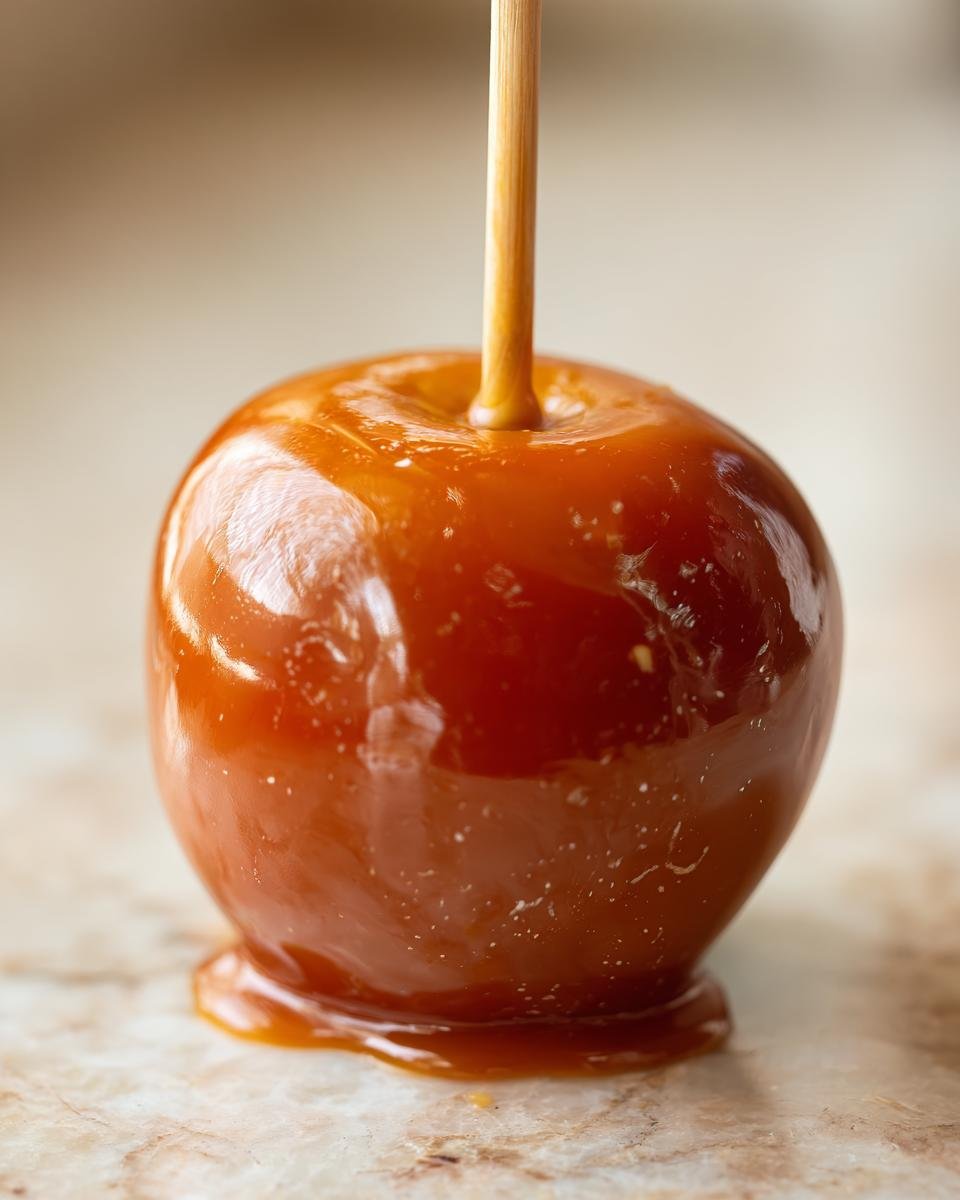
Now for the fun part! Tilt the saucepan gently so the caramel pools up on one side. Hold an apple by its stick and dip it straight down. Turn it slowly, making sure the caramel covers every bit of the apple skin up to where the stick starts. Once it’s coated, lift it straight up and let the excess just drip right back into the pan. Don’t scrape the sides, just let gravity do its work! Place your beautifully coated Caramel Apple Creations onto the parchment-lined sheet. They need to sit undisturbed at room temperature for at least an hour to truly set up firm. Don’t even think about putting them in the fridge yet—that can make the caramel seize up!
Tips for Achieving Perfect Caramel Apple Creations
Candy making, even simple caramel coating, has a few little quirks you need to know about. I’ve learned these the hard way, so you don’t have to mess around with sad, half-set Caramel Apple Creations! The biggest factor outside of hitting that 245 degrees is the weather, believe it or not.
If it’s a super humid day—rainy, sticky summer air—that moisture in the air can seriously interfere with how your caramel sets. It basically stays softer for longer. If you notice things aren’t quite setting up after two hours, you can try moving them to a cooler, drier spot, but sometimes you just have to ride out the humidity.
Here’s my favorite fix for when things go wrong, specifically during the dipping phase. If you’re halfway through your batch and suddenly the caramel in the pan seems stiff and hard to work with, don’t panic! It’s probably just cooled down too much. Carefully set the saucepan back on the stove over the absolute lowest heat setting you have for just 30 seconds, maybe a minute at most. Stir it gently until it flows nicely again. Then take it right back off the heat before you dip the next apple. Remember, you want it warm and pliable, not boiling hot!
Don’t overload the sticks! If you shove the stick too far in and it hits the bottom of the apple, the caramel won’t cover that little gap near the bottom, and you get a messy drip when you set it down. Only push the stick in about two-thirds of the way. Also, when you lift the apple out after dipping, try to swirl it around slightly as you pull it up too, rather than just jerking it out. This helps the excess drip off evenly, leaving a smoother finish. Those stray drips can make a big mess on your parchment paper, and sometimes they harden into those annoying little caramel puddles you have to pick off later!
If you find yourself dipping and you want to add some extra crunch—maybe some crushed pecans like you find mixed into some caramel popcorn balls—make sure you have your nuts ready to go *before* you start dipping. You need to roll the caramel-coated apple in the topping right away before the coating stiffens up. If you wait even 30 seconds, that wonderful sticky surface becomes hard shell, and nothing will stick!
Variations on Classic Caramel Apple Creations
Listen, while my heart belongs to the pure, unadulterated taste of these basic Caramel Apple Creations exactly as they are, sometimes you just need a little extra flair, right? Once that initial layer of caramel has set up and you’ve got that perfect, slightly chewy shell, you can totally customize these things! But here’s my rule: only add toppings *after* the caramel has fully cooled down. If you try to add sprinkles to hot caramel, you’ll just melt them, and that’s sad!
You have a beautiful canvas now, so let’s decorate!
- The Nut Lover’s Dream: I always keep a bowl of roughly chopped peanuts or pecans ready when I make these. Just gently roll the bottom edge of the cooling apple through the nuts. It gives you amazing crunch and a salty contrast to the sweet caramel.
- A Little Chocolate Drizzle: This is my favorite trick for holidays. Melt some good quality semi-sweet or dark chocolate. Put it in a small plastic bag, snip a tiny corner off, and drizzle zig-zags over the cooled caramel. That combo of dark chocolate and caramel is just magical.
- Sprinkle Party Time: For the kids (and let’s be honest, for me too), grab some festive sprinkles! Rainbow jimmies, fall colors, or even crushed candy canes if you’re making these closer to Christmas. Roll the middle section of the apple through a shallow dish of the sprinkles right after dipping.
- Go Fancy with Sea Salt: If you didn’t add salt to the caramel itself (which I don’t in this simple recipe), finish it off with a tiny sprinkle of flaky sea salt right on top of the caramel before it sets. It just elevates the entire experience, making it taste super gourmet.
Keep it simple, but don’t be afraid to get a little messy with the toppings! It makes them feel even more special.
Storage and Reheating Caramel Apple Creations
Now that you’ve made these gorgeous, perfect Caramel Apple Creations, the big question is: what now? Do I stick them in the fridge? Will they last long enough for leftovers tomorrow? Since these are made with real butter and cream, storage is slightly different than just tossing a piece of fruit in the crisper drawer.
For the very best flavor and texture, you should store homemade Caramel Apple Creations at cool room temperature. That means finding the coolest, driest spot in your pantry or on your counter, away from direct sunlight or any heat source. If you keep them wrapped loosely—maybe just sitting on that parchment paper—they should stay perfectly fine for about two days. The caramel coating stays firmest this way, and the apple stays crisp!
If your house is naturally warm, or if you made a huge batch and need them to last closer to a week, you *can* put them in the fridge. However, I have to warn you: refrigeration often makes the caramel get super hard and brittle. When you pull them out, let them sit on the counter for at least an hour before you try to eat them. That allows the caramel to soften up back to that ideal chewy texture we worked so hard for.
As far as reheating goes—don’t! Seriously, don’t reheat these. If you try to warm them up, the caramel will melt, and you’ll end up with a puddle of sweet goo and a stick. They are designed to set and be eaten at room temperature or slightly cool. If the caramel has gotten too hard from the fridge, the best “reheating” is just letting it warm up slowly on the counter. Enjoy them within two days for the absolute best experience!
Frequently Asked Questions About Caramel Apple Creations
It’s inevitable! When you try something new, questions pop up, especially with tricky candy making. I’ve gathered the most common things people ask me about these super simple Caramel Apple Creations. Hopefully, this clears up any last-minute worries so you can get dipping!
Why is my caramel too runny after cooling?
If your caramel coating feels sticky or just runs off the apple when you pick it up, I can tell you exactly why: you didn’t cook it long enough. Candy making is all about temperature! You absolutely must hit 245 degrees Fahrenheit for the firm ball stage. If you pull it off the heat at, say, 240°F, it will taste great but it will never fully set up into that nice, chewy jacket for your apples. Next time, grab that thermometer and let it climb higher!
Can I use different types of sugar for these Caramel Apple Creations?
When it comes to my reliable Caramel Apple Creations, I highly advise against swapping the granulated sugar. Candy making relies on the crystal structure of sucrose. If you try to use all brown sugar or switch to a sugar substitute, you risk crystallization, which turns your smooth coating gritty, or you risk complete failure because the temperature curves change drastically. Stick to the white granulated sugar and the corn syrup for that perfect, smooth shell.
How far in advance can I make these Caramel Apple Creations?
These are definitely best when fresh, especially since the apple inside is so crisp. For the absolute best texture—that perfect chewiness where the caramel isn’t rock hard—try to make them no more than a day or two ahead of when you plan to serve them. If you need to hold them for up to four days, put them in the fridge, but remember my earlier note: they soften up beautifully if you let them sit out for an hour before anyone takes a bite. If you look at how long my caramel popcorn balls last, these apples aren’t far behind, but they taste way better when they are fresh!
Share Your Caramel Apple Creations Success
Whew! That’s it! You’ve done the hard part, and now you have these gorgeous, sticky, homemade Caramel Apple Creations sitting on your counter, cooling perfectly. I am honestly so excited for you to try these!
Now, I really want to see what you made! Did you stick to the classic look? Did you go wild with sprinkles and pecans? Don’t be shy! Drop your rating right below this section—let me know how many stars you think this simple recipe deserves. Every rating helps folks who are nervous about candy making see just how easy this truly is.
And please, please take a picture! I absolutely live for seeing your treats. Once you’ve got them set up nicely, share a photo in the comments below or tag me on social media—I’d love to see your perfect, chewy Caramel Apple Creations! Happy dipping, and thanks so much for baking with me today.
Print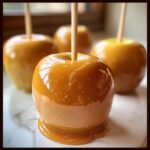
Simple Caramel Apples
- Total Time: 35 min
- Yield: 6 servings 1x
- Diet: Vegetarian
Description
A straightforward recipe for making classic caramel-coated apples.
Ingredients
- 6 medium apples (firm variety)
- 1 cup granulated sugar
- 1/2 cup light corn syrup
- 1/2 cup heavy cream
- 1/4 cup unsalted butter
- 1 teaspoon vanilla extract
- 6 wooden sticks
Instructions
- Wash and thoroughly dry the apples. Remove stems and insert wooden sticks firmly into the core of each apple.
- In a medium saucepan, combine sugar, corn syrup, heavy cream, and butter.
- Cook the mixture over medium heat, stirring constantly until the sugar dissolves.
- Stop stirring and allow the mixture to boil until it reaches 245 degrees Fahrenheit on a candy thermometer (firm ball stage). This takes about 10 to 15 minutes.
- Remove the pan from the heat. Stir in the vanilla extract. Let the caramel cool for 5 minutes.
- Tilt the pan and dip each apple into the caramel, turning to coat completely. Lift the apple and allow excess caramel to drip off.
- Place the coated apples on a baking sheet lined with parchment paper.
- Let the caramel apples set completely at room temperature for about 1 hour before serving.
Notes
- Use firm apples like Granny Smith or Honeycrisp for the best texture.
- If the caramel becomes too thick while dipping, briefly reheat it over low heat.
- Prep Time: 15 min
- Cook Time: 20 min
- Category: Dessert
- Method: Stovetop
- Cuisine: American
Nutrition
- Serving Size: 1 apple
- Calories: 450
- Sugar: 70g
- Sodium: 45mg
- Fat: 18g
- Saturated Fat: 11g
- Unsaturated Fat: 7g
- Trans Fat: 0g
- Carbohydrates: 75g
- Fiber: 2g
- Protein: 2g
- Cholesterol: 60mg
Keywords: caramel apples, candy apples, fall dessert, sweet treat, homemade caramel