
Okay, you know I’m constantly searching for snacks that hit that satisfying crunch factor without making me feel guilty later, right? Processed chips just don’t cut it anymore, and sometimes you need something ready faster than waiting for fruit to dehydrate naturally. That’s why I fell head-over-heels for these incredibly easy **Apple Chips**! I started making these when I needed a low-sugar crunch that I could actually feel good about feeding the kids after school. Honestly, when they come out of the oven perfectly thin and lightly spiced with cinnamon, I can’t stop eating them. They are literally just apples and spices, baked low and slow until they transform.
Why You Need These Simple Baked Apple Chips
Seriously, ditch the bag of potato chips, because these baked treats are where it’s at. They are ridiculously simple to make while offering that satisfying snap you crave. I swear, you end up with something so much better than anything in a vending machine!
- They use natural sweetness, so you control the sugar game.
- Tons of fiber, which is awesome for keeping you full.
- The texture? Perfectly crisp around the edges—pure magic!
Quick Prep for Perfect Apple Chips
Prep time is a joke, which is why I love them for last-minute snacking. You’re looking at maybe 15 minutes max just for slicing and sprinkling everything onto the pans. Assembly for these **Apple Chips** is so fast you’ll think you forgot a step, but nope, that’s just how easy it is!
Essential Ingredients for Homemade Apple Chips
Okay, when I say these are simple, I mean it. You only need three main things, which is why this is my go-to healthy recipe! First, the apples. You absolutely want to use firm, sweet-tart varieties for the best result, so I always reach for Fuji or Honeycrisp. They hold up really well to the low oven heat without turning into complete mush. You’ll need three large ones, and don’t even think about peeling them!
Next up is flavor: ground cinnamon. I use one full teaspoon because I love that sweet-warm smell while they bake. If you want them ultra-healthy or are watching intake, the granulated sugar is totally optional—just skip it! But for that classic bakery aroma, I mix in just one tablespoon of white sugar with the cinnamon before sprinkling.

Ingredient Notes and Substitutions for Apple Chips
Leaving the skin on is crucial! That’s where tons of the fiber and color come from, and it helps the slices keep their shape while baking. If you decide to skip the optional sugar, that’s fine, it just means you get truly pure **Apple Chips**. Now, about thickness: this cannot be overstated. If your slices end up even a tiny bit thick—say, ¼ inch—you are guaranteed to get chewy apple fruit leather instead of a light, airy crisp. A mandoline helps, trust me!
Equipment Needed to Make Perfect Apple Chips
You don’t need fancy gadgets for this, but there is one tool I simply can’t live without when making these **Apple Chips**. You need two large baking sheets—the bigger the better so you can spread the slices out without them touching. Parchment paper is a must; it keeps things from sticking and makes clean-up lightning fast.
But here’s the secret weapon for true crispness: the mandoline slicer. I know some people are scared of them, but for uniform slices, nothing beats it. If you try to freehand these with a knife, you’ll get inconsistent thicknesses. Thin, even slices are what guarantee perfect, crunchy **Apple Chips**!
Step-by-Step Instructions to Bake Crisp Apple Chips
Alright, here is where the magic really happens! This process takes time, so put on some music or catch up on your favorite show while these babies bake. The goal is low and slow; we’re drying these out, not roasting them into applesauce. Make sure your oven is ready to go before you even look at an apple!
- First things first, set your oven to a nice low 225 degrees Fahrenheit. I always use two baking sheets if I’m making a big batch because you absolutely cannot overlap the slices. If they touch, they steam instead of crisping, and then you just have sad, floppy fruit.
- Prep those apples. Core them, but leave the skin on. Now, grab that mandoline slicer—I told you it was important! You need slices that are paper-thin, about 1/16 of an inch. If you’re using a knife, good luck, but please try to keep them consistent!
- Lay those beautiful, thin slices onto your prepared parchment-lined sheets in a single layer.
- If you’re using the optional cinnamon sugar mix, sprinkle it super lightly over the top of everything. Don’t dump it all on one spot!
- Slide those trays into the oven and set a timer for one hour.
- When that hour hits, pull them out—carefully, they are fragile! Flip every single chip over. This ensures both sides get equally dry and brown.
- Back they go for the second bake, usually another 1 to 1.5 hours. This is the tricky part, so keep an eye on them for the last 30 minutes. They go from perfect to burnt in about 60 seconds flat! These quick snacks are worth the patience, though.
Achieving Uniform Slices for Ideal Apple Chips
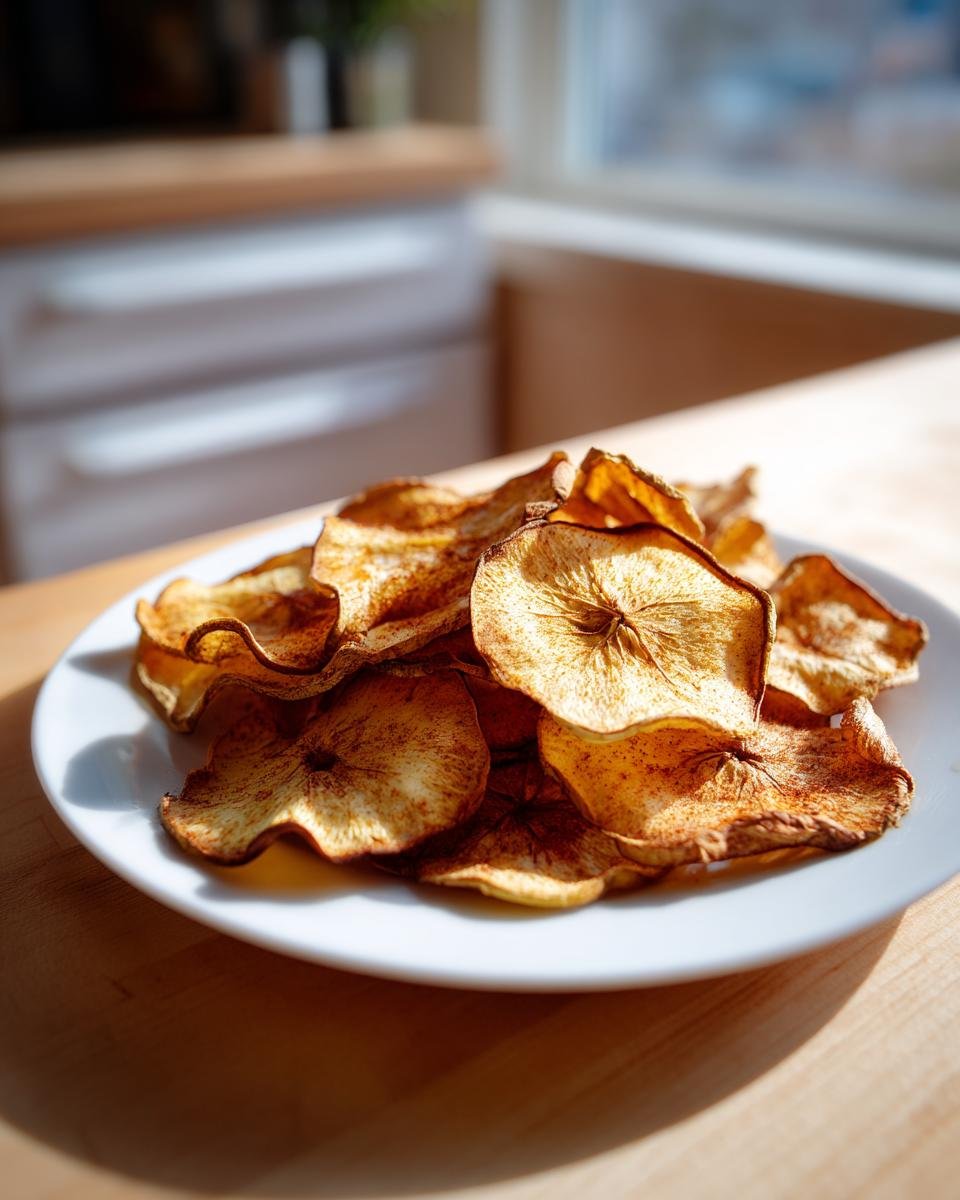
Listen, if you remember one thing from this whole recipe, make it this: thinness is everything! I cannot stress this enough. If your **Apple Chips** aren’t 1/16 of an inch, they won’t crisp up right. That’s why I keep pushing that mandoline slicer. You need that visual consistency so every chip dries at the same rate. When they are uniformly thin, they snap perfectly when done.
The Baking and Cooling Process for Crispy Apple Chips
That second baking period gets them 90% dry, but the final, crucial step happens after you turn the heat *off*. Don’t just pull them out! Turn the oven off completely, but leave the door cracked open—just a tiny bit. Let those **Apple Chips** sit inside for another 30 minutes as they cool down slowly in the residual heat. This resting period is what actually draws out the last bit of moisture and locks in that satisfying crispness. They’ll feel slightly soft when you take them out, but they firm up completely as they reach room temperature!
Tips for Success When Making Apple Chips
Baking is never an exact science, especially when dealing with fruit, because every oven acts a little differently. My biggest tip for making truly amazing **Apple Chips** is to learn your oven’s low-end heat. You might find 225°F runs hot in your kitchen, so don’t be afraid to drop it down to 215°F if you start seeing brown edges too early!
Also, you must give those slices room to breathe. If you crowd the pan, even slightly, you trap steam, and steam equals chewy chips. You need positive airflow around every single slice. If you have to use three trays instead of two, go for it! Better three perfectly crisp trays than two trays of sad, soft apples.
I know I keep hammering the slicing issue, but honestly, it’s the difference between a professional-looking chip and something that just looks like a slightly dried piece of fruit. If you’re struggling with the mandoline, try slicing just half an apple, then stopping to rest your hand before picking up the next half. It makes the process less daunting and ensures the slices in the middle of the batch are just as thin as the first few. This attention to detail really pays off in the final texture of your **Apple Chips**.
Storage and Reheating Instructions for Apple Chips
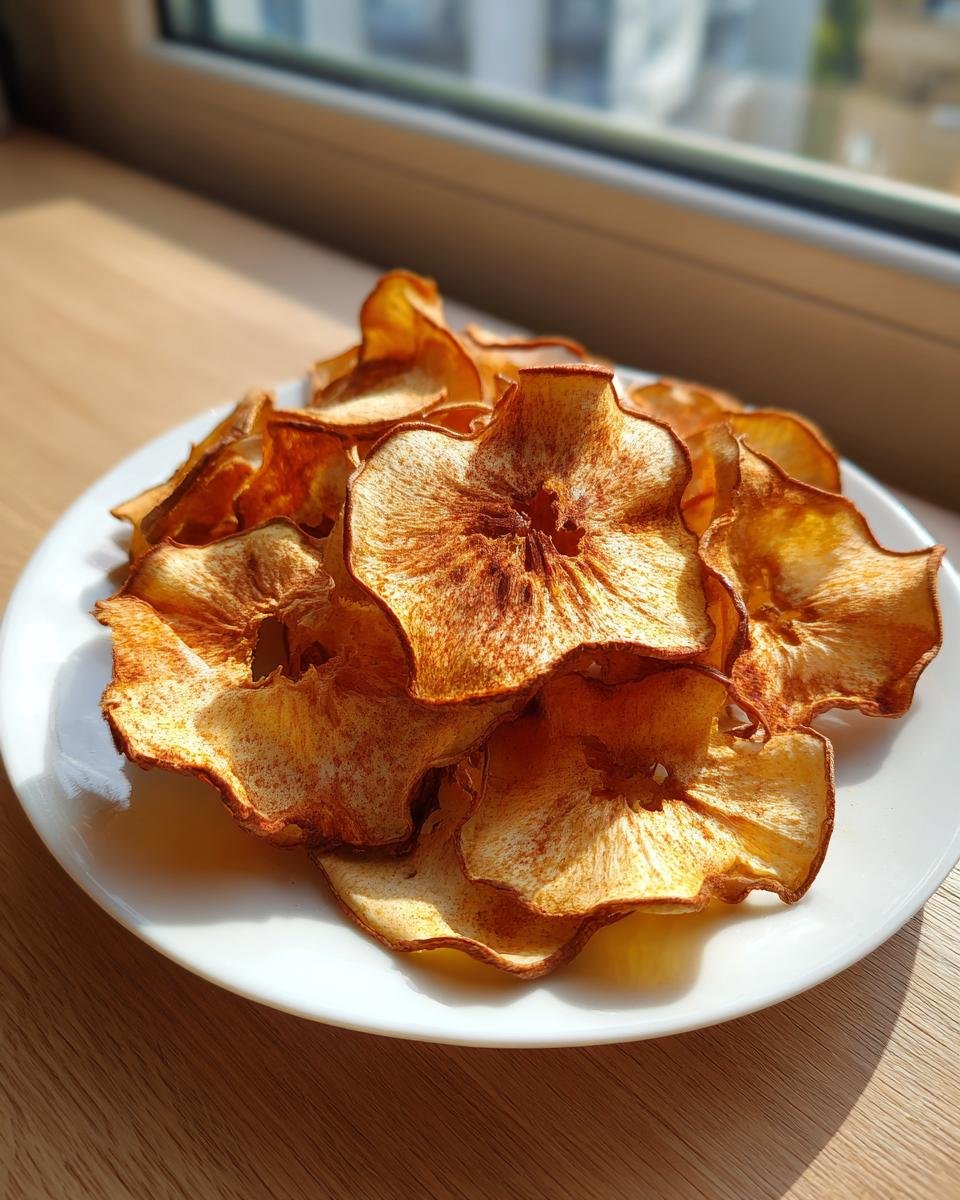
The final step, and arguably the most important for long-term crunch, is storage! As soon as these **Apple Chips** are completely cool—and I mean totally, totally cool—get them into an airtight container. Moisture is their absolute enemy, so anything less than a sealed seal means they’ll start softening up overnight. I keep mine right on the counter at room temperature.
If they somehow get a little soft because the weather changed or the container wasn’t sealed tight enough, don’t panic! You can *try* to save them by spreading them back out on a baking sheet and popping them back into a 200-degree oven for about 15 minutes. But honestly, they are best eaten fresh the day after baking!
Variations on Your Favorite Apple Chips
Once you master the basic cinnamon version, you realize these **Apple Chips** are just a canvas for fun flavoring! I love experimenting once I have a big batch ready. It keeps things exciting, and you can tailor them to whatever mood you’re in, whether you want spicy or tart.
The easiest swap is adding another warm spice. Swap half the cinnamon for ground nutmeg. Seriously, nutmeg wakes up the apple flavor in a way cinnamon alone can’t quite manage. I think it gives them a much more sophisticated flavor profile.
If you’re feeling bold, try some citrus zest! A little lime zest sprinkled on before baking adds this incredible brightness that cuts through the natural sweetness, making them taste almost candy-like. You only need about half a teaspoon for a whole sheet pan of chips. Some of my friends even love a tiny sprinkle of sea salt right before the second bake—it really enhances that apple flavor, kind of like sprinkling salt on watermelon!
For those of you who have tried my crazy good zucchini brownies and think everything needs chocolate, I have a proposal! After they are completely cooled, you can dip one corner of each chip into melted dark chocolate. Just one tiny dip! Then lay them on wax paper to set. That’s how you turn a healthy snack into a gourmet treat!
Remember, these little tweaks are what keep homemade **Apple Chips** interesting. Try one flavor profile this week, and another next week until you find your signature blend!
Frequently Asked Questions About Apple Chips
I get so many questions about this recipe because everyone wants that perfect snap! It’s smart to ask ahead of time so you can troubleshoot before you even start slicing. Most folks worry about the time it takes, or if their apples are the right kind. Don’t stress, though, because I’ve tried everything under the sun to make sure your batch of **Apple Chips** turns out amazing!
Can I make these Apple Chips without an oven?
You totally can, but my recipe is geared toward the oven because that low, even heat is fantastic for drying them out slowly. If you have an air fryer, it works great for smaller batches! Just set it to around 300°F, but you’ll need to check them way more often—maybe every 10 minutes—because air fryers cook much faster and hotter than the low-and-slow method in a conventional oven. They can go from crisp to done in about 45 minutes air frying.
How do I prevent my Apple Chips from browning too much?
This usually happens if your apples are sitting out too long before they hit the oven, or if the heat is too high. If you notice your slices—especially the insides—turning a little darker than you’d like, here’s a trick: toss the slices in a bowl with about a tablespoon of lemon juice and a half cup of water before you sprinkle on the cinnamon. The mild acid keeps the oxidation down and helps maintain that lighter color. I often skip this since I love the slightly caramelized edges, but if you want pale **Apple Chips**, lemon juice is your friend!
Also, check your sugar. If you used the optional sugar and it clumped on certain spots, those spots will definitely brown faster than the rest of the chip on that surface. Try to mix that cinnamon sugar really well before sprinkling to avoid hot spots! We want consistent color, just like in my famous banana bread!
Storage and Reheating Instructions for Apple Chips
The final step, and arguably the most important for long-term crunch, is storage! As soon as these **Apple Chips** are completely cool—and I mean totally, totally cool—get them into an airtight container. Moisture is their absolute enemy, so anything less than a sealed seal means they’ll start softening up overnight. I keep mine right on the counter at room temperature.
If they somehow get a little soft because the weather changed or the container wasn’t sealed tight enough, don’t panic! You can *try* to save them by spreading them back out on a baking sheet and popping them back into a 200-degree oven for about 15 minutes. But honestly, they are best eaten fresh the day after baking!
Variations on Your Favorite Apple Chips
Once you master the basic cinnamon version, you realize these **Apple Chips** are just a canvas for fun flavoring! I love experimenting once I have a big batch ready. It keeps things exciting, and you can tailor them to whatever mood you’re in, whether you want spicy or tart.
The easiest swap is adding another warm spice. Swap half the cinnamon for ground nutmeg. Seriously, nutmeg wakes up the apple flavor in a way cinnamon alone can’t quite manage. I think it gives them a much more sophisticated flavor profile.
If you’re feeling bold, try some citrus zest! A little lime zest sprinkled on before baking adds this incredible brightness that cuts through the natural sweetness, making them taste almost candy-like. You only need about half a teaspoon for a whole sheet pan of chips. Some of my friends even love a tiny sprinkle of sea salt right after they come out of the oven—it really enhances that apple flavor, kind of like sprinkling salt on watermelon!
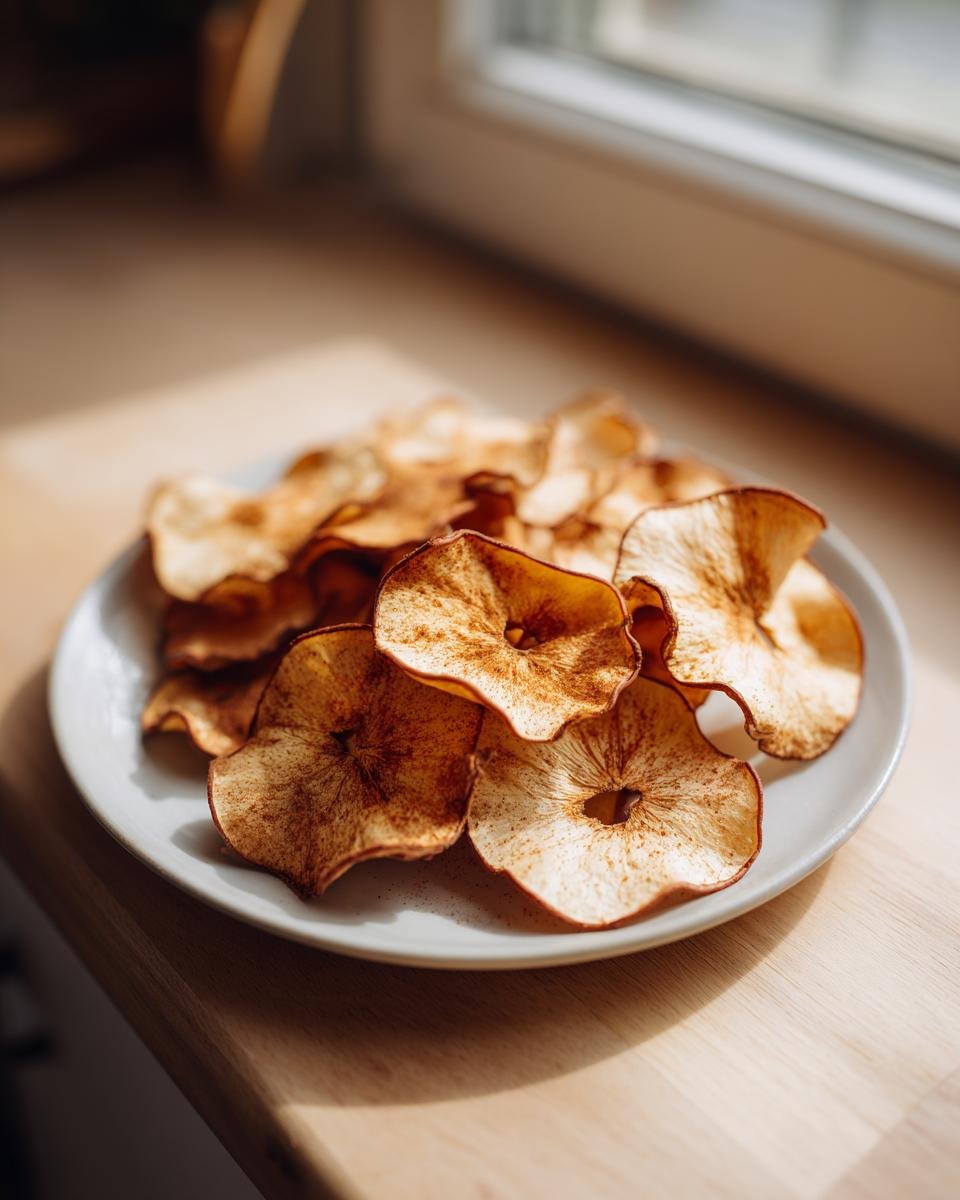
For those of you who have tried my crazy good zucchini brownies and think everything needs chocolate, I have a proposal! After they are completely cooled, you can dip one corner of each chip into melted dark chocolate. Just one tiny dip! Then lay them on wax paper to set. That’s how you turn a healthy snack into a gourmet treat!
Remember, these little tweaks are what keep homemade **Apple Chips** interesting. Try one flavor profile this week, and another next week until you find your signature blend!
Nutritional Snapshot of Baked Apple Chips
Since these are just fruit with a sprinkle of spice, they are wonderfully friendly nutritionally! Keep in mind that if you use the optional sugar, these numbers will change slightly, but this snapshot reflects the sugar-free version. These are way better than grabbing something processed, especially with that great fiber punch!
For a serving size of about 1 cup, you’re looking at around 100 Calories, only 0.3g of fat, and about 26g of carbohydrates, with 4 grams coming from fiber! They are super low in sodium and have basically no cholesterol. It’s a great, guilt-free way to satisfy that need for crunch!
Nutritional Snapshot of Baked Apple Chips
Since these are just fruit with a sprinkle of spice, they are wonderfully friendly nutritionally! Keep in mind that if you use the optional sugar, these numbers will change slightly, but this snapshot reflects the sugar-free version. These are way better than grabbing something processed, especially with that great fiber punch!
For a serving size of about 1 cup, you’re looking at around 100 Calories, only 0.3g of fat, and about 26g of carbohydrates, with 4 grams coming from fiber! They are super low in sodium and have basically no cholesterol. It’s a great, guilt-free way to satisfy that need for crunch!
Print
Simple Baked Apple Chips
- Total Time: 2 hours 45 min
- Yield: About 4 cups 1x
- Diet: Vegetarian
Description
Thinly sliced apples baked until crisp for a healthy snack.
Ingredients
- 3 large apples (such as Fuji or Honeycrisp)
- 1 teaspoon ground cinnamon
- 1 tablespoon granulated sugar (optional)
Instructions
- Preheat your oven to 225 degrees Fahrenheit. Line two large baking sheets with parchment paper.
- Wash and core the apples. Do not peel them.
- Slice the apples very thinly, about 1/16 inch thick. A mandoline slicer works best for uniform thickness.
- Arrange the apple slices in a single layer on the prepared baking sheets. Do not overlap the slices.
- In a small bowl, mix the cinnamon and sugar, if using. Sprinkle this mixture lightly over the apple slices.
- Bake for 1 hour.
- Flip each apple chip over.
- Bake for another 1 to 1.5 hours, or until the chips are dry and slightly curled at the edges. Check them frequently during the last 30 minutes to prevent burning.
- Turn off the oven and leave the chips inside with the door slightly ajar for 30 minutes to cool completely and crisp up further.
- Remove from the oven and let cool completely before storing.
Notes
- For a sugar-free version, omit the sugar entirely.
- Thicker slices will result in chewier chips rather than crisp chips.
- Store cooled chips in an airtight container at room temperature.
- Prep Time: 15 min
- Cook Time: 2 hours 30 min
- Category: Snack
- Method: Baking
- Cuisine: American
Nutrition
- Serving Size: 1 cup
- Calories: 100
- Sugar: 18
- Sodium: 2
- Fat: 0.3
- Saturated Fat: 0.1
- Unsaturated Fat: 0.2
- Trans Fat: 0
- Carbohydrates: 26
- Fiber: 4
- Protein: 0.5
- Cholesterol: 0
Keywords: apple chips, baked apples, cinnamon snack, dried fruit, healthy snack