
You know, I’m convinced that a fantastic homemade condiment is the quickest way to elevate a simple weeknight meal into something truly restaurant-worthy. Forget those jars sitting on the shelf—they taste like sharp, angry garlic! I wasted years thinking aioli was complicated, just waiting until the day I finally roasted that first head of garlic and saw how that natural sweetness transforms everything.
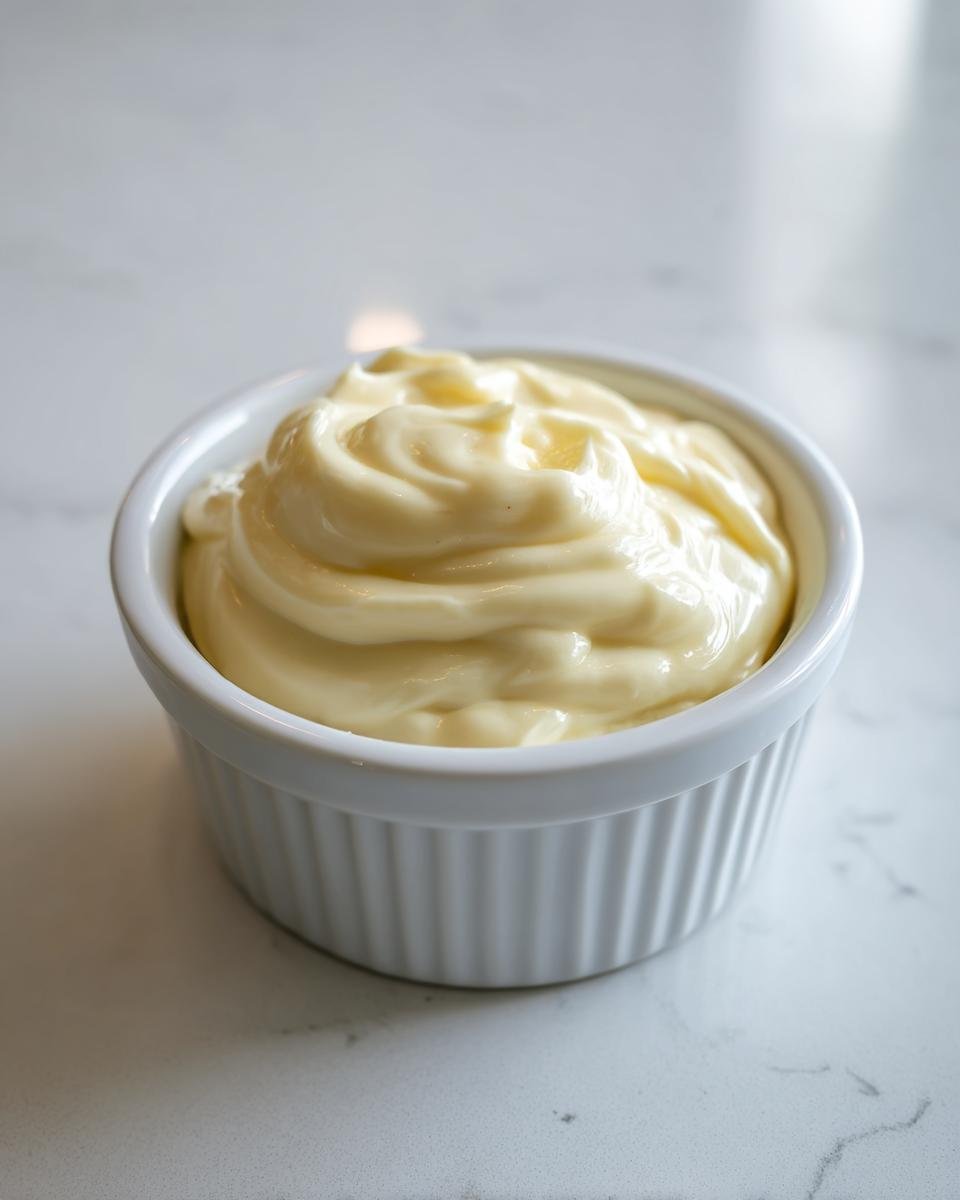
Seriously, this recipe is my little secret weapon. We’re talking about the best, easiest roasted garlic aioli you will ever make, hands down. The roasting process caramelizes the garlic until it’s buttery and smooth, and when it finally emulsified perfectly into that creamy, thick sauce the first time? Wow! I nearly threw a party just for the dipping sauce. It’s richness you just can’t buy in a store, and trust me, once you pull this off, homemade mayonnaise and every other dip become dull in comparison.

Why This Roasted Garlic Aioli Recipe Stands Out
I know what you’re thinking: making aioli sounds fussy. But this recipe is designed to totally banish those fears! Once you see how perfectly this one comes together, you’ll be whipping this up weekly. It’s so much better than store-bought versions, and the flavor payoff is huge for very little effort.
Key Benefits of Homemade Roasted Garlic Aioli
- Deep, incredibly sweet, caramelized flavor profile thanks to the roasting.
- Superior, luscious, velvety texture that makes any sandwich better.
- It’s actually simple to nail the emulsification process—don’t be scared of the whisking!
- This homemade Roasted Garlic Aioli tastes wildly complex for just a few ingredients.
Essential Ingredients for Perfect Roasted Garlic Aioli
Okay, ingredients matter here, absolutely! We aren’t just tossing things in a bowl; we are building a creamy masterpiece! You need to gather everything before you even think about putting the garlic in the oven. Don’t let yourself get caught running around looking for oil while your egg yolk is starting to warm up—that’s how emulsions break!
Here is the lineup for about a cup of this deliciousness:
- One whole head of beautiful garlic (this is the star!)
- One large egg yolk (keep it nice and cool!)
- One teaspoon of Dijon mustard (for tang and help with the emulsion)
- One teaspoon of fresh lemon juice
- Half a teaspoon of salt and a pinch of black pepper
- One full cup of a neutral oil, like canola or grapeseed. Resist the urge to use olive oil here; it fights with the emulsion!
Ingredient Preparation Notes and Substitutions
Let’s talk about the oil choice. I know that gorgeous, fruity olive oil smells amazing, but for the main 1 cup of oil that actually thickens the aioli, you want neutral oil. Olive oil, especially the extra virgin kind, has too much flavor and can make the final product taste bitter or grassy. Save that good olive oil for drizzling over the finished product!
If you don’t have lemon juice on hand, white wine vinegar works just fine in a pinch. It gives you that little acid boost you need to balance the richness. But honestly, using fresh lemon juice is my top recommendation; it just brightens up that already sweet roasted garlic so beautifully.
Step-by-Step Instructions for Roasted Garlic Aioli
Alright, let’s get cooking because this part is where the magic happens! Seriously, I encourage you to put on some good music. This isn’t a race, especially when we hit the whisking part. I want you to have fun creating this beautiful homemade Roasted Garlic Aioli.
Phase 1: Roasting the Garlic for the Roasted Garlic Aioli Base
First things first, we need to sweeten up that garlic! Preheat your oven to 400 degrees Fahrenheit. Take that beautiful head of garlic and grab a sharp knife. You need to slice off about a quarter-inch from the very top—just enough to see the little faces of the cloves underneath. Don’t go too deep, though!
Drizzle a tiny bit of olive oil right over those exposed tops—this keeps everything from drying out in the heat. Wrap the whole head loosely in aluminum foil. Now, pop it in the oven for about 30 to 40 minutes. You’re looking for a visual cue here: the cloves should be perfectly soft, almost squishy, and beautifully golden brown when you poke them.
Once they look done, pull them out and let the garlic cool down just enough so you don’t burn your fingers. Then, all you do is gently squeeze the soft, sweet pulp right out of those papery skins into a small bowl. Mash those beautiful roasted cloves with a fork until they are completely smooth. They should look like a thick, savory paste. Set that gorgeous stuff aside!
Phase 2: Emulsifying Your Roasted Garlic Aioli
Time to whisk! This is the part where people panic, but I promise, if you go slow, you’ll succeed. In a separate medium bowl, whisk together your egg yolk, Dijon mustard, lemon juice, salt, and pepper until they are nicely integrated. Give it a good thirty seconds of strong mixing!
Now, add that smooth, roasted garlic pulp into your yolk mixture and whisk briefly until it’s all one color. This is the crucial moment—the oil addition! You must start adding the neutral oil *drop by agonizing drop*. I mean it—literally single drops while whisking constantly. If you rush this, it separates, and you’ve got garlic oil soup, not aioli!
Once you see it start to thicken up a bit, you can increase your oil to a very thin, steady stream. Keep that whisk moving like you mean it! It should thicken up beautifully into a creamy texture. If you accidentally go too fast and it looks a little stiff, just whisk in a tiny bit of water or a few extra drops of lemon juice to loosen it up. You can also use an immersion blender if you have one, but still—go slow on that oil!
Tips for Achieving the Creamiest Roasted Garlic Aioli
Look, even I mess up sometimes! The biggest tip, beyond going slow with the oil, is ingredient temperature. Make sure your egg yolk and mustard aren’t sitting in the fridge getting ice cold. Ingredients closer to room temperature really love to combine and form that perfect emulsion.
I remember one time I was rushing to make this for friends who showed up early. I dumped a tablespoon of oil in at once, and *poof*—it broke. It looked like slightly seasoned oil. Don’t panic if it happens to you! Just take a completely clean bowl, put one fresh egg yolk in, and start whisking that. Then, start drizzling your broken mixture into the new yolk, drop by drop, until it comes back together. It’s like magic, honestly!
Also, be consistent with your whisking speed until that oil is fully incorporated. If you stop and start, the oil doesn’t get folded in evenly. Keep that arm moving smoothly, and you’ll end up with a silken, dreamy Roasted Garlic Aioli every single time.
Serving Suggestions for Your Roasted Garlic Aioli
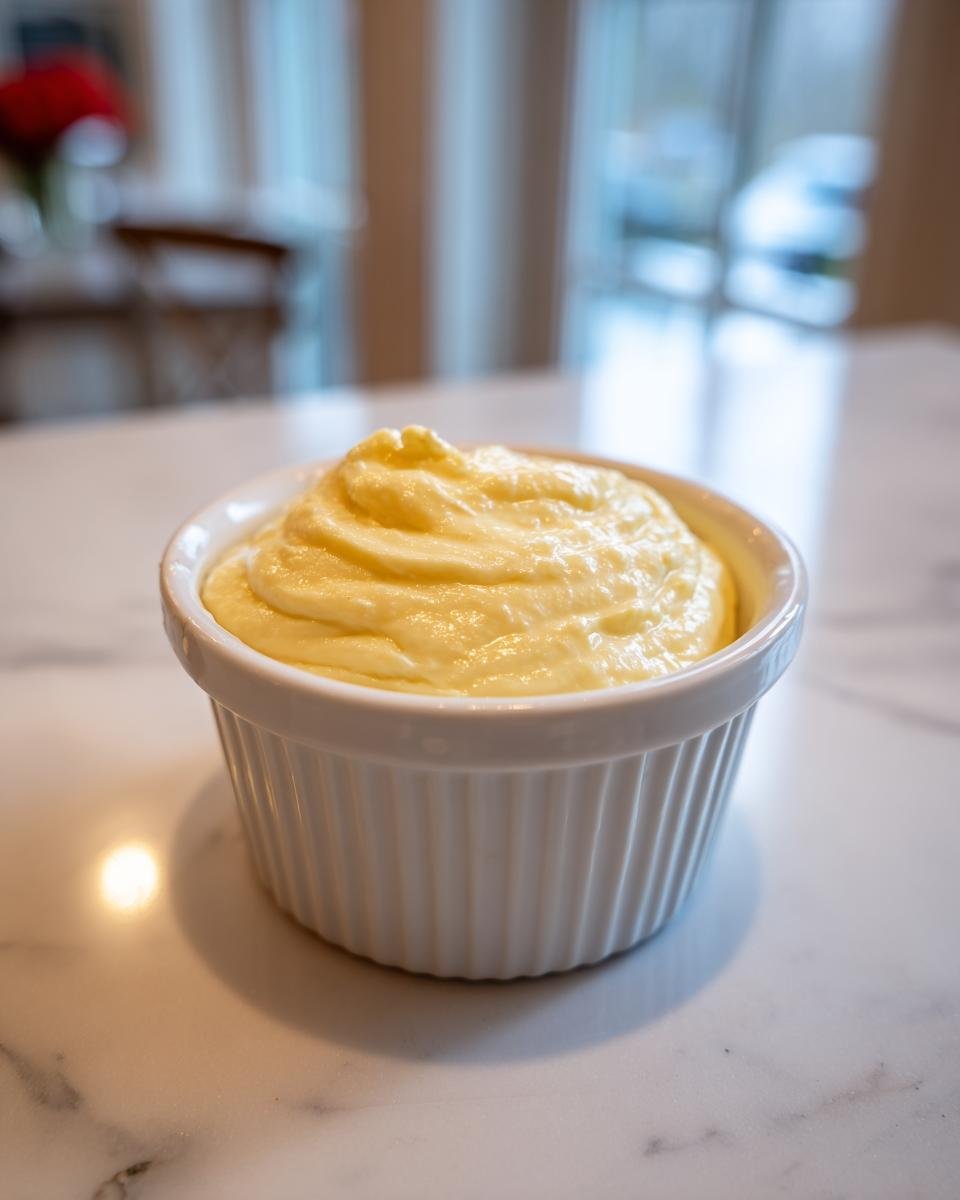
This incredibly flavorful sauce deserves more than just a single use! Honestly, once you taste how rich this homemade Roasted Garlic Aioli is, you’ll want to put it on everything you eat for a week. The sweetness from the roasting mellows out the garlic just enough that it feels sophisticated, not overpowering.
Pairing Ideas for Roasted Garlic Aioli
- The obvious, but absolute must-try: dip your perfectly crispy homemade French fries in it. Don’t even think about ketchup!
- Slather a generous layer onto roast beef or turkey sandwiches instead of plain mayo. It adds so much depth.
- Use it as a spread base for gourmet burgers—it pairs beautifully with caramelized onions.
- Mix a spoonful into a vinaigrette or thin it out slightly to drizzle over roasted asparagus or broccoli.
Storage and Keeping Your Roasted Garlic Aioli Fresh
Like any good homemade sauce, this aioli needs a quick chill session! Because we used a raw egg yolk to make it creamy—and it’s so worth it—we need to be smart about storage. Pop any leftovers into a completely airtight container. Make sure you seal it up tight so it doesn’t pick up any weird fridge smells.
If you’ve kept things clean and cool during the making process, this beautiful roasted garlic masterpiece should last beautifully in the refrigerator for up to one week. Trust me, you won’t have much left after a few days, but it’s good to know it keeps well!
Frequently Asked Questions About Roasted Garlic Aioli
I always get so many questions about this sauce because people are nervous about making something that looks this fancy at home. But honestly, that’s the best part—it hides its simplicity behind that incredible flavor! Below are the things I hear asked most often about whipping up this garlic dip.
Can I make Roasted Garlic Aioli without egg yolk?
You totally can, but be warned: the egg yolk is what turns it from glorified spiced oil into genuine, thick, homemade mayonnaise consistency! If you skip it, you’re making something closer to a garlic-infused vinaigrette. For a true vegan version, people sometimes use a tablespoon of aquafaba (the liquid from a can of chickpeas) instead of the yolk, but you must whisk that for ages before slowly adding the oil!
What is the difference between aioli and mayonnaise?
That’s a great question that trips up a lot of folks! Traditionally, real aioli is just crushed garlic emulsified with olive oil—that’s it! No egg! But over time, especially outside of the Mediterranean, people started using egg yolk to make the process easier and the sauce thicker, essentially turning it into what looks and acts a lot like homemade mayonnaise, just intensely garlicky. So, ours is technically a garlic-flavored mayonnaise!
A common follow-up is, “Can I use raw garlic?” Yes, you can, but you skip the best part! Raw garlic is sharp and piercing. Roasting sweetens it up so much that you can eat this whole bowl of Roasted Garlic Aioli without your mouth feeling burned out!
Nutritional Estimates for This Roasted Garlic Aioli
Okay, I’m going to give you the numbers here, but please take these with a giant grain of salt—or maybe a giant smear of this delicious aioli! Since this recipe works by emulsifying oil, the fat content is naturally high, which is what makes it so wonderful and creamy. These figures are just standard estimates based on the ingredients listed for a typical two-tablespoon serving size.
When you make something this rich and flavorful at home, you’re using real ingredients, not fillers, so the numbers reflect that goodness!
- Serving Size: 2 tablespoons
- Calories: About 180
- Total Fat: Around 20 grams
- Saturated Fat: Only about 2 grams
- Trans Fat: Thankfully, 0!
- Carbohydrates: Very low, just about 1 gram
- Protein: Barely 1 gram
- Sugar: Practically nothing, around 0.1 grams
- Cholesterol: About 35 milligrams
- Sodium: Roughly 150 milligrams
Remember, this is all contingent on the exact type of neutral oil you chose, but honestly, I don’t count calories when I’m dunking homemade fries into this amazing garlic dip. Enjoy it guilt-free knowing you made it with love!
Share Your Homemade Roasted Garlic Aioli Experience
Now it’s your turn! Seriously, I need to know how this turned out for you. Did you finally conquer that whisking technique? Did your garlic roast up nice and sweet, or did you accidentally brown the top too much? Tell me everything!
I absolutely love hearing how you used your creation. Did you dip your fries in it? Did you finally swap out the mayonnaise on your favorite sandwich? Head down to the comments section below and let me know how your Roasted Garlic Aioli turned out. A little star rating, a quick note—it all helps me know what recipes you want to see next!

If you had a massive success, please snap a picture and share it! I love seeing my readers’ finished plates. Tag me if you’re posting online; I’m always following along. And if you’re already planning your next homemade condiment adventure, maybe check out my recipe for the Ultimate Caesar Dressing next. Happy cooking, everyone!
Print
Roasted Garlic Aioli
- Total Time: 55 min
- Yield: About 1 cup 1x
- Diet: Vegetarian
Description
A simple recipe for homemade aioli featuring the sweet flavor of roasted garlic.
Ingredients
- 1 large head of garlic
- 1 large egg yolk
- 1 teaspoon Dijon mustard
- 1 teaspoon lemon juice
- 1/2 teaspoon salt
- 1/4 teaspoon black pepper
- 1 cup neutral oil (like canola or grapeseed)
Instructions
- Preheat your oven to 400 degrees Fahrenheit.
- Slice about 1/4 inch off the top of the garlic head to expose the cloves.
- Drizzle the exposed top with a small amount of olive oil and wrap the head loosely in aluminum foil.
- Roast for 30 to 40 minutes, or until the cloves are soft and golden brown. Let cool slightly.
- Squeeze the roasted garlic pulp out of the skins into a small bowl. Mash the pulp with a fork until smooth.
- In a medium bowl, whisk together the egg yolk, Dijon mustard, lemon juice, salt, and pepper.
- Add the roasted garlic pulp to the egg mixture and whisk until combined.
- Slowly, drop by drop initially, begin whisking in the neutral oil.
- Continue adding the oil in a very thin, steady stream while whisking constantly until the mixture emulsifies and thickens into aioli.
- If the aioli becomes too thick, whisk in a few drops of water or lemon juice to reach your desired consistency.
Notes
- You can use a food processor or immersion blender for faster emulsification, but add the oil very slowly.
- Store leftover aioli in an airtight container in the refrigerator for up to one week.
- Prep Time: 15 min
- Cook Time: 40 min
- Category: Condiment
- Method: Roasting and Whisking
- Cuisine: Mediterranean
Nutrition
- Serving Size: 2 tablespoons
- Calories: 180
- Sugar: 0.1
- Sodium: 150
- Fat: 20
- Saturated Fat: 2
- Unsaturated Fat: 18
- Trans Fat: 0
- Carbohydrates: 1
- Fiber: 0
- Protein: 1
- Cholesterol: 35
Keywords: roasted garlic aioli, homemade mayonnaise, garlic dip, garlic sauce, condiment