
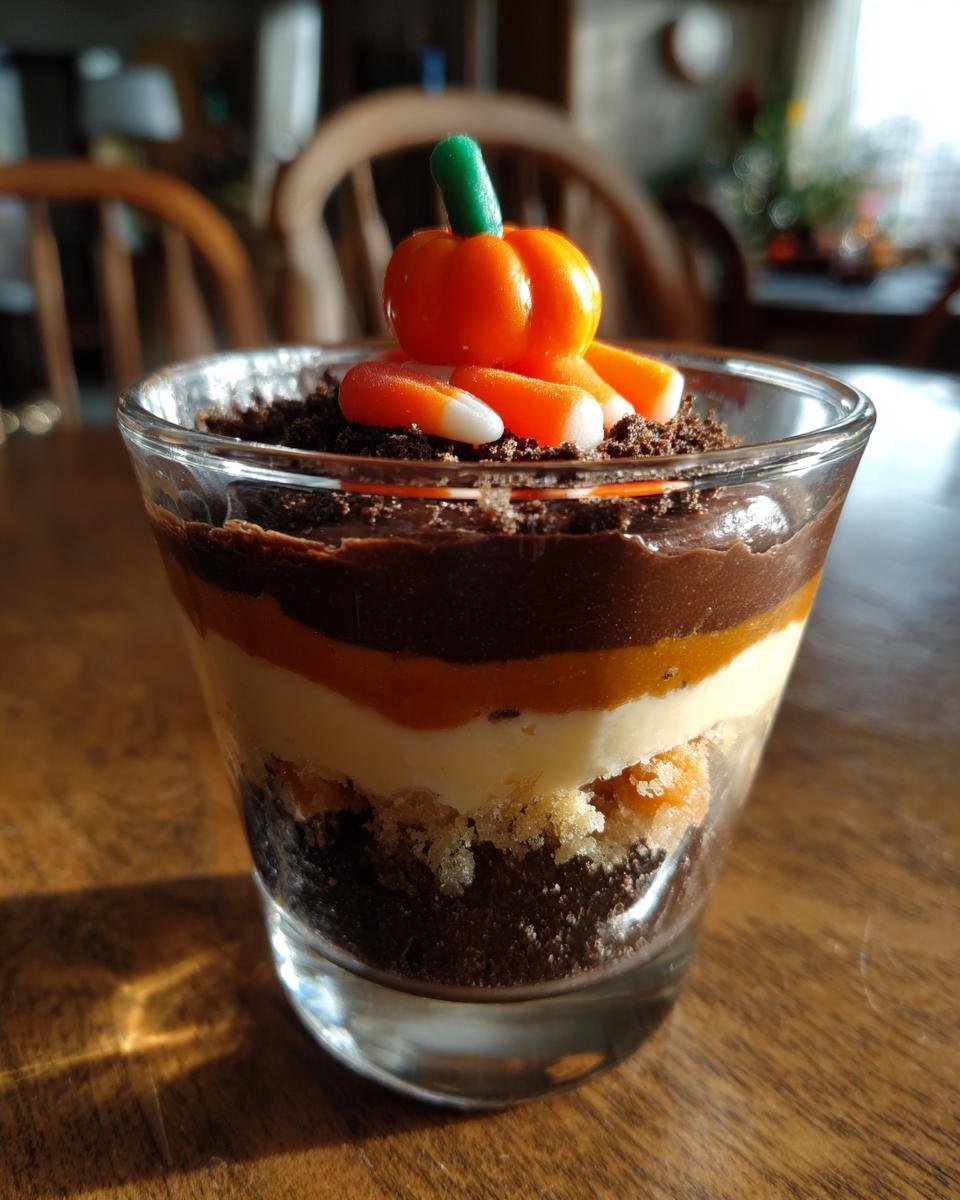
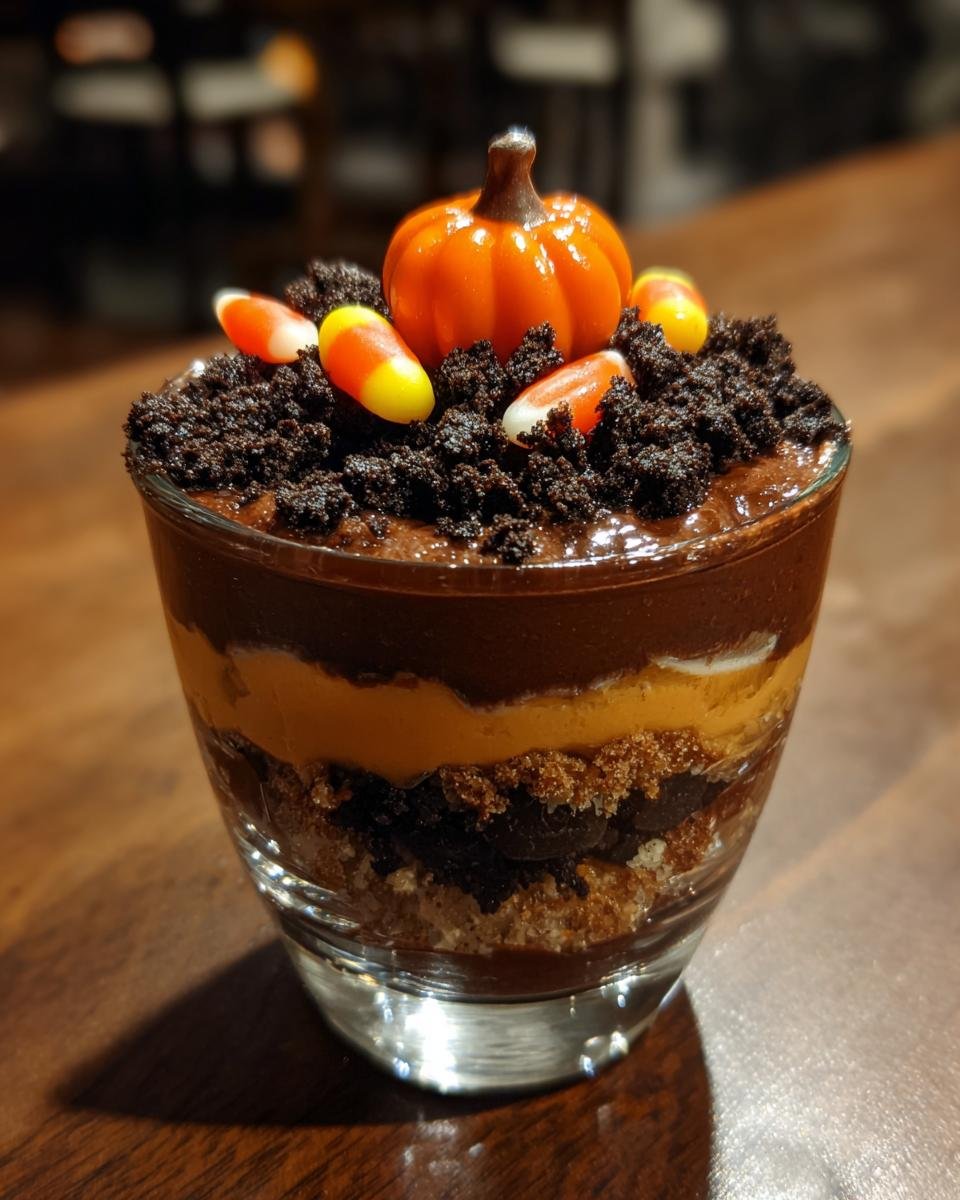
Oh, you know me, I love a dessert that’s more fun than fussy! When the leaves start changing color, I immediately ditch the heavy baking and look for something bright, easy, and a little bit silly for our weekend football parties. That’s usually when I pull out this foolproof recipe: the adorable **Pumpkin Patch Dirt Cups**. Seriously, these things are a smash hit every single year, especially when the kids get involved in decorating. They look like a miniature harvest scene in a cup, but they taste like rich, creamy chocolate heaven. Since there’s absolutely no oven required, they come together faster than you can say “trick-or-treat!”
Why You Will Love These Pumpkin Patch Dirt Cups
Honestly, why *wouldn’t* you love these? They are the perfect centerpiece for any fall table and they require almost zero effort on your part. I’ve listed my favorite reasons why this recipe always wins at my house:
- They are completely no-bake! Zero hot ovens hovering around while I’m trying to wrangle the kids in the kitchen.
- The visual payoff is huge for such simple work. Those candy pumpkins look so cute nestled in the crushed cookie dirt.
- Set-up and clean-up are a breeze, which means more time for pumpkin carving and less time scrubbing pans.
- Kids absolutely adore assembling them. Getting to play with gummy worms cements this as a yearly tradition!
Essential Ingredients for Perfect Pumpkin Patch Dirt Cups
The ingredient list is so short, it almost feels like cheating! That’s the beauty of this no-bake dessert. We really only have two main components to worry about: the creamy layer and the crumbly dirt layer. But trust me, using the right type of pudding mix is key to making sure these set up fast. You don’t want soup instead of pudding when it’s time to layer!
For the Chocolate Pudding Base
You absolutely need the instant chocolate pudding mix here. The regular kind takes forever to set up, and we’re aiming for speed! Along with that, grab two cups of nice, cold milk. Using milk that’s too warm is the number one way people mess up pudding—it ends up thin, so make sure yours is straight from the fridge!
For the ‘Dirt’ and Decorations in Your Pumpkin Patch Dirt Cups
For the “dirt,” we use an entire package of those classic chocolate sandwich cookies. Don’t skimp on these! You’ll also need one full container of frozen whipped topping, but make sure it’s fully thawed. Everything else is just for show, but they make the theme pop. I always grab a handful of gummy worms and those little orange candy pumpkins. They’re technically optional, but I always say, if you’re making a pumpkin patch cup, you need the pumpkins!

Step-by-Step Instructions for Making Pumpkin Patch Dirt Cups
Putting these cups together is almost like playing in the sandbox, just tastier! Since it’s a no-bake recipe, the pace is super quick, but you still need to follow the order so everything settles nicely. The secret to that ultra-creamy pudding layer is all in how you treat the whipped topping!
Preparing the Pudding and Whipped Topping Mixture
First things first, mix up that instant chocolate pudding according to the directions using your cold milk. It thickens fast—you only need to let it sit for about five minutes after whisking. Don’t overdo the mixing here! Once it’s slightly set, you need to gently fold in the thawed whipped topping. I mean *gently*. You want to keep all those airy bubbles in the topping in the pudding, or it won’t be light and creamy. Use a spatula and just fold until you don’t see any white streaks left.
Creating the Cookie ‘Dirt’ for the Pumpkin Patch Dirt Cups
Now for the fun, noisy part! Take those chocolate sandwich cookies—you can find a great recipe for homemade ones if you’re feeling ambitious right here, but store-bought are perfect for this! Throw the whole lot in a sturdy zip-top bag. Grab a rolling pin—or heck, I sometimes just use the bottom of a sturdy mug—and crush them down. You’re aiming for a nice, fine texture that truly looks like loamy dirt, not fine powder. A few slightly bigger chunks are actually great for texture!
Layering and Decorating Your Pumpkin Patch Dirt Cups
Time to assemble our little gardens! Grab your clear cups or small jars so everyone can see the layers. Start with a good spoonful of the crushed cookies on the bottom. Then, spoon in a generous layer of your pudding mixture. Repeat that—dirt, then pudding. If you are using gummy worms, now is the time to press them into the top pudding layer. Stick them in at an angle so it looks like they are really crawling out of the earth! Finish the top layer with a sprinkle more dirt, and then place a couple of those adorable candy pumpkins right on top.
Chilling Time for Optimal Pumpkin Patch Dirt Cups
Resist the urge to eat them right away! These cups need at least 30 minutes in the fridge to chill properly. This short time lets the pudding firm up completely and allows the flavors to really meld together. They are so much better when they’re nice and cold, plus it keeps the candy decorations stable until serving time.
Expert Tips for Next-Level Pumpkin Patch Dirt Cups
While this is totally a “throw-it-together” dessert, a few little tricks can elevate it right out of the kiddie table territory and onto the main buffet! First, if you want a serious flavor boost, try brushing the cookie crumbs lightly with melted butter before you bake them—oh wait, this is no-bake! Okay, plan B: use high-quality chocolate cookies; they really make a difference in the richness of the “dirt.”
For presentation, ditch the standard clear cups sometimes. Have you ever tried using small, clean terracotta pots? It makes the whole pumpkin patch theme even more realistic! Just make sure you line them with a small piece of plastic wrap first, because we obviously don’t want dirt mixed with actual potting soil, haha! And if your pudding seems a little soft after the first 15 minutes of chilling, don’t panic. Give it another 15 minutes before you attempt to layer it again. Sometimes the whipped topping takes a second longer to incorporate fully.
Oh, and one last thing about making it look amazing: I sometimes take a few of the crushed cookies and mix them with maybe one teaspoon of melted butter, then sprinkle that mixture over the final pudding layer. It gives you that beautiful contrast where some “dirt” is compacted and some is loose. It’s a small detail, but it really makes the candy pumpkins stand out, just like in a great chocolate dessert!
Ingredient Notes and Substitutions for Pumpkin Patch Dirt Cups
I always get asked if you *have* to stick only to chocolate. Nope! This recipe is super forgiving, which is why it’s such a great emergency dessert. Remember those notes I mentioned about improvisation? They totally apply here, especially if you’re in a pinch and missing one ingredient.
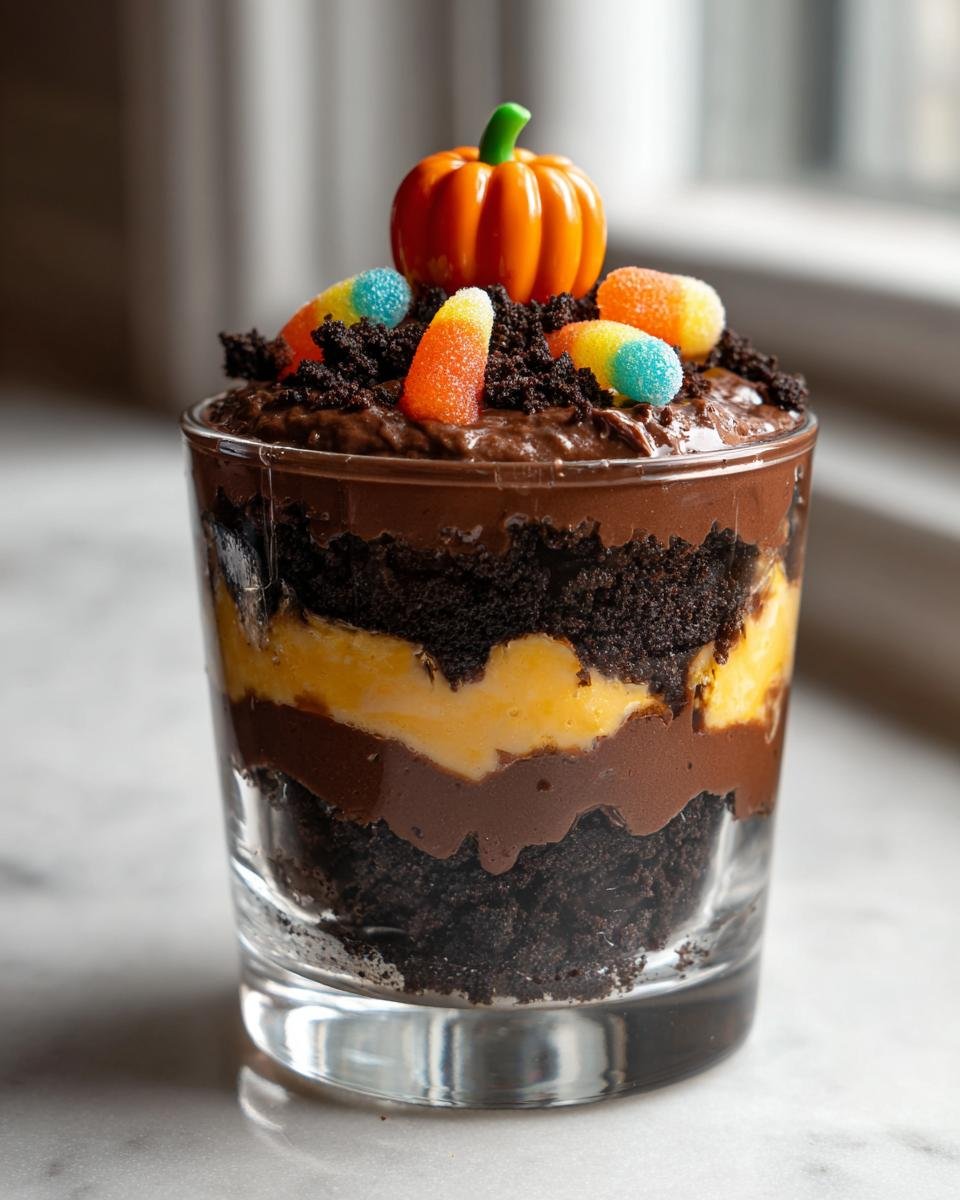
If you aren’t feeling the deep chocolate vibe, you can swap out the chocolate pudding mix entirely. My first suggestion is using vanilla pudding mix instead. But here’s the secret: add a few drops of orange food coloring to the vanilla base when you mix it with the milk. Suddenly, you have orange pudding underneath your brown dirt, which looks even *more* like a harvest scene! So cool, right?
Also, if you run out of the full chocolate sandwich cookies, don’t sweat it. You can totally use crushed chocolate wafers instead. Just know that wafers don’t have that middle filling, so your dirt might be slightly less rich in flavor, but it will still work perfectly fine for building those layers.
Serving Suggestions for Your Themed Pumpkin Patch Dirt Cups
These dirt cups are so vibrant, they really work for any casual fall gathering! Since they are rich with chocolate and that creamy pudding, I usually serve them as the grand finale after something savory but not too heavy. They are amazing after a big pot of chili or maybe some hearty fall soup. They are the perfect light-hearted finish.
For the grown-ups who might want something a little more spirited, these pair surprisingly well with a hot cup of coffee or a decadent mocha. I’ve even made a grown-up version where I skipped the gummy worms and made an amazing ultimate chocolate milkshake to go alongside, serving the cups on the side for texture. They are completely flexible, which is just one more reason they are in heavy rotation during October!
Storage and Make-Ahead Instructions for Pumpkin Patch Dirt Cups
Because we are dealing with dairy—the whipped topping and the milk in the pudding—these Strawberry Patch Dirt Cups are best when made the day you plan to serve them. If you assemble them the night before, the cookies start soaking up moisture from the pudding and turn a little soft around the edges. We want that crunchy texture contrasted with the smooth layer, right?
Generally, if you assemble them completely, they hold up well in the refrigerator for about 24 hours. Make sure they are tightly covered with plastic wrap or have tight-fitting lids so they don’t pick up any weird fridge smells! If you want to prep ahead, I strongly recommend keeping the components separate. Keep your pudding mixture sealed up tight, and store your crushed cookies in a dry container.
This way, about an hour before dessert time, you can quickly layer everything and pop those pumpkins on top. I haven’t had much luck freezing the assembled cups because the texture of the thawed whipped topping changes a bit, which is a shame. So, fresh is definitely best for this fun little treat!
Frequently Asked Questions About Pumpkin Patch Dirt Cups
I always get a flood of questions when fall rolls around because everyone wants this easy, fun recipe! I try to cover everything, but let’s tackle the big ones that always pop up about assembling this amazing no bake dessert.
Can I make these Pumpkin Patch Dirt Cups ahead of time?
You really shouldn’t assemble them more than a few hours ahead of time if you want that perfect texture. If you leave them overnight, the crushed cookies absorb too much moisture from the pudding and they lose that essential crunchy contrast. If you need to prep early, just mix the pudding/whipped topping layer and keep the crushed cookies stored separately in an airtight container. Then, assemble right before the party starts!
What is the best cookie to use for the ‘dirt’ in dirt cups?
Hands down, the classic chocolate sandwich cookies are the winner! They have the perfect dark color and a good crunch when crushed. If you’re totally out of those, don’t worry, you can absolutely substitute plain chocolate wafer cookies, like the ones used in traditional pudding desserts. Just note that wafers don’t have that creamy center, so the flavor might be slightly less intense, but it still works beautifully as the base for our little pumpkin patch dirt cups.
Are there ways to make this a healthier kids treat?
It’s tough because this is meant to be a fun, decadent treat, but I have a couple of quick tweaks if you’re worried! Instead of regular chocolate pudding, you can use sugar-free instant pudding. Also, use light whipped topping instead of the full-fat variety in the base. It still tastes great, and it cuts down on the overall fat and sugar content, making it feel a little less naughty for the little ones!
Nutritional Estimates for These Pumpkin Patch Dirt Cups
So, let’s talk about what’s actually in these glorious little creations, because while they are a treat, it’s good to know! Based on the standard ingredients I use (and remember, this is just an estimate because brands vary wildly!), here’s a quick look at what one serving contains. Don’t worry too much about it—it’s dessert, enjoy it!
- Serving Size: 1 cup
- Calories: 350
- Sugar: 45g (That’s where the fun is!)
- Fat: 16g
- Carbohydrates: 50g
- Protein: 5g
Just keep in mind that these numbers change depending on whether you use full-fat whipped topping or if you splurge on extra candy pumpkins for decoration. Treat this chart as a fun guideline, not strict science!
Print
Pumpkin Patch Dirt Cups
- Total Time: 15 min
- Yield: 6 servings 1x
- Diet: Vegetarian
Description
A simple, layered dessert resembling a pumpkin patch, made with chocolate pudding and crushed cookies.
Ingredients
- 1 package (3.9 oz) instant chocolate pudding mix
- 2 cups cold milk
- 1 container (12 oz) frozen whipped topping, thawed
- 1 package (14.3 oz) chocolate sandwich cookies
- 1/2 cup gummy worms (optional)
- Small candy pumpkins (optional)
Instructions
- Prepare the chocolate pudding according to package directions using the cold milk. Let it set for 5 minutes.
- Gently fold the thawed whipped topping into the prepared pudding until combined.
- Place the chocolate sandwich cookies into a large zip-top bag. Crush the cookies using a rolling pin until they resemble dirt.
- In clear cups or small jars, layer the ingredients. Start with a layer of crushed cookies, followed by a layer of the pudding mixture. Repeat the layers.
- If using, press a few gummy worms into the pudding layer so they look like they are coming out of the dirt.
- Top the cups with a few candy pumpkins.
- Chill the dirt cups for at least 30 minutes before serving.
Notes
- Use vanilla pudding and add orange food coloring for a different colored ‘dirt’ base.
- You can substitute crushed chocolate wafers for the sandwich cookies.
- Prep Time: 15 min
- Cook Time: 0 min
- Category: Dessert
- Method: No Bake
- Cuisine: American
Nutrition
- Serving Size: 1 cup
- Calories: 350
- Sugar: 45g
- Sodium: 320mg
- Fat: 16g
- Saturated Fat: 8g
- Unsaturated Fat: 8g
- Trans Fat: 0g
- Carbohydrates: 50g
- Fiber: 2g
- Protein: 5g
- Cholesterol: 15mg
Keywords: pumpkin patch, dirt cups, chocolate pudding, no bake dessert, kids treat