
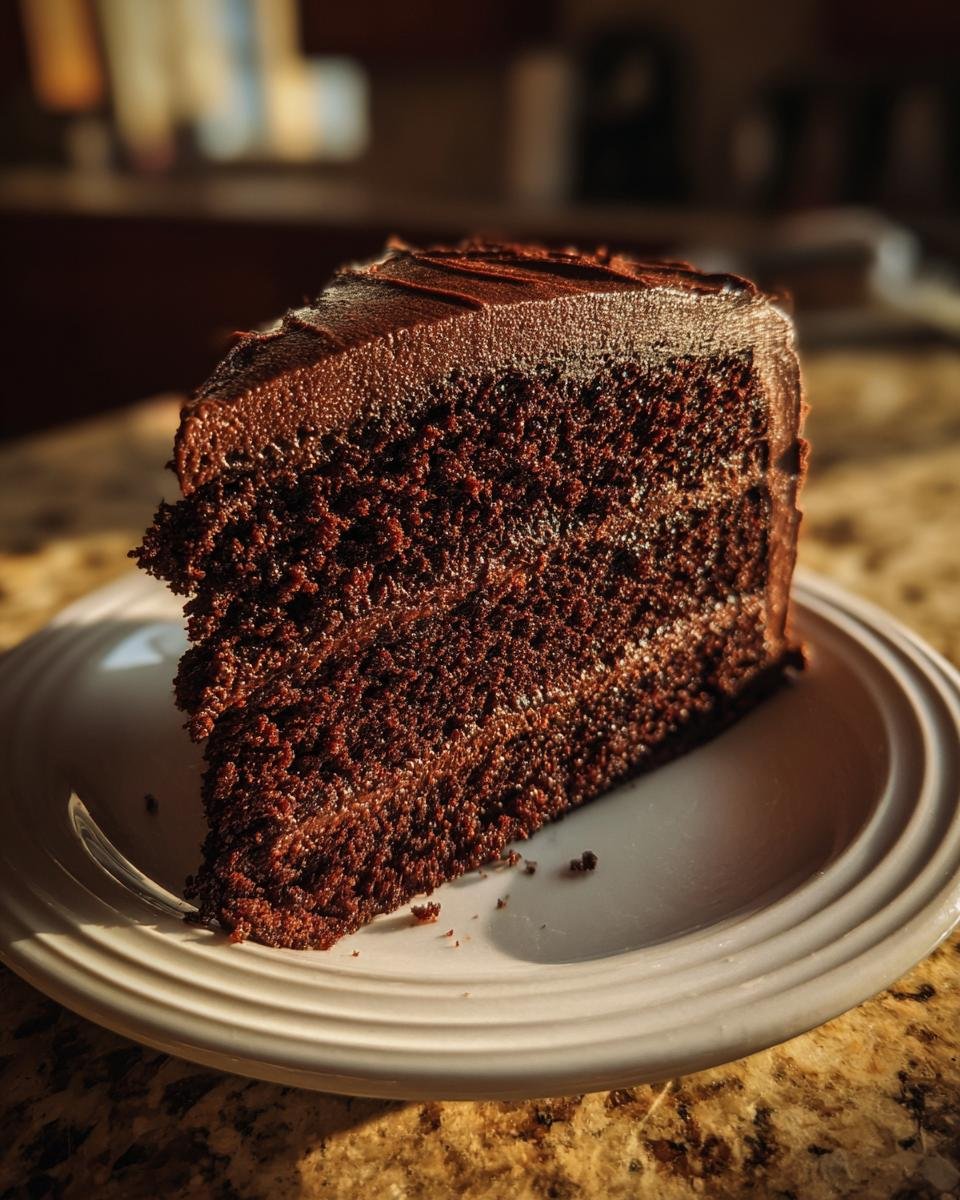
Oh my word, if you think you’ve had good chocolate cake, you haven’t met the real deal yet! We’re talking about the kind of decadent, rich, dark chocolate that makes you close your eyes and sigh—that’s what we’re baking today with my famous **Holy Cow Cake**. I’ve tried every chocolate recipe under the sun, but this one is the keeper. Seriously, this cake is almost impossibly moist without feeling heavy or greasy.
It’s the reliability that gets me every time. After years of testing and failing with crumbly layers, this recipe baked up perfectly, layer after beautiful layer, right from the very first attempt. It’s got that deep, almost fudgy texture that just screams ‘special occasion,’ but it’s so fast to whip up on a Tuesday night when a chocolate craving hits! Trust me, once you try this method, you’ll never look back.

Why This Holy Cow Cake Recipe Works So Well
Honestly, this **Holy Cow Cake** just blows the other chocolate cakes out of the water. It’s the recipe I grab when I need guaranteed success. I know you’ll love it because it’s just so reliable. People always ask me how I get it so dark and moist!
- It’s super fast! You’re looking at about 20 minutes of prep time total. Wow!
- The texture is just unreal—it’s impossibly smooth and stays that way for days.
- You can find every ingredient right in your pantry, no specialty store runs needed.
If you’re looking for another amazing layer cake, check out my guide for the perfect homemade chocolate cake—that one’s great too, but this one has that special *oomph*!
Quick Preparation for Your Holy Cow Cake
Seriously, the speed here is incredible. You truly only need about 20 minutes to get the batter ready for the oven. There’s no complicated creaming process or sifting required beforehand. You literally dump the dry stuff in one bowl, the wet stuff in another (mostly!), and then combine. Minimal cleanup means more eating time, which is always my goal!
Deep Chocolate Flavor in Every Holy Cow Cake Slice
This is where the real magic happens. We aren’t just using water when mixing the final batter; we are using something hot! Adding boiling water or, even better, freshly brewed hot coffee is what blooms the cocoa powder. It wakes up all those dark chocolate notes and makes the flavor turn three dimensions deeper. Don’t skip that hot step; it makes all the difference in this rich **Holy Cow Cake**.
Essential Ingredients for the Holy Cow Cake
Okay, let’s talk about what goes into this magnificent creation. The ingredient list for this **Holy Cow Cake** is surprisingly simple, which just proves you don’t need a dozen fancy things to make something amazing. Because the list is short, though, ingredient quality really matters. I always splurge a little on good, dark, unsweetened cocoa powder—avoid the Dutch process here, we want that robust, sharp chocolate flavor!
Here is exactly what you need to gather before you start:
- 1 3/4 cups all-purpose flour
- 3/4 cup unsweetened cocoa powder
- 2 teaspoons baking soda
- 1 teaspoon baking powder
- 1 teaspoon salt
- 2 cups granulated sugar
- 1 cup buttermilk
- 1/2 cup vegetable oil
- 2 large eggs (room temperature is best, if you remember!)
- 1 teaspoon vanilla extract
- 1 cup hot water or coffee (seriously, coffee wins!)
Don’t forget the prep work! You’ll need two 9-inch round cake pans, and you must grease and flour them well. This batter is thin, so we don’t want any sticking catastrophes!
Ingredient Notes and Substitutions for Holy Cow Cake
A lot of people ask me about the buttermilk because sometimes they just don’t have it on hand. If you’re out, don’t panic; I do this trick all the time! Just take a regular cup of milk—any kind—and stir in one tablespoon of white vinegar or lemon juice. Let it sit on the counter for about five minutes until it looks slightly curdled. That’s your buttermilk replacement, easy!
Also, remember that hot component? While water is fine, I highly, highly recommend using hot coffee. It doesn’t make the cake taste like coffee, I promise; it just supercharges that dark chocolate profile. It’s my secret handshake for any good cocoa-based dessert!
Step-by-Step Instructions to Bake the Holy Cow Cake
This is where the fun starts, and honestly, it’s almost foolproof. Follow these steps, and you’ll have a gorgeous layer cake ready for frosting. First things first: get that oven heating up to 350 degrees F (175 degrees C). While it’s warming, get those two 9-inch round pans prepped—grease them up good and dust them with a little flour!
We mix this using the ‘dump and mix’ style, which is so satisfying! Then, we trust the process, especially when the batter looks a little strange. If you’re curious about another great method, sometimes I use techniques similar to my chocolate olive oil cake, but this recipe sticks to a classic approach.
Mixing the Holy Cow Cake Batter
Grab a big bowl! Whisk all your dry things together first—the flour, cocoa, leaveners (baking soda and powder), salt, and all that sugar. You want this nice and uniform before you move on. Now, add in the wet stuff, but *not* the hot water yet! Dump in your buttermilk, oil, eggs, and vanilla extract. Get your electric mixer out and beat this for a solid two minutes on medium speed. This is important for developing structure!
Okay, here’s the weird part that always trips people up: the batter will be thin, almost like soup after the next step. Carefully, and I mean slowly, stir in that cup of hot water or coffee. Mix it just until it’s smooth! Don’t over-mix after the liquid goes in; we just want everything incorporated; that thin consistency is totally normal for this **Holy Cow Cake**.
Baking and Cooling Your Holy Cow Cake
Divide that runny-looking batter evenly between your two prepared pans. Pop them into that preheated oven and bake them for about 30 to 35 minutes. You know it’s done when you stick a wooden pick right into the center, and it slides out clean, maybe with just a few moist crumbs clinging on!
Resist the urge to turn them out immediately! Let those cakes relax in the pans on a cooling rack for exactly 10 minutes. After that brief rest, invert them carefully onto the rack to cool completely before you even think about frosting them. Patience here guarantees perfect layers!
Serving Suggestions for Your Holy Cow Cake
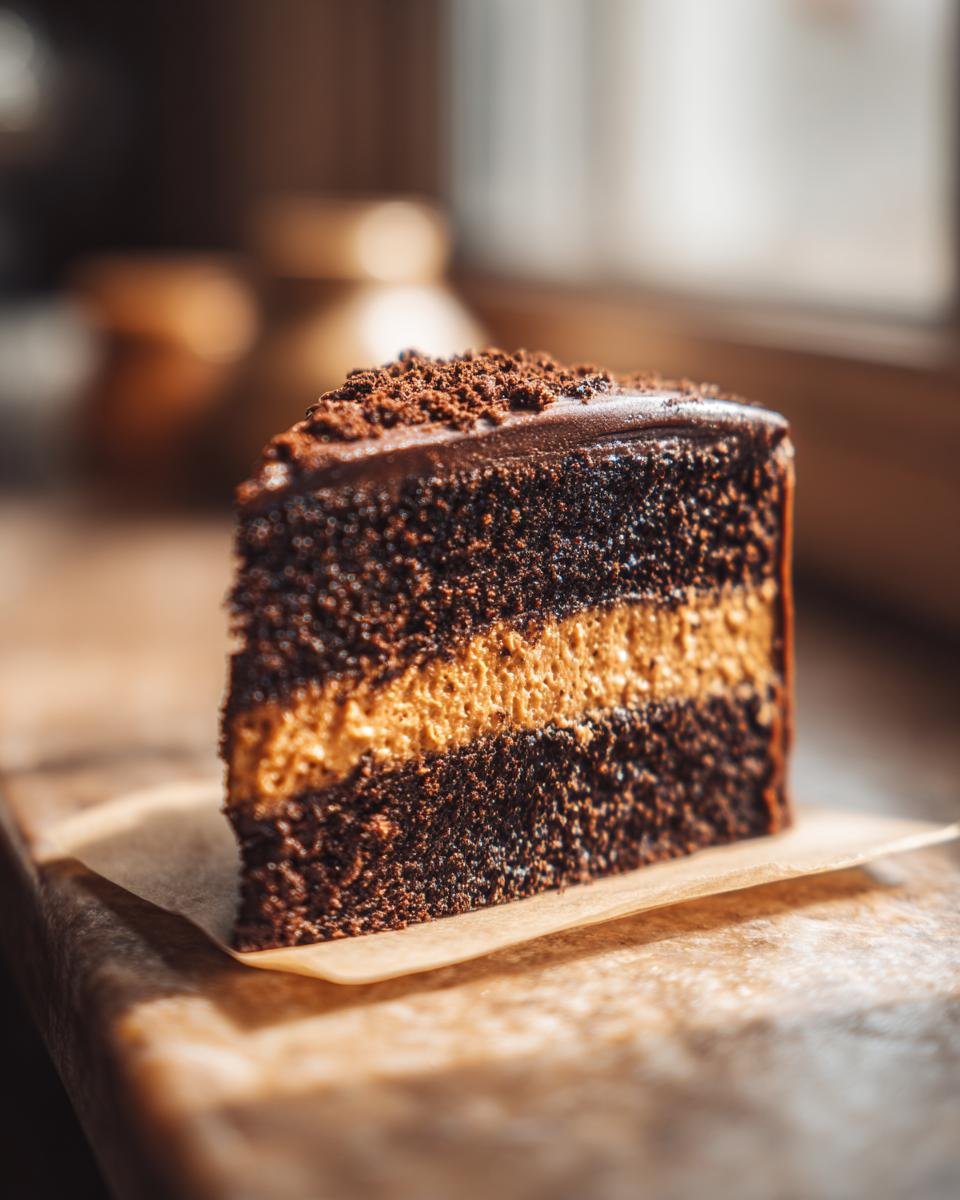
Now that you have these gorgeous, dark, moist layers, the question becomes: what are we slathering on top? Because this **Holy Cow Cake** is so intensely chocolatey, you have a couple of fantastic routes to take. You can either double down on the richness or go for a bright contrast!
My absolute favorite for special occasions is a classic, slightly tangy cream cheese frosting. The tang cuts through the deep cocoa beautifully, and it just feels luxurious. If you want something a bit lighter—perfect for a summer barbecue—you simply have to try making chocolate whipped cream. It’s amazing! You can find my recipe for the perfect chocolate whipped cream right here, and trust me, it pairs divine with this rich base.
If you’re keeping it simple, a thick layer of simple dark chocolate ganache poured over the top while still slightly warm makes the most incredible, shiny finish. Honestly, even just a healthy dusting of powdered sugar works wonderfully, letting that deep chocolate flavor really speak for itself without any contest!
Storage and Reheating Instructions for Holy Cow Cake
Since this **Holy Cow Cake** is so moist, it actually stays delicious longer than most cakes! How you store it depends entirely on if you’ve frosted it yet, so you have to plan ahead, especially if you’re the type of baker who likes to make layers ahead of time.
If your layers are cooled *completely* and you haven’t frosted them yet, wrap each one tightly in plastic wrap. I usually do two layers of plastic wrap to really make sure no air gets in. Store these wrapped, unfrosted layers at room temperature for up to two days. They are sturdier like this!
Once you frost them, they need to live in the fridge, especially if you used a cream cheese or dairy-based frosting. Keep them in an airtight cake carrier or container. Honestly, this cake is best eaten within four days of frosting. If you must keep it longer, wrap the slices individually and freeze them!
Best Way to Freeze Slices of Holy Cow Cake
Freezing is fantastic for easy desserts later. If you’re freezing frosted slices, wrap each individual slice tightly in plastic wrap first, then you can wrap them all together in aluminum foil—that double layer works wonders against freezer burn. They keep beautifully for about a month in the deep freeze.
Thawing and Reheating Tips
If you’re reheating a slice, the key is going slow. Always thaw frozen cake slices in the refrigerator overnight first. If you’re trying to revive a slice that’s been in the fridge for a few days and it seems a little firm, here’s my trick: pop a single slice on a microwave-safe plate and cover it loosely with a damp paper towel. Microwave it for just 10 to 15 seconds on about 50% power. That little burst of steam brings back that incredible softness this **Holy Cow Cake** is known for!
Troubleshooting Common Holy Cow Cake Issues
Even with the best recipe in the world, sometimes baking throws us a little curveball. Don’t worry if your **Holy Cow Cake** doesn’t look picture-perfect right out of the oven; usually, the cause is something we can easily fix or avoid next time! I’ve definitely had sinks and dry spots in my day, so let’s talk about how to prevent those little kitchen tragedies.
Why Did My Holy Cow Cake Sink in the Middle?
This is almost always related to leavening agents or oven temperature. If your cake sinks right after you pull it out, it probably set too fast on the outside but was still liquid raw batter in the dead center. Did you open the oven door before the 30-minute mark? That rush of cool air can cause a collapse instantly! Also, double-check your baking soda and powder amounts. Too much, and the cake rises too aggressively, then collapses under its own weight.
My Holy Cow Cake Seems Dry After Baking
If you taste it and it’s more dusty than divine, nine times out of ten, you overmixed it after adding the flour and liquids! When you beat that batter too long after the flour is in, you develop gluten, which results in a tougher, drier crumb. Remember when I said to mix until *just* smooth after adding the hot water? Stick to that! You want a smooth, thin batter, not a thick, overworked one.
The Cake Layers Stick to the Pan Even Though I Greased Them
Ugh, the worst feeling when you’re trying to invert that beautiful layer! Even if you grease and flour, sometimes sticky batters defy the odds. This is why I love the parchment paper trick, which I’ll talk about more in my full guide, but for this **Holy Cow Cake**, the culprit might be the chocolate itself. Cocoa powder can soak up fat strangely. Always make sure you use enough flour in your greasing job, or try making a quick cake goop!
Frequently Asked Questions About Holy Cow Cake
I get so many wonderful questions about this **Holy Cow Cake** recipe once folks try it! It’s wonderful to see everyone having success, but sometimes there are little tweaks people want to make for special situations. Here are the most common things folks ask me about making and serving this cake!
If you have other questions or maybe a favorite tip you found while baking, drop a note below. Everyone loves seeing new ways to enjoy this dessert!
Can I make this Holy Cow Cake recipe as cupcakes?
Oh yes, you absolutely can! Cupcakes are darling, and this batter makes the fluffiest little chocolate bombs. The main thing to remember is baking time. Since the heat gets to the center much faster in a cupcake liner than in a big layer cake, you’re going to need less time in the oven. I usually start checking mine around 18 to 20 minutes. They should puff up nicely, and the toothpick test is still your best friend here!
What is the best frosting for a rich Holy Cow Cake?
Because this cake is so deeply chocolatey and moist, you have a couple of options, depending on your mood! If you want to lean into the richness, you can’t beat a super dark chocolate ganache—it’s easy and elegant. However, my personal favorite for balancing out the deep cocoa is something a little bright or tangy. A fluffy peanut butter frosting works like a dream against that dark chocolate. If you want to keep it simple, just a nice swirl of vanilla buttercream is always classic!
How long does the Holy Cow Cake stay moist?
This is the best part! Thanks to the oil and the buttermilk, this cake is really well-hydrated. If it’s unfrosted and stored airtight, it stays just as moist as day one for about three days. Once it’s frosted, you’re looking at a solid four days, especially if you keep it cool. If you happen to have leftovers longer than that—which I doubt you will—just slice and freeze them right up. It’s great frozen, too!
Why does the recipe call for two minutes of mixing after adding eggs?
That two-minute beating time is key when you add the eggs, oil, and buttermilk to your dry ingredients, before the hot liquid goes in. That mixing step is what builds just enough necessary structure in the batter to hold all that moisture later on. Running the mixer for the full two minutes helps create those tiny air pockets that give your finished **Holy Cow Cake** that fantastic, stable crumb. Don’t cut that time short, or your cake might end up a little fragile!
If you want to check out another great recipe that uses simple techniques for amazing flavor, take a peek at my guide for the chocolate poke cake. It’s a totally different texture but uses cocoa powder so well!
Estimated Nutritional Data for Holy Cow Cake
I know some of you are curious about what you’re diving into when you make a piece of this decadent **Holy Cow Cake**! Since this is a rich, deep chocolate cake, we know it’s a special treat, but knowing the numbers can sometimes help us plan those delicious moments.
Please remember that these figures are based directly on the ingredients listed in the recipe—flour, sugar, oil, cocoa, etc.—and assume you’re cutting 12 perfectly even slices. If you frost it with a heavy buttercream, those numbers are going up, just a friendly warning!
Here is the estimated breakdown for one slice of my glorious **Holy Cow Cake**:
- Serving Size: 1 slice
- Calories: 350
- Sugar: 40g
- Sodium: 300mg
- Fat: 15g
- Saturated Fat: 3g
- Unsaturated Fat: 12g
- Trans Fat: 0g
- Carbohydrates: 50g
- Fiber: 3g
- Protein: 5g
- Cholesterol: 45mg
The good news is that we are staying clear of any trans fats, and the fat content is nicely balanced with unsaturated fats thanks to that vegetable oil we used! Enjoy a slice—you’ve earned it after baking such a masterpiece!
Share Your Holy Cow Cake Creations
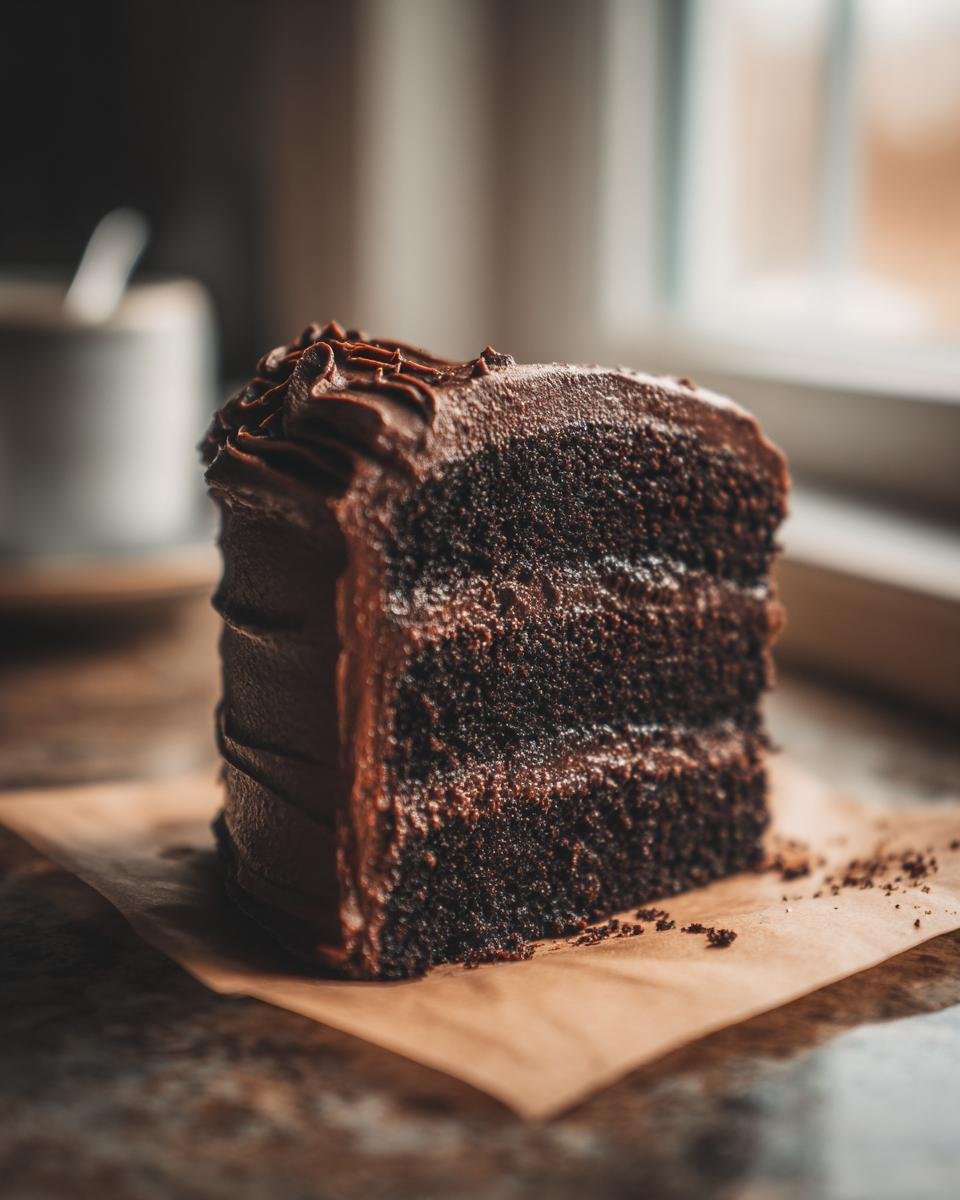
Now that you’ve pulled that stunning, dark, moist **Holy Cow Cake** out of the oven, I absolutely need to see them! Honestly, seeing your finished bakes is the best part of sharing recipes online. Did it come out taller than expected? Are you paired with an amazing homemade frosting? I want to know everything!
Please, please hop down to the comments section below and let me know how it went for you. Tell me what frosting you chose! If you tried the hot coffee trick—was it as amazing as I promised?
It would mean the world to me if you gave this recipe a quick star rating right after you’ve tasted it. Your feedback helps other bakers decide if they should make this chocolate showstopper next. If you run into any trouble or just want to send appreciation, you can always reach out through the contact page too!
Print
Holy Cow Cake
- Total Time: 55 min
- Yield: 12 servings 1x
- Diet: Vegetarian
Description
A rich chocolate cake recipe.
Ingredients
- 1 3/4 cups all-purpose flour
- 3/4 cup unsweetened cocoa powder
- 2 teaspoons baking soda
- 1 teaspoon baking powder
- 1 teaspoon salt
- 2 cups granulated sugar
- 1 cup buttermilk
- 1/2 cup vegetable oil
- 2 large eggs
- 1 teaspoon vanilla extract
- 1 cup hot water or coffee
Instructions
- Preheat your oven to 350 degrees F (175 degrees C). Grease and flour two 9-inch round cake pans.
- In a large bowl, whisk together the flour, cocoa powder, baking soda, baking powder, salt, and sugar.
- Add the buttermilk, oil, eggs, and vanilla extract to the dry ingredients. Beat with an electric mixer on medium speed for two minutes.
- Carefully stir in the hot water or coffee until the batter is smooth. The batter will be thin.
- Pour the batter evenly into the prepared pans.
- Bake for 30 to 35 minutes, or until a wooden pick inserted into the center comes out clean.
- Let the cakes cool in the pans for 10 minutes before inverting them onto a wire rack to cool completely.
- Frost as desired.
Notes
- Using hot coffee instead of hot water deepens the chocolate flavor.
- Buttermilk can be substituted with regular milk mixed with one tablespoon of white vinegar or lemon juice, left to sit for five minutes.
- Prep Time: 20 min
- Cook Time: 35 min
- Category: Dessert
- Method: Baking
- Cuisine: American
Nutrition
- Serving Size: 1 slice
- Calories: 350
- Sugar: 40g
- Sodium: 300mg
- Fat: 15g
- Saturated Fat: 3g
- Unsaturated Fat: 12g
- Trans Fat: 0g
- Carbohydrates: 50g
- Fiber: 3g
- Protein: 5g
- Cholesterol: 45mg
Keywords: chocolate cake, holy cow cake, cocoa, layer cake, dessert