
Listen, I don’t care what the supermarket aisle tells you—that sugary, canned topping just doesn’t cut it! If you want that dreamy, cloud-like texture that melts perfectly on your tongue, you absolutely have to make it yourself. And let me tell you, this recipe for **Chocolate Whipped Cream** is the absolute easiest, quickest way to get there. Seriously, five minutes tops!
I remember when I first started baking for big family events. I was so stressed about whipping cream because I thought it was finicky. But this method? It never fails. We always top my famous gooey chocolate lava cakes with a generous dollop of this stuff. It adds just the right touch of airy sweetness without being too heavy. I promise, once you nail this simple, reliable technique, you’ll never look at a can opener again. It’s the best homemade topping, guaranteed!
Why This Easy Chocolate Whipped Cream Recipe Works So Well
Okay, so why am I always pushing homemade whipped cream over the stuff in the pressurized can? It comes down to quality and control. We’re talking about texture here, folks. This recipe proves that spectacular results don’t need complicated steps or fancy stabilizers. You get a richer, fresher flavor that just can’t be matched by anything mass-produced.
We’ve streamlined the process so you can whip up this delicious cocoa topping in minutes. It’s about making your desserts feel special without spending ages hovering over the mixer. If you need the perfect dollop for your homemade brownies or want to turn a simple hot cocoa into an event, this is your go-to fix! We’ve even got my favorite way to use this cream for an amazing chocolate boost mentioned over here: blended into a milkshake.

Quick Preparation Time for Your Chocolate Whipped Cream
I love this because it takes practically no forethought. We’re clocking in at about five minutes total from starting the mixer to admiring the finished product. That means if you suddenly decide dessert needs whipped cream, you can have it ready before the coffee even cools down. It’s perfect for those spur-of-the-moment treats!
Achieving Perfect Stiff Peaks Every Time
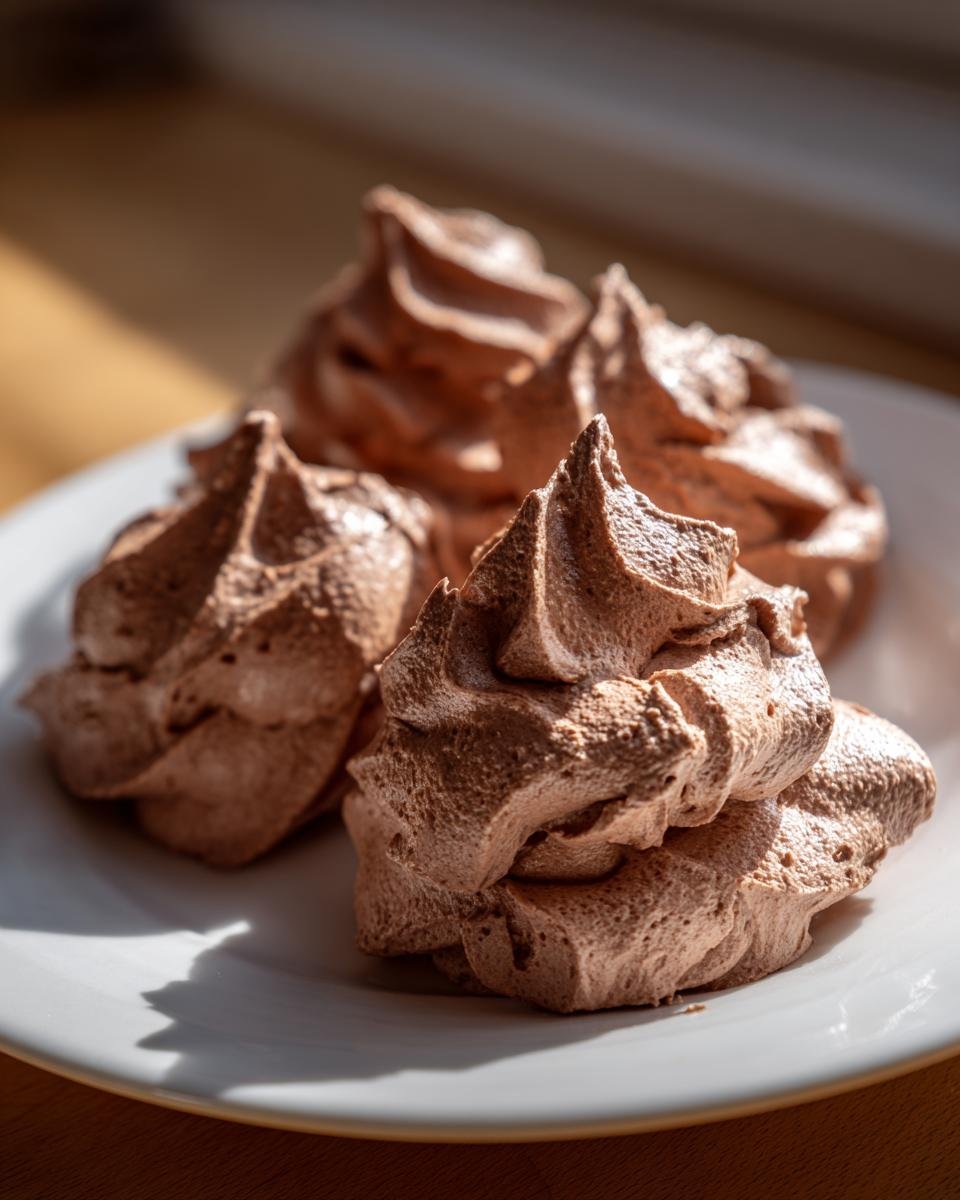
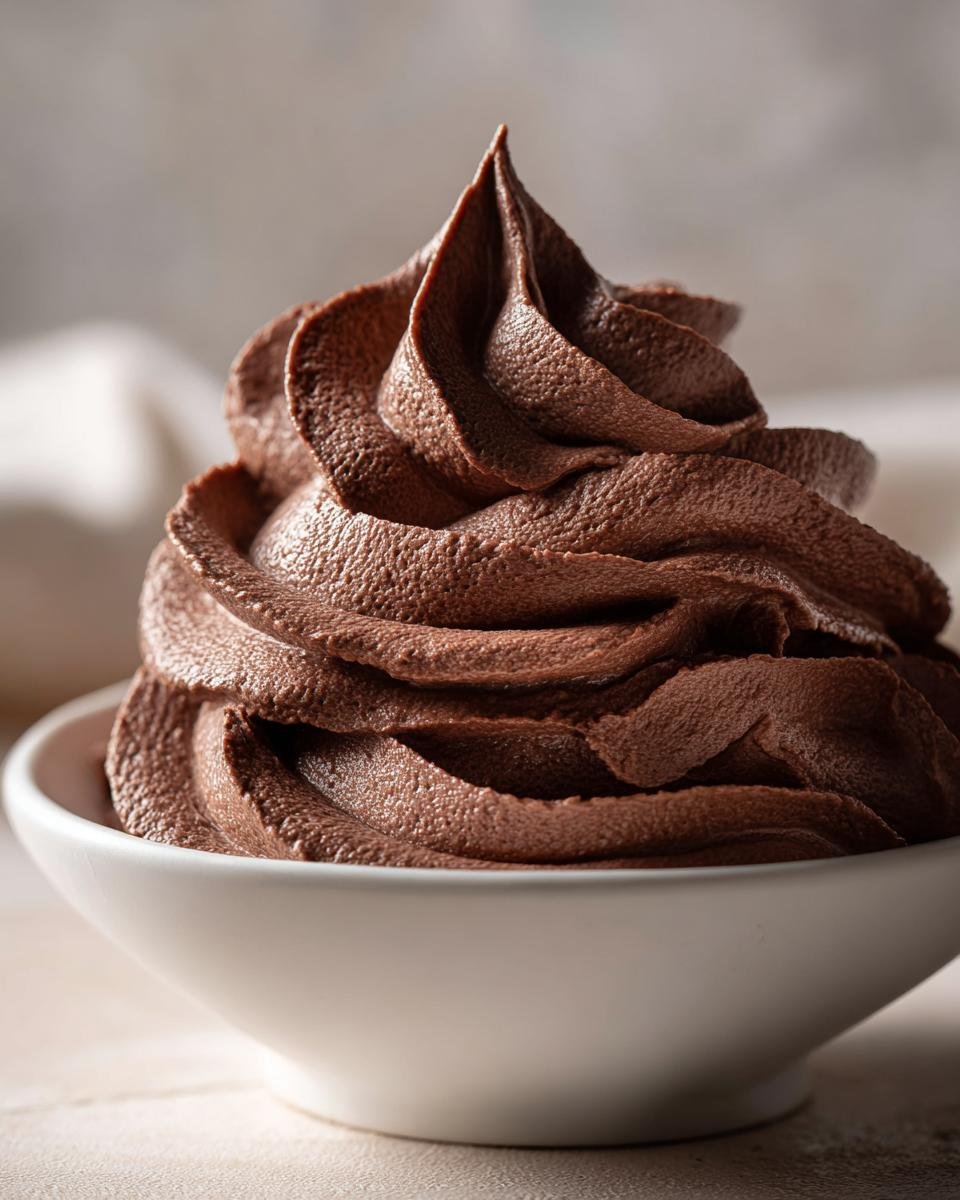
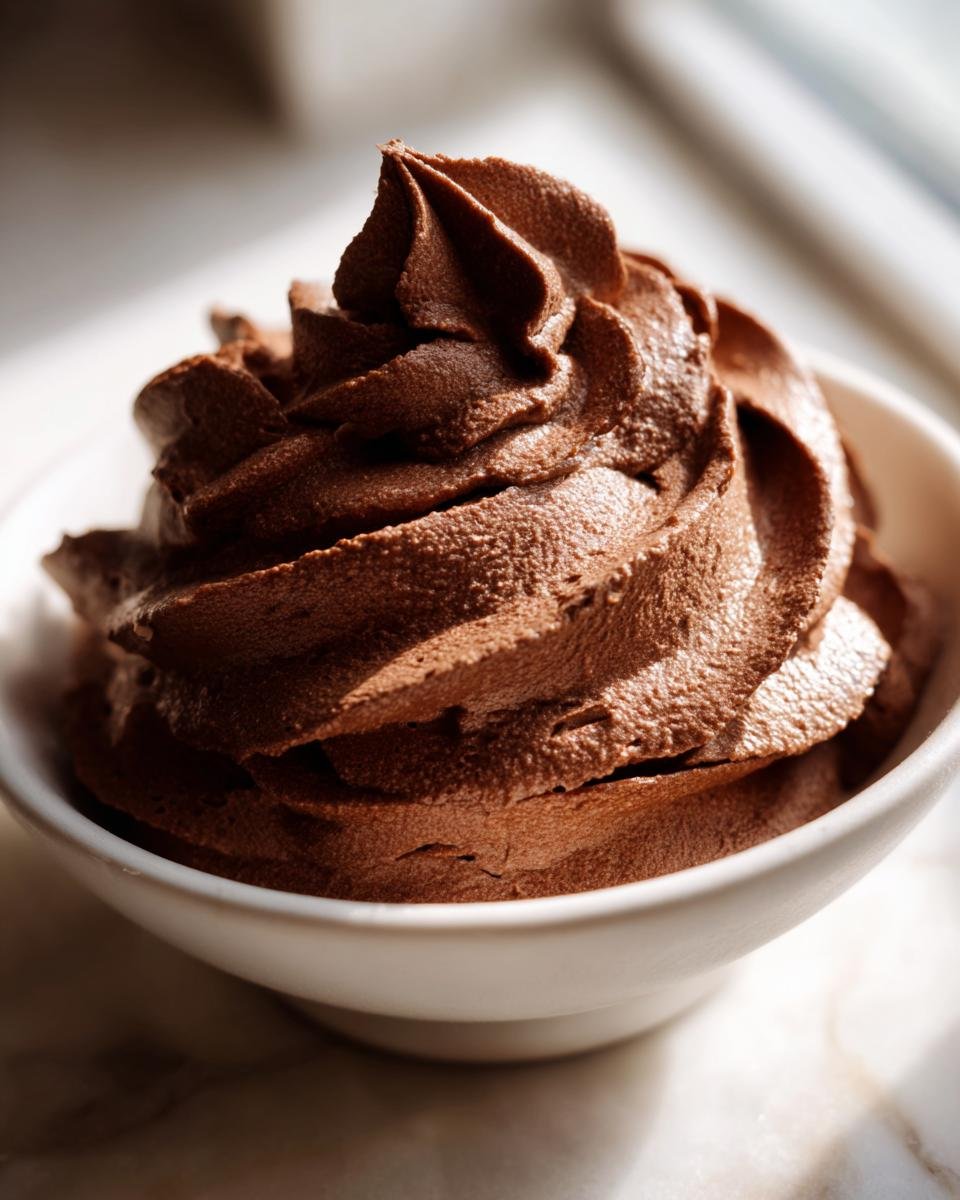
The beauty of this recipe is how reliable the texture is. We use just the right balance of fat and air, which means you get strong, gorgeous stiff peaks. That fluffy body lets you pipe beautiful rosettes or stack it high without worrying about it slumping five minutes later. It holds its shape like a champ!
Essential Ingredients for Perfect Chocolate Whipped Cream
The beauty of homemade whipped cream is that it relies on pure, simple ingredients. You don’t need any weird stabilizers or additives here! But listen closely, because success hinges on getting these elements exactly right, especially their temperature. We are only using four things, but each one plays a specific role in creating that light, chocolatey cloud you want.
If you go swapping things out here, you might end up with thin soup, and nobody wants chocolate soup on their slice of pie! Trust me, stick to these measures, and you’ll get the perfect result every single time.
Ingredient Specifics and Preparation
The list is short, but the details matter immensely. Remember, we need everything ready to go before we even turn the mixer on. First up, you absolutely must use 1 cup of heavy whipping cream, and it needs to be ice cold. I mean straight from the back of the fridge cold!
For sweetness and stability, we are using 2 tablespoons of powdered sugar—and please, don’t reach for the regular granulated sugar! The cornstarch in the confectioner’s sugar is what helps keep those beautiful peaks firm. Next, for that gorgeous brown tone and deep flavor, measure out 2 tablespoons of unsweetened cocoa powder. Finally, don’t forget 1/2 teaspoon of vanilla extract; that’s the quiet little flavor booster that makes everything taste richer!
Expert Tips for Making the Best Chocolate Whipped Cream
Okay, now we get into the nitty-gritty that separates a decent batch of whipped cream from a truly remarkable one. Anyone can dump stuff in a bowl, but if you want that professional-level stability and fluffiness, you need to pay attention to a couple of secrets I learned the hard way. These tips are essential for building Authoritativeness when it comes to homemade cream. This moves you from amateur to whip master, trust me!
The Importance of Chilled Equipment
This is non-negotiable, so please don’t skip it! Before you even look at your mixing bowl, you need to put that bowl and your whisk attachment (if you’re using an electric mixer) into the freezer for at least ten minutes. Why? Heat is the enemy of fat stabilization. Cold metal keeps the cream temperature down during the whipping process. If the bowl starts warm, the cream heats up too fast, and you’ll end up churning butter instead of making fluffy **Chocolate Whipped Cream**. Chilled equipment helps the fat molecules lock onto the air bubbles much faster, giving you speed and a much more stable final product.
Adjusting Cocoa Powder for Flavor Intensity
Maybe you like things intensely dark and rich, or maybe you just want a whisper of chocolate flavor. The beauty here is you have total control! My recipe calls for two tablespoons, but feel free to experiment once you nail the base technique. If you want a stronger chocolate punch, try upping it to three tablespoons. Just like with any dry addition, though, add it slowly!
If you dump in too much extra cocoa powder, you’re adding dry powder that sucks moisture away from the cream, and you might find your peaks won’t set right. If you do add more cocoa, you might need an extra tiny sprinkle of powdered sugar to compensate. Always taste as you go, but remember, the cocoa flavor intensifies slightly as it chills, anyway!
Step-by-Step Instructions for Fluffy Chocolate Whipped Cream
Alright, grab your chilled bowl because this is where the magic really happens! Since we’ve already prepped our ingredients and made sure our bowl isn’t warm—hopefully you put it in the freezer like I told you!—we are ready to move fast. This process is so quick that you have to stay right by the mixer. Seriously, if you walk away for even 60 seconds, you risk deflating all that gorgeous air we’re trying to incorporate. That’s why I love this recipe; it respects your time!
We’re going to build this cream slowly, layer by layer. If you want some reading material while you wait, check out my tips on making super fluffy baked goods while your cream sets up: this gluten-free recipe is surprisingly light!
Combining Ingredients and Initial Mixing
First things first: dump everything in! That means the cold heavy cream, the powdered sugar, the cocoa powder, and the vanilla extract all go into your super-cold mixing bowl. Now, I cannot stress this enough: start your mixer on the absolute lowest speed setting. If you start high, you create a cocoa dust cloud that will coat your entire kitchen in brown powder—trust me, I learned that the hard way years ago!
Keep it on low just until those powders disappear into the liquid cream and everything looks uniformly gray-brown. This takes maybe 30 seconds, but it’s vital to avoid messes and under-mixed ingredients later on.
Whipping to Stiff Peaks: Timing and Warning
Once everything is combined, crank that speed up to medium-high. Now you watch! You need to keep beating for about 3 to 5 minutes, depending on the power of your mixer. You’ll see the cream start to thicken up substantially around the two-minute mark. Keep going until you reach stiff peaks. How do you know when you hit that perfect stage? Stick your whisk straight up into the cream. If the peaks stand up straight and the tip doesn’t curl over even slightly when you pull the whisk out, you’re done! If the peaks look glossy and hold their shape when you tilt the bowl, that’s stiff peak perfection for this **Chocolate Whipped Cream**.
Warning: Over-beating is the downfall of all whipped cream! If you keep going past stiff peaks, the structure breaks down, and you’ll see the edges start to look grainy, leading straight to butter territory. Stop immediately when those peaks stand tall!
Serving Suggestions for Your Homemade Chocolate Whipped Cream
Alright, now that you’ve got this glorious, airy topping, we need to talk about where to put it! This isn’t just for coffee, though a spoonful in your morning cup is heaven. Because it’s so light and holds its shape so well, it’s fantastic for stacking things high. Seriously, think dramatic layers!
It’s phenomenal on anything warm, like a fresh piece of pie or even just a simple bowl of berries. Last week, I used a big swirl of this on my homemade strawberry shortcake, and everyone asked if I bought it from a fancy bakery. For weekend mornings, you absolutely must try piling it high on light, fluffy pancakes instead of plain old whipped cream. It elevates everything instantly!
Storing Leftover Chocolate Whipped Cream
Oh, the bittersweet moment when you have extras! Because we didn’t add heavy stabilizers or gelatin to this recipe, our pure **Chocolate Whipped Cream** is going to deflate faster than the store-bought stuff once it gets warm. But don’t fret, saving it is easy if you follow a couple of common-sense rules.
The first thing you have to do is get it cold, fast. Do not leave it sitting on the counter while you clean up the rest of the kitchen! Transfer whatever you didn’t use immediately into a clean, airtight container. Make sure you press a piece of plastic wrap directly onto the surface of the cream before sealing the lid. This prevents air from cracking the top and makes sure it doesn’t soak up any weird fridge smells.
You can generally expect it to last well for about two days in the refrigerator. By day three, that beautiful, airy volume starts to shrink pretty noticeably. If it looks a little sad and deflated when you pull it out, don’t throw it away! Just pop that container back onto your stand mixer, use a paddle attachment if you have one (or a whisk), and give it a super quick 10-second whip on low speed. It usually sucks right back up and regains most of its fluffy texture. It’s like magic, only it’s science!
Frequently Asked Questions About Making Whipped Cream
I know you love digging into the details just as much as I do! When it comes to whipping cream, people always have the same little hang-ups about texture and stability. Don’t worry about it! I’ve gathered up the most common questions I get about achieving that perfect homemade **Chocolate Whipped Cream**, so you can feel totally confident the next time you step up to the mixer.
Can I use regular sugar instead of powdered sugar for this Chocolate Whipped Cream?
Oh, I really wish you could, but please don’t try it! If you use granulated sugar, you’ll end up with a grainy texture that never quite dissolves properly into the cold cream. More importantly, the regular sugar doesn’t bring the tiny bit of cornstarch that powdered sugar contains. That cornstarch is our secret little helper that absorbs excess moisture and helps those beautiful peaks stay stiff and dreamy—it’s crucial for a good cocoa topping!
How can I make this Chocolate Whipped Cream more stable for piping?
Since this recipe is all about speed and simplicity, it’s not really designed for holding intricate piping over many hours. But if you know you need extra staying power for a big cake, you can add a tiny stabilizer. A great way is to whip one ounce of cold, soft cream cheese into the heavy cream right when you start mixing. That adds structure! Alternatively, a teaspoon of unflavored gelatin dissolved in a tablespoon of hot water (then cooled slightly) will lock everything in place without much flavor change.
What is the difference between soft peaks and stiff peaks?
This is the biggest separator between good whipped cream and great whipped cream! Soft peaks form first; when you lift the whisk, the cream forms a peak, but the tip immediately curls over onto itself like a gentle wave. That’s perfect for folding into mousse or stirring into a hot chocolate. Stiff peaks are what we are aiming for here; the peak stands straight up completely when you pull the whisk out, holding its shape firmly. That means the air is locked in perfectly, giving you that gorgeous, voluminous dollop for topping desserts!
Estimated Nutritional Data for This Recipe
I always get asked about the nutrition, especially since this is such a lovely treat! Now, you have to remember that this is just a quick guide. Since we’re using real cream and real sugar, the final numbers can change depending on the specific brand of heavy cream you buy or if you decide to add more cocoa powder like I suggested earlier.
Think of this as a helpful ballpark estimate, not a strict lab result! I’m basing these numbers on the precise amounts listed in the recipe for a 1/4 cup serving size. It’s good to know what you’re enjoying, right?
- Serving Size: 1/4 cup
- Calories: Approximately 150
- Sugar: 8 grams
- Fat: 15 grams (with about 9 grams being saturated fat—that’s the richness coming from the heavy cream!)
- Carbohydrates: 9 grams
- Protein: 2 grams
- Sodium: Very low, around 10mg
So there you have it! It’s rich, yes, because it’s heavy cream, but it’s also incredibly satisfying because it’s homemade and fresh. Enjoy it guilt-free, knowing exactly what went into making that amazing **chocolate whipped cream**!
Share Your Chocolate Whipped Cream Creations
That’s it! You’ve mastered the easiest, creamiest batch of homemade **Chocolate Whipped Cream**! Now, the best part of sharing a recipe is seeing what you all do with it. Seriously, I love when you tell me how it transformed your Sunday dinner or how your kids went crazy for it on their brownies.
If you made this and it blew your expectations away (and I know it did!), please take a second to leave me a star rating right here on the page. It helps other home cooks like you find these reliable recipes! And, if you snapped a picture of your perfectly piped swirl or your massive dollop on top of a slice of pie, tag me on social media. I love seeing those gorgeous textures!
Don’t be shy! If you have any lingering questions after reading all that, or maybe you tried a secret ingredient swap I didn’t mention, drop a comment below. We bakers have to stick together! If you need to get in touch directly about anything else, my contact page is always open here: Send me a message. Happy whipping, everyone!
Print
Simple Chocolate Whipped Cream
- Total Time: 5 min
- Yield: About 2 cups 1x
- Diet: Vegetarian
Description
A quick recipe for making light and airy chocolate flavored whipped cream.
Ingredients
- 1 cup heavy whipping cream, cold
- 2 tablespoons unsweetened cocoa powder
- 2 tablespoons powdered sugar
- 1/2 teaspoon vanilla extract
Instructions
- Place the heavy whipping cream, cocoa powder, powdered sugar, and vanilla extract into a chilled mixing bowl.
- Using an electric mixer, start beating the mixture on low speed until the ingredients are combined.
- Increase the speed to medium-high.
- Beat until stiff peaks form, which usually takes 3 to 5 minutes. Do not overbeat.
- Use immediately or store in the refrigerator.
Notes
- Chill your mixing bowl and whisk attachment in the freezer for 10 minutes before starting for best results.
- Adjust the amount of cocoa powder for a stronger chocolate flavor.
- Prep Time: 5 min
- Cook Time: 0 min
- Category: Dessert Topping
- Method: Whipping
- Cuisine: American
Nutrition
- Serving Size: 1/4 cup
- Calories: 150
- Sugar: 8
- Sodium: 10
- Fat: 15
- Saturated Fat: 9
- Unsaturated Fat: 6
- Trans Fat: 0
- Carbohydrates: 9
- Fiber: 1
- Protein: 2
- Cholesterol: 50
Keywords: chocolate whipped cream, homemade whipped cream, cocoa topping, dessert topping, easy cream