
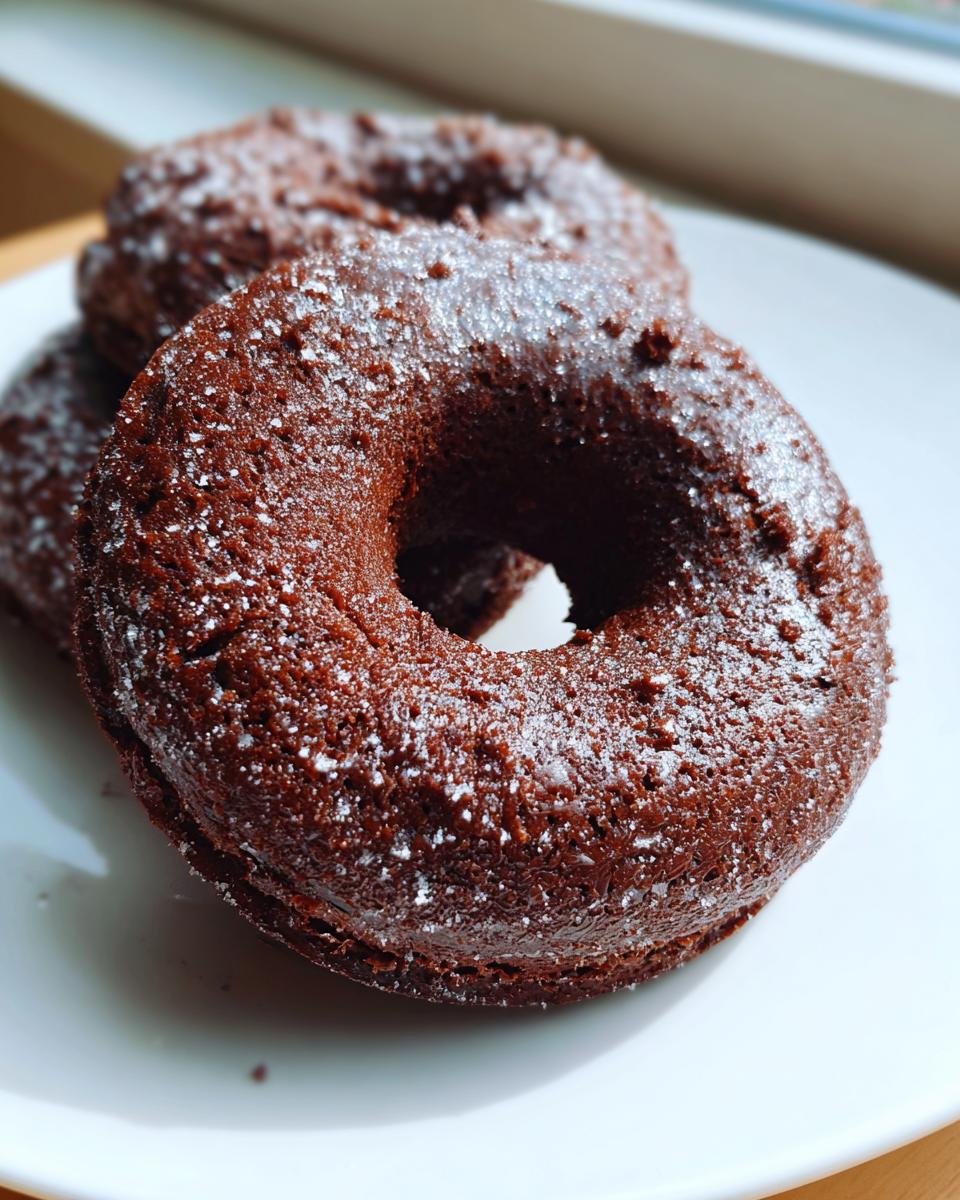
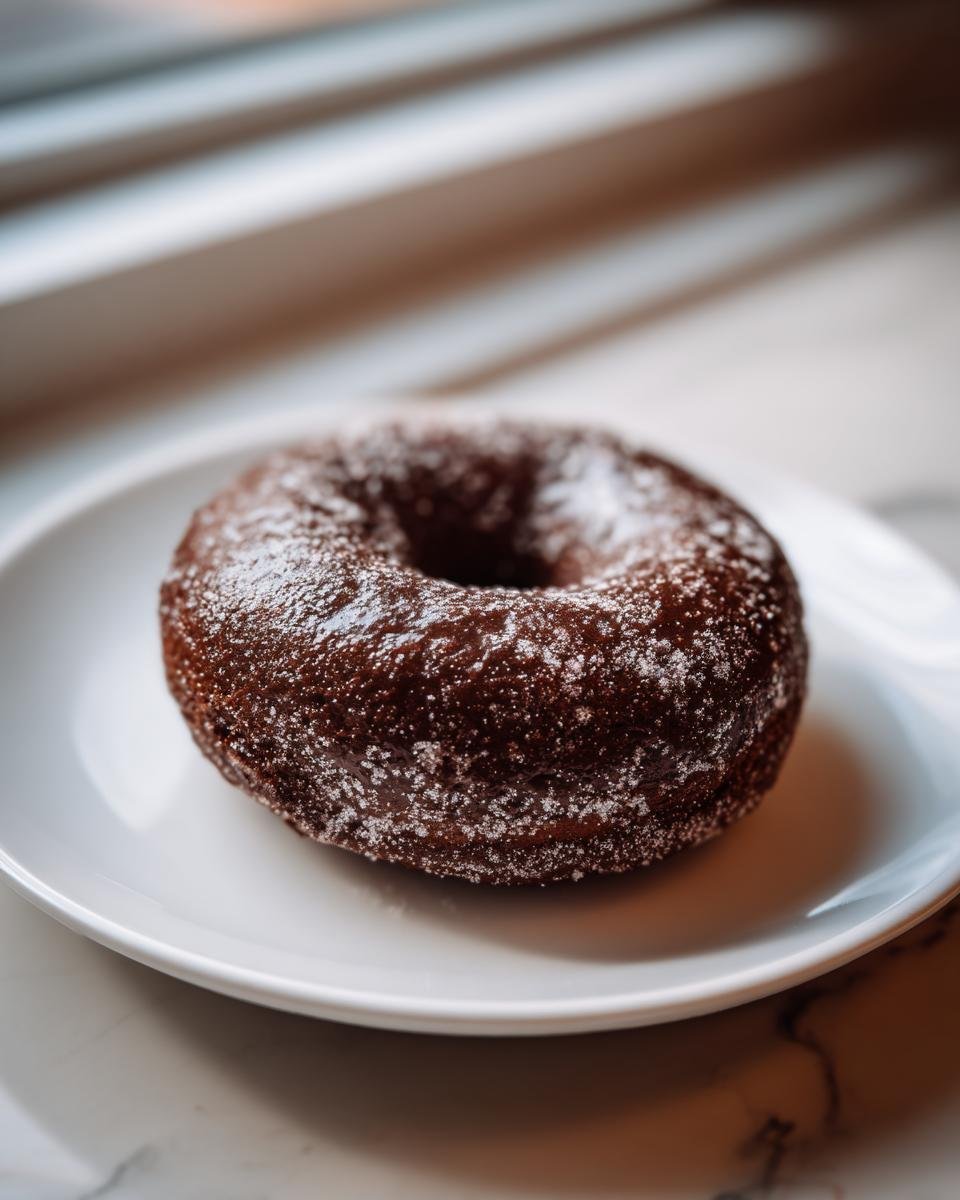
There is just something about making a batch of fresh doughnuts at home that feels like the ultimate kitchen victory, isn’t there? Forget the drive-thru rush! I’m showing you how to master the easiest, softest, most wonderfully decadent **Chocolate Doughnuts** without needing yeast or crazy proofing times. This recipe is my go-to when a serious chocolate craving hits hard, usually around 3 PM on a Tuesday, honestly.
We are using simple pantry ingredients to whip up these cake-style beauties, and they come together so fast you’ll barely have time to make coffee before they’re ready for frying. Seriously, the reward-to-effort ratio here is off the charts. Trust me, once you smell that fresh cocoa aroma filling your kitchen, you’ll never go back to the store-bought stuff.
Why This Recipe for Chocolate Doughnuts Works So Well
When people see homemade doughnuts, they often think it’s a marathon, but this recipe for **Chocolate Doughnuts** is a weekend sprint! I love that we get amazing flavor without the fuss.
- The payoff is huge for such little time invested.
- They have that perfect dark chocolate flavor that makes you close your eyes when you bite in.
- Plus, if you fry them right, they are tender, not chewy—and that’s how you know you nailed it! See how we keep them fluffy over here: fluffy and tasty donuts.
Quick Preparation for Homemade Chocolate Doughnuts
Seriously, this is fast food at its best. You only need about 20 minutes of prep time before we even think about heating the oil. We mix the dry stuff, mix the wet stuff, dump it together, and boom—dough ready for cutting! It’s the prime way to get these amazing **Chocolate Doughnuts** on the rack quickly.

Achieving the Perfect Texture
The secret sauce here really is restraint. When measuring the flour and cocoa, you want to mix them just until you stop seeing white streaks. If you go crazy beating it, you develop the gluten too much, and instead of a soft, melt-in-your-mouth cake texture, you end up with something tough. Nobody wants a tough doughnut!
Essential Ingredients for Perfect Chocolate Doughnuts
Okay, grab your mixing bowls, because these ingredients are straightforward, and that’s part of why I love this recipe so much. No exotic stuff needed, just pantry staples ready to turn into amazing **Chocolate Doughnuts** and satisfy that cocoa craving instantly. I always lay everything out first because when the oil is hot, you don’t want to be scrambling for the measuring cup!
Here’s what you need for this easy mix. If you look at my favorite chocolate mug cake recipe, you’ll notice some of these friends hanging out there too, which means less grocery shopping! Check out chocolate mug cake bliss for a similar vibe!
- Two cups of regular all-purpose flour—nothing fancy needed here.
- A half cup of unsweetened cocoa powder. Make sure it’s unsweetened, or your doughnuts will be way too sweet!
- One teaspoon of baking soda and just a half teaspoon of salt to balance out all that chocolate richness.
- One cup of granulated sugar, your sweet backbone.
- One large egg to bind everything up nicely.
- One cup of milk and one teaspoon of vanilla extract for moisture and flavor depth.
- And finally, lots of vegetable oil for frying; you’ll need about two inches deep in your pot.
Don’t forget the powdered sugar if you decide to glaze them later!
Step-by-Step Instructions to Make Your Chocolate Doughnuts
Alright, time to make magic happen! Remember, this isn’t like making bread where you have to knead forever. We are aiming for tender **Chocolate Doughnuts**, which means mixing is kept to a minimum. Don’t worry if you’ve never fried anything before; I’ll walk you through the oil part safely. If you want to check out my tips on getting fries perfectly crispy (same oil rules apply!), you can look at those secrets right here: perfectly crispy recipe.
We go from mixing bowl to hot oil in under 20 minutes, which is just wild.
Mixing the Dough for Chocolate Doughnuts
First things first: dry ingredients! In your biggest bowl, grab a whisk and combine everything that’s powdery. That’s your flour, the cocoa powder (make sure it’s not clumpy!), the baking soda, and the salt. Whisk that until it looks uniform—no big pockets of soda hiding in there.
Now, for the liquids. In a separate, smaller bowl, combine your sugar, the single egg, milk, and that gorgeous vanilla extract. Give that a quick whisk just until the sugar starts dissolving a bit.
Here’s the most important moment regarding texture for your **Chocolate Doughnuts**: very gently pour the wet mixture into the dry. Fold it together with a spatula. I mean *fold*. Stop mixing the second you can’t see any more dry flour streaks. Overmixing is the enemy of light, fluffy cake doughnuts, so trust me on this one—a few lumps are totally fine!
Frying Technique for Golden Chocolate Doughnuts
Safety check time! You need about two inches of vegetable oil in a very sturdy, deep pot. Get that oil heating up on the stove until it hits exactly **350 degrees Fahrenheit (175 degrees Celsius)**. This temperature is critical; too low and they soak up oil and get greasy; too high and they burn on the outside before the center cooks. Use a kitchen thermometer, please!
Next, roll out your dough to about half an inch thick. Use your favorite cutter—a simple round one works perfectly for classic **Chocolate Doughnuts**.
When the oil is ready, slowly and carefully lower just two or three doughnuts at a time into the hot fat. Don’t crowd the pot; we need that oil temperature to stay steady! They only need about **1 to 2 minutes per side**. They cook fast! You’ll see them turn a lovely rich brown. Use a slotted spoon to scoop them out gently and set them on paper towel-lined racks to drain off any extra oil for a minute or two.
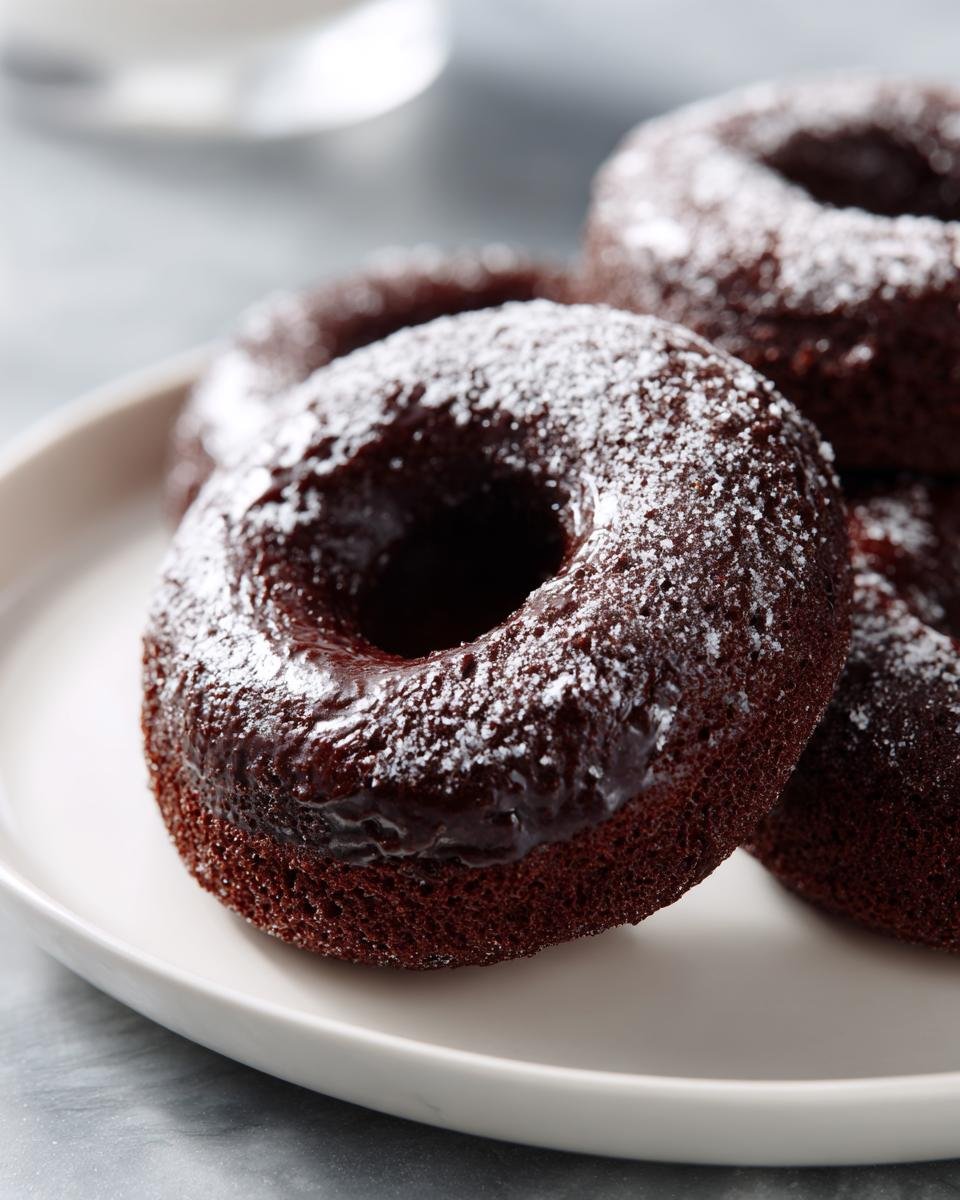
Glazing Your Chocolate Doughnuts (Optional)
Okay, you have two choices here once those beauties have cooled down a bit. You can totally eat them plain—they are chocolatey and delicious just as they are, straight off the rack. But if you want that classic coffee-shop shine, we need a glaze!
This glaze couldn’t be simpler. Seriously, it’s a kid-can-make-this situation. You need about a cup of powdered sugar in a bowl. Then, start adding a tiny bit of liquid—I use milk, but water works too—and whisk quickly. You are looking for a consistency that is thick enough to coat the doughnut but still runny enough to drip smoothly off your spoon. If it looks like thick paint, you’re getting close!
Here is the major pro-tip that saves you from a sticky mess: your doughnuts absolutely *must* be completely cool before you dip them. If you try to dip a warm doughnut, two things happen: the glaze melts right off into a thin, watery mess, and you end up with sticky, gooey fingers that won’t wash clean for hours. Wait until they are just room temperature or cooler.
Dip the top surface gently into the glaze mixture and lift immediately. Don’t try to coat the sides too much, or it gets gloppy. Set them back onto that wire rack. If you want to make the glaze even more exciting, I sometimes stir in a drop of vanilla or even a tiny splash of coffee (I found this recipe idea that uses chocolate cream, which sounds divine, maybe check out chocolate whipped cream for inspiration!). Let them sit for about 20 minutes so that glaze hardens up into a nice, soft shell.
Alternative: Baking Your Chocolate Doughnuts
Now, I know not everyone has deep fryers or loves working with hot oil—totally fair! If you want a slightly lighter version of these delicious **chocolate doughnuts**, you absolutely can bake them instead of frying. It’s a wonderful option to have in your back pocket.
You’ll still mix up the batter exactly the same way—don’t skip the ‘don’t overmix’ rule, even for baking! But instead of dropping them into the oil, you’ll need a proper doughnut pan. Silicone pans are my favorite because they let the batter slide right out, but metal works fine too if you grease and flour it really well first.
Preheat your oven to **350 degrees Fahrenheit (175 degrees Celsius)**. Fill those doughnut wells about two-thirds full. Seriously, don’t overfill, or you’ll get chocolate blobs instead of rings!
They bake surprisingly fast! You are looking at about **10 to 12 minutes**. Start checking them right at the 10-minute mark by gently touching the top. If it springs back softly, they are done! Pull them out, let them cool in the pan for just a few minutes, and then gently transfer them to a rack. If you bake them, they won’t need to drain after frying, which is a nice bonus!
Tips for Making the Best Chocolate Doughnuts Every Time
Now that you’ve mastered the mix and the fry, let’s talk about those details that make the difference between an *okay* doughnut and a legendary one. Consistent technique is how you guarantee perfect **Chocolate Doughnuts** every single time you step into the kitchen. I learned these the hard way, so you don’t have to!
The biggest mistake people make when frying is letting the oil get lazy. You need heat stability!
- Keep That Oil Happy: Always use a thermometer. If you drop too many doughnuts in at once, the oil temperature drops fast, and guess what happens? Greasy, heavy **Chocolate Doughnuts**. Fry in small batches of two or three maximum so the oil can recover quickly between dips.
- Don’t Touch the Dough Too Much: I preached this before, but it bears repeating. Once you combine wet and dry, stop stirring! We are making cake doughnuts here, which means the structure relies on those tiny air bubbles created by the baking soda, not a strong gluten network. Tough doughnuts are the result of too much mixing.
- The Paper Towel Drainer: I know it’s tempting to just set the finished doughnuts on a plate, but please use a wire rack set over paper towels. If you put them directly on paper towels, the steam gets trapped underneath, and the bottom of your beautiful **Chocolate Doughnuts** gets soggy instantly. A rack allows air circulation underneath while the towels catch the oil drips.
- Dough Chill Time: If your dough is super sticky after mixing, chill it for 15 minutes before rolling it out. A cold dough is much easier to handle when you’re cutting out the shapes. It stops the dough from stretching when you lift it, which can ruin the structure’s height. If you want to explore an amazing yeast dough recipe that requires patience but yields incredible results, you should definitely check out this donut dough guide!
Storing Leftover Chocolate Doughnuts
Okay, let’s talk about the inevitable—what happens if you actually have leftovers? Which, if I’m being honest, rarely happens in my house, but I promise I plan ahead just in case!
These are cake-style doughnuts, so unlike yeast doughnuts, they don’t rely on being perfectly airy straight from the fryer. However, because they were just fried, they are best eaten the very day you make them. That first day, they are unbelievably tender and soft. After about 24 hours, you might notice they firm up a tiny bit, especially if they were glazed.
Keeping Them Fresh at Room Temperature
If you have any left over, keep them out of the refrigerator! I know, it sounds weird, but putting a doughnut in the fridge is like putting bread in the fridge—it dries out faster and gets that stale, hard texture we absolutely hate. Nope, not doing that here.
Instead, you want an airtight container, but here’s the trick: don’t pack them in there like sardines. If you stack glazed ones, you’ll end up with a melted blob on the bottom. I try to keep them in a single layer, maybe separated by a square of wax paper if I must stack two high. Store them on the counter away from any direct sunlight or heat vents. They should stay reasonably good for two days this way.
Waking Up Day-Old Doughnuts
If they are a day old and feeling a little stiff, don’t toss them! We can bring them back to life almost instantly, especially if they weren’t glazed. You can zap them in the microwave for about 8 to 10 seconds. Just long enough to warm the fat and soften the crumb again. Watch them closely; 12 seconds is pushing it, and 15 seconds turns them into hot chewing gum!
If you glazed them, be super careful with the microwave, as the glaze will get sticky and runny fast. For the unglazed ones, a quick 10-second zap and they taste almost freshly made. If you want to keep them longer than two days, you’re better off freezing them. Wrap them tightly in plastic wrap first, and then pop them into an airtight freezer bag. They thaw out perfectly well on the counter when needed!
Frequently Asked Questions About Homemade Chocolate Doughnuts
I know when I’m trying a new recipe, I always have a few lingering thoughts before digging in. It’s totally normal! These little questions are usually what separate a good batch of **homemade doughnuts** from a truly great one. Here are the questions I get asked most often about this recipe for **Chocolate Doughnuts**.
Let me give you the straight scoop so you can get frying without any worry! For even more dessert inspiration, you can look at some other wonderful sweet ideas over here: sweet sinaloan doughnuts.
Can I use cake flour instead of all-purpose flour for these chocolate doughnuts?
That’s a smart question! Cake flour has a lower protein content, which means yes, using it would technically give you an even softer crumb structure than the all-purpose flour this recipe calls for. However, I developed this recipe specifically with AP flour because it’s what everyone has on hand, and even without the cake flour, the texture is tender because we aren’t overmixing. So, AP flour works perfectly well for these **Chocolate Doughnuts**, but if you feel like experimenting, cake flour will make them slightly finer!
What is the best oil to use for frying homemade doughnuts?
When you’re dealing with any kind of **fried dough**, the oil is everything! You absolutely must use a neutral oil with a high smoke point. This means an oil that won’t break down or start smoking when it hits those 350 degrees we need for frying. Vegetable oil is my default choice because it’s cheap and works great, just like in the recipe. Canola oil is another fantastic option if you have that! Stay away from olive oil or anything with a strong flavor, as it will definitely taint the taste of your **homemade doughnuts**.
How can I make sure my chocolate doughnuts are not greasy?
This is the #1 fear people have about frying, and it all comes down to one thing: temperature stability. If your oil isn’t hot enough when you drop the dough in, the uncooked doughnut sits there soaking up oil until it’s heavy and greasy, which is exactly what we don’t want! You need that oil snappy hot—**350°F (175°C)**—so the outside seals up instantly and cooks quickly inside. Once they are done, make sure you give them a solid minute to drain on a wire rack (not directly on paper towels!) so any excess oil drips away before you even think about glazing!
Share Your Chocolate Doughnuts Creations!
That’s it! You’ve made it through the mixing, the frying (safely, I hope!), and maybe even the glazing! Now comes the fun part: eating them all! Honestly, nothing makes me happier than knowing someone else out there is enjoying a warm, fresh batch of **Chocolate Doughnuts** I helped them make.
I really, *really* want to see what you come up with! Did you stick to the simple powdered sugar dusting? Did you get brave and add sprinkles to the wet glaze? Did you use those cute little doughnut cutters, or did you just free-hand some circles?
Please, please, please leave a comment below telling me how they turned out! A star rating helps other bakers decide to try this simple recipe too. If you snapped a photo of your beautiful fried dough, tag me on social media—I love seeing your kitchen victories! Seriously, hearing from you brightens my whole week. I’m always tinkering and looking for new ideas, so feel free to tell me your modifications, too. If you have questions that I missed, drop them in the comments section near the FAQ, or just shoot me a line through my contact page!
Print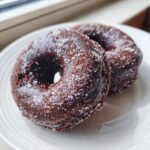
Simple Chocolate Doughnuts
- Total Time: 35 min
- Yield: 10 servings 1x
- Diet: Vegetarian
Description
A recipe for making basic chocolate doughnuts at home.
Ingredients
- 2 cups all-purpose flour
- 1/2 cup unsweetened cocoa powder
- 1 teaspoon baking soda
- 1/2 teaspoon salt
- 1 cup granulated sugar
- 1 large egg
- 1 cup milk
- 1 teaspoon vanilla extract
- Vegetable oil for frying
- 1 cup powdered sugar for glaze (optional)
Instructions
- Whisk together the flour, cocoa powder, baking soda, and salt in a large bowl.
- In a separate bowl, mix the granulated sugar, egg, milk, and vanilla extract.
- Add the wet ingredients to the dry ingredients and mix until just combined. Do not overmix.
- Heat about 2 inches of vegetable oil in a deep pot to 350 degrees Fahrenheit (175 degrees Celsius).
- Roll the dough out to about 1/2 inch thickness and cut out doughnut shapes using a cutter.
- Carefully place doughnuts into the hot oil, frying 2-3 at a time.
- Fry for about 1-2 minutes per side until golden brown.
- Remove doughnuts with a slotted spoon and place them on a wire rack lined with paper towels to drain excess oil.
- If glazing, whisk powdered sugar with a small amount of milk or water until smooth, then dip the cooled doughnuts into the glaze.
Notes
- For cake-style doughnuts, you can bake them instead of frying at 350 degrees Fahrenheit (175 degrees Celsius) for 10-12 minutes.
- Cool the doughnuts completely before applying a glaze.
- Prep Time: 20 min
- Cook Time: 15 min
- Category: Dessert
- Method: Frying
- Cuisine: American
Nutrition
- Serving Size: 1 doughnut
- Calories: 250
- Sugar: 20
- Sodium: 150
- Fat: 14
- Saturated Fat: 4
- Unsaturated Fat: 10
- Trans Fat: 0
- Carbohydrates: 30
- Fiber: 2
- Protein: 4
- Cholesterol: 30
Keywords: chocolate doughnuts, homemade doughnuts, fried dough, cocoa dessert