
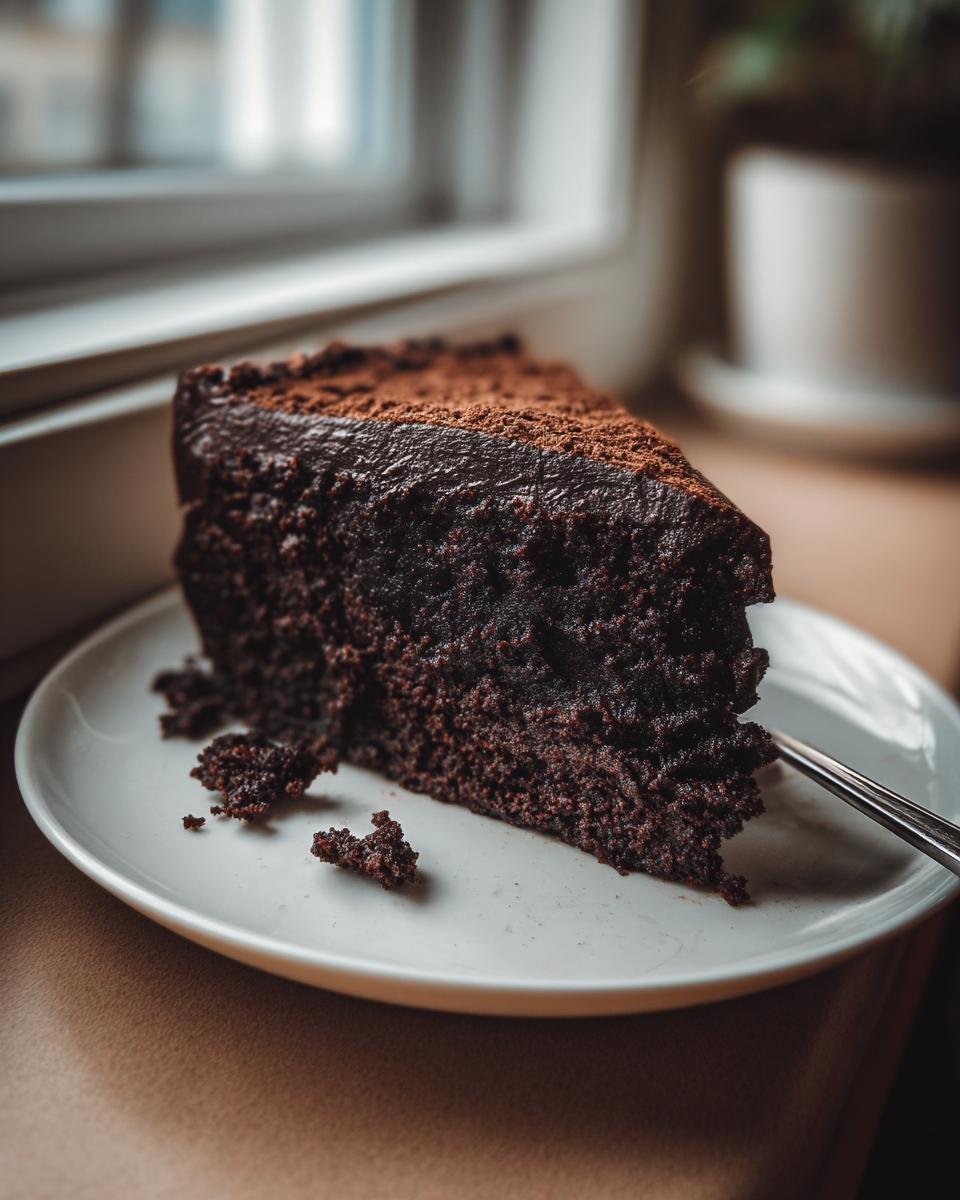
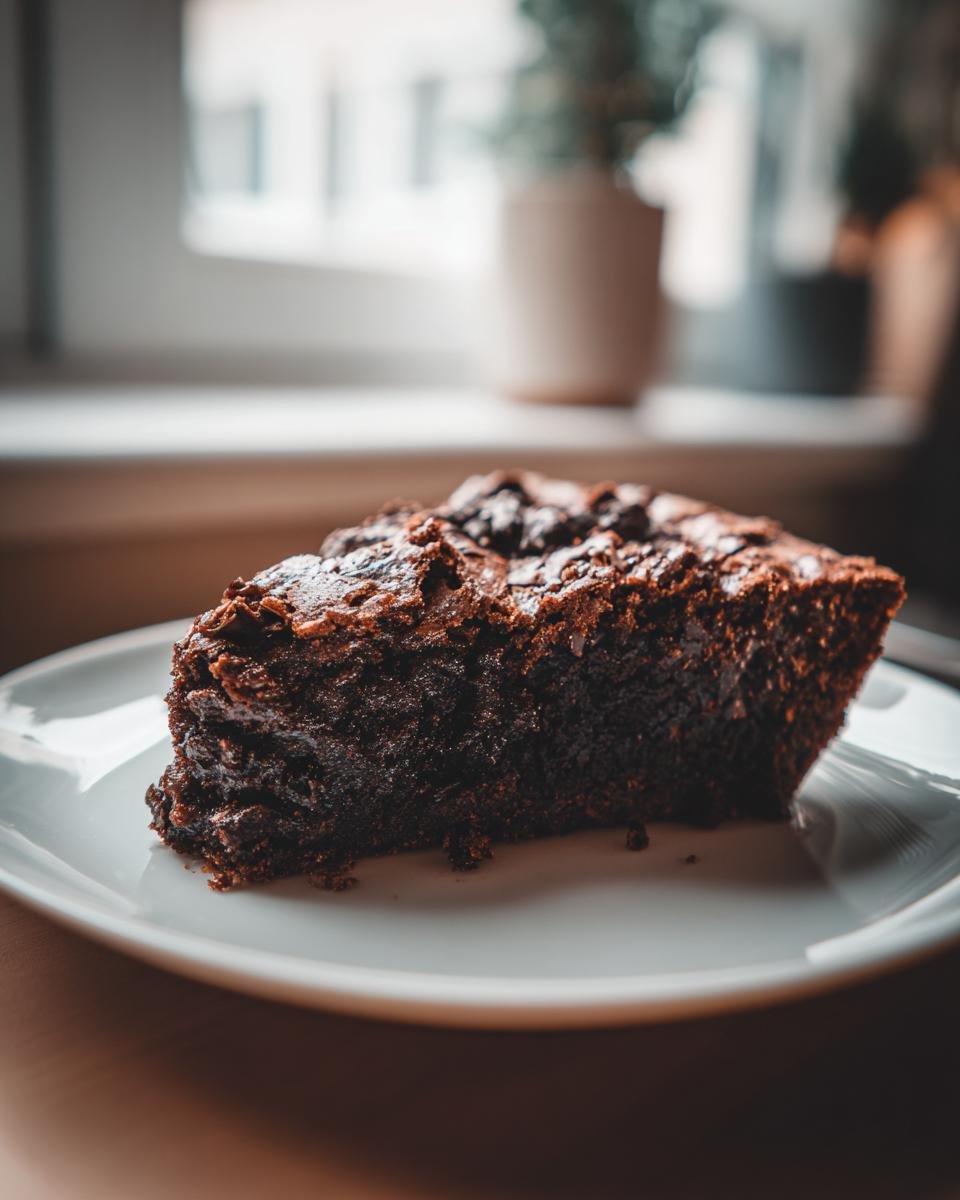
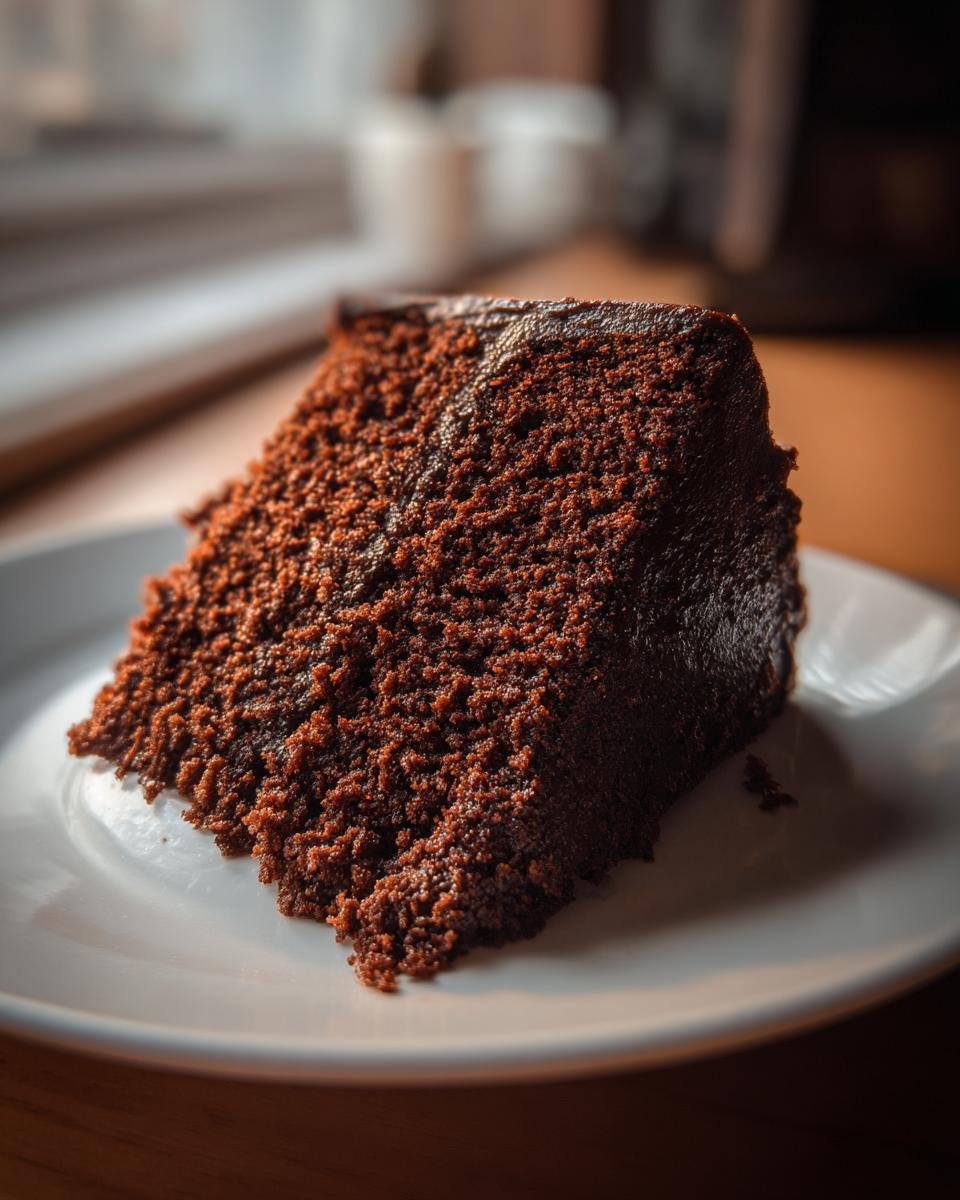
Forget everything you think you know about chocolate cake. We’re not talking about sweet, fluffy things here; we’re talking about serious, dark, decadent indulgence that hits you right in the soul. This, my friends, is the recipe for the ultimate, moist **Chocolate Doom Cake**. It’s the one cake I turn to when regular chocolate just won’t cut it. Seriously, the first time I made this, my partner stopped mid-sentence while talking because the smell of intense cocoa filled the room! It’s shockingly easy to whip up, even with that dramatic name, and it has become our go-to for every celebration because it stays perfectly tender for days.
Why This Chocolate Doom Cake Recipe Works So Well
There are a million chocolate cake recipes out there, right? But this one is truly special. It’s not just about dumping everything in a bowl; it’s about a few chef tricks that make all the difference. Seriously, every time I make this **Chocolate Doom Cake**, people ask me if I bought it from a fancy bakery. Nope! It’s down to the ingredients and the order we combine them.
Here’s the quick rundown on why this recipe delivers that dark, moist perfection every single time. Trust me, you’ll want to remember these little secrets because they stop chocolate cakes from ever being dry again.
The Secret to Intense Chocolate Flavor in Your Chocolate Doom Cake
This is the biggest game-changer, hands down. We use hot water or, better yet, hot brewed coffee at the very end. When the liquid is hot, it wakes up the cocoa powder, which we call ‘blooming.’ It dissolves the cocoa particles so you get a much deeper, richer chocolate flavor that you just can’t get by mixing in cold ingredients.
I always grab the strong, dark cocoa powder because it makes this **Chocolate Doom Cake** look truly dark, almost black. The hot liquid makes the flavors sing! It’s genius, really.

Achieving Unmatched Moisture with Buttermilk
Another non-negotiable ingredient here is buttermilk. I know some people skip it, but don’t! Buttermilk is acidic, and that acid reacts beautifully with the baking soda we’ve added. This reaction creates tons of tiny CO2 bubbles which give the final crumb its incredible tenderness.
If you don’t have it, make the substitution I mention later, but the tanginess of the actual buttermilk really balances out how rich the chocolate is. It prevents the cake from tasting flat and keeps it unbelievably moist for days. It makes a huge difference in the final texture!
Essential Ingredients for Your Chocolate Doom Cake
Okay, let’s talk about what actually goes into this beast of a cake. You need good ingredients because this **Chocolate Doom Cake** demands respect! Since we aren’t hiding behind tons of frosting, the quality of the cake itself has to be top-notch. I’ve laid it out just as it appears on my heavily stained card below with my little pointers next to the things you absolutely cannot mess with.
- 1 3/4 cups all-purpose flour (Make sure this is level, not packed!)
- 3/4 cup unsweetened cocoa powder (The darker the better!)
- 2 cups granulated sugar (Yes, two whole cups. This is why it’s so moist.)
- 1 1/2 teaspoons baking soda
- 1 teaspoon baking powder
- 1 teaspoon salt
- 2 large eggs (Room temperature always works best, trust me.)
- 1 cup buttermilk (See notes below if you run out!)
- 1/2 cup vegetable oil (Keeps things lighter than butter here, oddly enough.)
- 2 teaspoons vanilla extract (Use the real stuff, please!)
- 1 cup hot water or hot brewed coffee (This is the magic water!)
Ingredient Notes and Substitutions for the Chocolate Doom Cake
Even with a simple recipe like this **Chocolate Doom Cake**, the little details matter. If you swap things out willy-nilly, you might end up with a chocolate brick instead of a dream layer!
First, let’s discuss that hot liquid. I mentioned coffee before, and I’m standing by it. Brewing a cup of dark roast coffee works wonders. It doesn’t make the cake taste like coffee; it just intensifies the chocolate flavor, making it taste even darker and richer. If you absolutely must use hot water, make it steaming hot right before you pour it in!
Next, the buttermilk substitution. If you open the fridge and realize you are fresh out, don’t panic and don’t skip this step! Just measure out 1 cup of regular milk—whole milk is best—and stir in 1 tablespoon of white vinegar or lemon juice. Let that sit on the counter for about five minutes. It will start to look a little curdled, and that’s exactly what you want! That’s your instant buttermilk replacement for this magnificent **Chocolate Doom Cake**.
Oh, and one last pro tip before you start mixing: run all your dry ingredients—flour, sugar, cocoa, leaveners, and salt—through a fine-mesh sieve into your bowl. It only takes an extra minute, but sifting breaks up any lumps and incorporates air, guaranteeing a smoother batter overall.
Equipment Needed for the Best Chocolate Doom Cake
You don’t need a ton of specialized gadgets for this cake, which is part of why I love it so much for a weeknight baking session. But having the right tools makes the process so much smoother, especially when dealing with that thin batter. My biggest piece of advice? Make sure your mixing bowls are large enough. When you add all those ingredients, things tend to splatter if the bowl is too small!
Here is my essential equipment list for whipping up two perfect layers:
- Two 9-inch round cake pans: This recipe is designed for two layers, so having a matching set is key for even baking times.
- Electric Mixer (Handheld or Stand): While you *could* do this by hand, beating the eggs, oil, and buttermilk for those crucial two minutes is much easier with some muscle power!
- Large Mixing Bowls: You need one big bowl for the dry ingredients and another large one to combine everything else.
- Whisk and Rubber Spatula: The whisk is perfect for mixing the dry goods, and the spatula is essential for scraping down the sides of the bowl before adding the hot liquid.
- Wire Cooling Rack: A must-have! When you take the cakes out, they need to cool quickly and evenly on a rack so the bottoms don’t steam and get gummy.
- Wooden Pick or Toothpick: For that all-important doneness test—don’t rely only on the timer!
If you’re worried about sticking (and honestly, who isn’t?), having a good quality, sharp offset spatula on hand will help immensely when you go to lift the cakes out of the pan after that initial 10-minute rest. It helps you get underneath the edges without tearing up the beautiful crust.
Step-by-Step Instructions to Bake the Perfect Chocolate Doom Cake
Alright, time to get this gorgeous **Chocolate Doom Cake** into the oven! I want you to relax, because this process moves pretty quickly after you get your ingredients laid out. The mixing part takes about five minutes total, which is why I love this recipe so much when I need a serious chocolate fix in a hurry. Don’t rush the preheating, though; that is step number one!
I always grease and flour my pans twice for easy release—once with soft butter, then dusted with cocoa powder instead of flour. Since this is a dark cake, using white flour on the edges can leave bright white streaks when you try to frost it later. It takes seconds and saves me from disaster!
Preparing the Pans and Dry Ingredients for Your Chocolate Doom Cake
First things first: get that oven cranked up to 350 degrees F (175 degrees C). While it’s heating, focus on your dry stuff. In that big bowl you grabbed earlier, you’re going to combine the flour, cocoa powder, sugar, baking soda, baking powder, and salt. Remember what I said about sifting? If you didn’t sift, you absolutely must whisk this mixture like you mean it for a solid minute!
Whisking really well here is vital because you need the baking soda and powder perfectly distributed. If they clump up, you’ll end up with patches that rise too much and patches that just sink in your **Chocolate Doom Cake**. Get that whisk right down to the bottom of the bowl and combine everything until you have one uniform, dark brown powder.
Mixing the Batter and Adding Hot Liquid
Now for the wet ingredients, minus the hot water/coffee. Add the eggs, buttermilk, vegetable oil, and vanilla right into that dry mixture. Grab your electric mixer—and start slow! Beat it on medium speed for exactly two minutes. This is where we build the basic structure, so don’t cheat this step.
Once those two minutes are up, grab your hot water or coffee. Carefully stir it in with your spatula until the batter looks smooth. Now, I have to warn you: the batter for this **Chocolate Doom Cake** is super thin. It’s supposed to be runny, almost like chocolate soup. If you panic and add more flour, congrats, you just ruined the texture! Trust the process; the thinness is what keeps it moist later.
Baking and Cooling Your Chocolate Doom Cake Layers
Pour that thin batter evenly between your two prepared pans. Try to get them as equal as possible so the layers bake level. Pop them into your preheated oven for about 30 to 35 minutes. Keep an eye on them starting around the 28-minute mark!
To check if they are done, use a wooden pick right in the center. If it comes out clean, you’re golden! If you see any wet batter clinging to it, give it three more minutes. Once they pass the test, pull the pans out, but resist the urge to dig them out immediately! Let them cool in the pans on a wire rack for 10 minutes. After that initial cooling time, carefully flip them out onto the rack and let them reach room temperature completely before you even think about frosting. If you try to frost a warm layer, you’ll end up with a melted mess and regret. You can check out the technique I use for a similar chocolate cake over here for extra layer tips: chocolate olive oil cake recipe.
Tips for Success When Making This Chocolate Doom Cake
Baking the **Chocolate Doom Cake** is easy, but preventing those little baking hiccups that drive us crazy is where the real expertise comes in. I’ve made this cake enough times to know exactly what *not* to do! If you follow these few extra steps, promise me you won’t end up with a sad, cracked, or stuck cake layer.
First off, let’s talk about mixing. I cannot stress this enough: once you add that hot liquid, you are done mixing! Seriously, stop! Overmixing develops the gluten in the flour, and that is the number one reason cakes go from tender to chewy. We want tender! A couple of final slow folds with your spatula to make sure that thin batter is incorporated is all you need for your **Chocolate Doom Cake**.
When it comes to panning, remember what I said about cocoa powder instead of flour for dusting? If you’re worried about the edges sticking, especially if your pans are older, try dropping a parchment circle in the bottom after you grease and dust the sides. This little insurance policy has saved me multiple times when I was rushing. If you ever find yourself working with a cake that needs extra moisture without a heavy frosting, look up how to make chocolate poke cake recipe—it’s a great technique!
Finally, don’t overbake! Even if the pick comes out with just a few moist crumbs, pull it out immediately. That residual heat is going to finish cooking the cake as it cools on the counter. Pulling it out while it still looks slightly underdone in the very center is the secret to keeping this **Chocolate Doom Cake** moist for days afterward. It’s much easier to save an underbaked cake than one that’s gone dry!
Serving Suggestions for Your Rich Chocolate Doom Cake
This cake is honestly a showstopper all on its own—it’s so intensely chocolatey that sometimes I just eat a plain slice with a strong cup of coffee. But if you’re taking this out for company, you need to dress it up! The deep, slightly bitter notes of the cake beg for something bright or something even richer to balance it out.
My personal favorite way to serve it is simply warmed up with a very generous scoop of high-quality vanilla bean ice cream. That cold, creamy vanilla melting into the warm, dark chocolate? Pure heaven. The contrast in temperatures is just fantastic!
Classic Creamy Pairings
If you’re going for a more elegant dessert presentation, you cannot go wrong with whipped cream or a classic frosting. I often make a simple chocolate buttercream, but I thin it out just a little bit so it’s more like a thick glaze than a heavy frosting. That way, you still get that gorgeous dark color of the cake showing through.
Another winner is a simple dollop of fresh, softly sweetened whipped cream mixed with a splash of liqueur, like a raspberry or cherry brandy. It cuts through the richness perfectly. If you want to dive deep into rich chocolate experiences, you should totally check out the amazing recipe for a chocolate milkshake delight—it uses similar flavor profiles!
Adding Brightness with Fruit Coulis
Because the cake is so rich, pairing it with something tart is a brilliant move. You don’t need heavy sauces here; just a drizzle of fruit coulis across the plate is enough to make it look gourmet. Raspberry is the number one choice because the slight acidity pops against the dark cocoa.
You can make a quick raspberry coulis by simmering fresh or frozen raspberries with a little sugar and a squeeze of lemon juice until they break down. Strain out the seeds if you want it super smooth, or leave them in for some texture. It looks stunning against the dark crumb!
The Ultimate Decadent Topping: Ganache
If you want to take this to the next level of absolute indulgence, you have to cover it in ganache. It’s so easy, honestly! You just heat up heavy cream until it simmers, pour it over some chopped dark chocolate (use the good stuff!), let it sit for five minutes, and then whisk until it’s shiny and smooth.
Let the ganache cool just until it thickens slightly—maybe the consistency of pudding—and then pour it over the fully cooled cake layers. That gives you the richest, fudgiest, most decadent topping possible. It turns this cake into an event!
Storage and Make-Ahead Options for Chocolate Doom Cake
One of the greatest things about this **Chocolate Doom Cake** is that it seriously improves with age—or at least, it stores like a champion! Unlike lighter cakes that dry out in a day, the oil and buttermilk keep this one perfectly moist. This baking capability makes it my absolute favorite to prepare ahead for big parties or holidays. No day-of scrambling needed!
How you store it depends entirely on whether you’ve frosted it yet. You need a different plan for the naked layers versus the fully finished masterpiece!
Storing Unfrosted Layers
If you’re baking ahead, this is the way to go. Once your cake layers are completely cool—and I mean *cool*, like, room temperature for a few hours—you need to wrap them up tight. Individually wrap each layer first in plastic wrap. Make sure you seal it really well, getting right up to the edges.
After the plastic wrap layer, I like to do a secondary wrap in aluminum foil. This double layer acts as a fantastic barrier against freezer burn and fridge odors. Stored this way, the unfrosted layers of your **Chocolate Doom Cake** can hang out on the counter for a day or two, or they can go straight into the freezer for up to three months. When you’re ready to frost, just pull them out and let them thaw completely on the counter while still wrapped. I leave them wrapped until they feel soft; this locks in any moisture that might escape during thawing.
Storing the Frosted Chocolate Doom Cake
Once you’ve frosted the whole thing, you have to be a little more careful, especially if you used a buttercream that contains butter. If your frosting is stable (like a sturdy chocolate ganache or a sturdy American buttercream), you can store the whole cake covered loosely with a cake dome or an overturned large bowl at cool room temperature for about two days. Keep it away from any direct sunlight or warm spots!
For longer storage, the fridge is your friend. Cover the finished **Chocolate Doom Cake** loosely with plastic wrap—don’t press it right against the frosting unless you used a hard-setting glaze!—and place it in the fridge for up to five days. When you’re ready to serve leftovers, I always take a slice out about 30 minutes beforehand. Cold cake can taste dull, but letting it warm up just slightly brings all those deep chocolate notes right back to life.
Pro Tip: Freezing Slices for Later
This is my secret weapon for surviving busy weeks. Maybe you don’t want a whole cake tempting you! After you’ve frosted your cake, use a sharp knife to cut individual slices. Place those slices on a baking sheet lined with parchment paper and freeze them until they are solid—this takes about two hours.
Once they are rock hard, transfer the frozen slices into a heavy-duty freezer bag, pushing out as much air as possible. These individual **Chocolate Doom Cake** slices can last for months, and you can pull one out whenever the dark chocolate craving strikes. They thaw surprisingly fast on the counter, usually within an hour or two! It’s like having perfectly portioned dessert ready to go at any time.
Frequently Asked Questions About This Chocolate Doom Cake
I know when you’re looking at such an intense recipe, you’re going to have some questions bubbling up. That’s totally normal! I’ve spent years perfecting this **Chocolate Doom Cake**, and I’ve tried to answer all the tricky parts right here. If you’re worried about anything, odds are, I’ve already explained it earlier, but let’s hit the biggest ones again just to make sure your dark chocolate cake experience is perfect!
Can I use regular milk instead of buttermilk in the Chocolate Doom Cake?
Absolutely, you can, but you have to make a quick adjustment—don’t just swap 1:1 without treating the milk! As I mentioned in the ingredient section, if you don’t have buttermilk on hand, you can create a substitute right in your measuring cup. Just take 1 cup of regular milk—whole milk works best here—and stir in 1 tablespoon of white vinegar. Let that sit on the counter for about five minutes until it curdles slightly. That acidic milk acts just like buttermilk, letting your **Chocolate Doom Cake** rise beautifully and stay tender. It’s a lifesaver when you’re mid-recipe!
What is the best frosting for a Chocolate Doom Cake?
Oh, the frosting debate! For a cake this rich, you have a couple of fantastic routes depending on what mood you’re in. If you want to double down on the decadence, a classic, rich chocolate buttercream is always the answer. You want a frosting that’s sweet enough to contrast the deep cocoa but still creamy.
However, my personal favorite pairing for this **Chocolate Doom Cake** is actually a tangy cream cheese frosting. The slight tanginess cuts right through all that dark chocolate richness, making every bite perfectly balanced. Honestly, you can’t go wrong with either one, but make sure whatever you pick is thick enough to hold up to those moist layers!
Why is my Chocolate Doom Cake batter so thin?
Stop panicking! This is the number one moment where people think they’ve messed up, and I promise you, you haven’t. The batter for this **Chocolate Doom Cake** is supposed to be very thin—it’s looser than a standard cake batter, almost flowy. That’s entirely due to the final addition of that cup of hot water or hot coffee.
That hot liquid is what opens up the cocoa powder and keeps the whole thing from being dense later on. If your batter looks like thick pancake batter, you’re good to go! Pour it gently into your pans and trust the heat of the oven to set it up correctly. It bakes up into the most incredibly moist chocolate cake!
Estimated Nutritional Information
I always feel a tiny bit guilty looking at this section, because how can something this incredibly delicious and dramatic possibly be quantified? This **Chocolate Doom Cake** is definitely more of an indulgence than an everyday treat, but you asked for the details, so here they are! Remember, these numbers are just estimates based on the ingredients listed, and they can definitely change depending on exactly what brand of cocoa or type of oil you decide to use.
I calculated all this out assuming the recipe yields 12 generous slices, which is how slices usually end up when I cut this cake—they are usually big, happy slices!
- Serving Size: 1 slice
- Calories: approximately 350
- Total Fat: about 15g (with 3g coming from saturated fat)
- Carbohydrates: around 55g
- Sugar: a hefty 40g (it is a Doom Cake, after all!)
- Protein: 5g
- Cholesterol: 50mg
- Sodium: 300mg
Just a friendly heads-up: If you decide to cover this **Chocolate Doom Cake** in a rich ganache or a sugary buttercream, you should definitely add those numbers on top of what’s listed here! That’s how you turn a 350-calorie slice into maybe a 600-calorie slice real fast. Enjoy every single decadent bite, but maybe save this for an official celebration!
Print
Chocolate Doom Cake
- Total Time: 55 min
- Yield: 12 servings 1x
- Diet: Vegetarian
Description
A rich, dark chocolate cake recipe.
Ingredients
- 1 3/4 cups all-purpose flour
- 3/4 cup unsweetened cocoa powder
- 2 cups granulated sugar
- 1 1/2 teaspoons baking soda
- 1 teaspoon baking powder
- 1 teaspoon salt
- 2 large eggs
- 1 cup buttermilk
- 1/2 cup vegetable oil
- 2 teaspoons vanilla extract
- 1 cup hot water or hot brewed coffee
Instructions
- Preheat your oven to 350 degrees F (175 degrees C). Grease and flour two 9-inch round cake pans.
- In a large bowl, whisk together the flour, cocoa powder, sugar, baking soda, baking powder, and salt.
- Add the eggs, buttermilk, oil, and vanilla extract to the dry ingredients. Beat with an electric mixer on medium speed for two minutes.
- Carefully stir in the hot water or coffee until the batter is smooth. The batter will be thin.
- Pour the batter evenly into the prepared pans.
- Bake for 30 to 35 minutes, or until a wooden pick inserted into the center comes out clean.
- Let the cakes cool in the pans for 10 minutes before inverting them onto a wire rack to cool completely.
Notes
- Using hot coffee deepens the chocolate flavor.
- Buttermilk adds moisture; if you do not have buttermilk, mix 1 cup of milk with 1 tablespoon of white vinegar and let it sit for 5 minutes before using.
- Prep Time: 20 min
- Cook Time: 35 min
- Category: Dessert
- Method: Baking
- Cuisine: American
Nutrition
- Serving Size: 1 slice
- Calories: 350
- Sugar: 40g
- Sodium: 300mg
- Fat: 15g
- Saturated Fat: 3g
- Unsaturated Fat: 12g
- Trans Fat: 0g
- Carbohydrates: 55g
- Fiber: 3g
- Protein: 5g
- Cholesterol: 50mg
Keywords: chocolate cake, doom cake, dark chocolate, cocoa, layer cake, dessert