
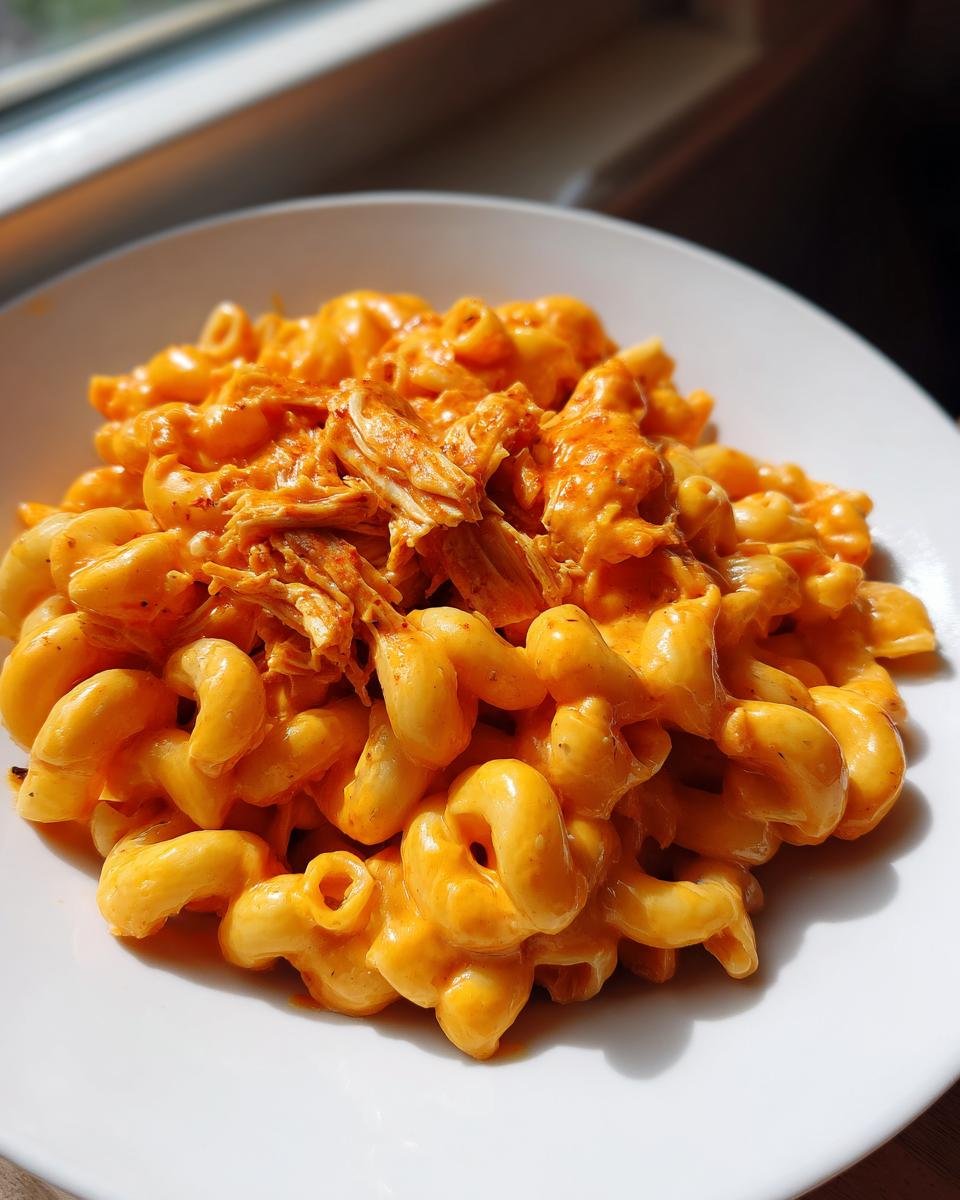
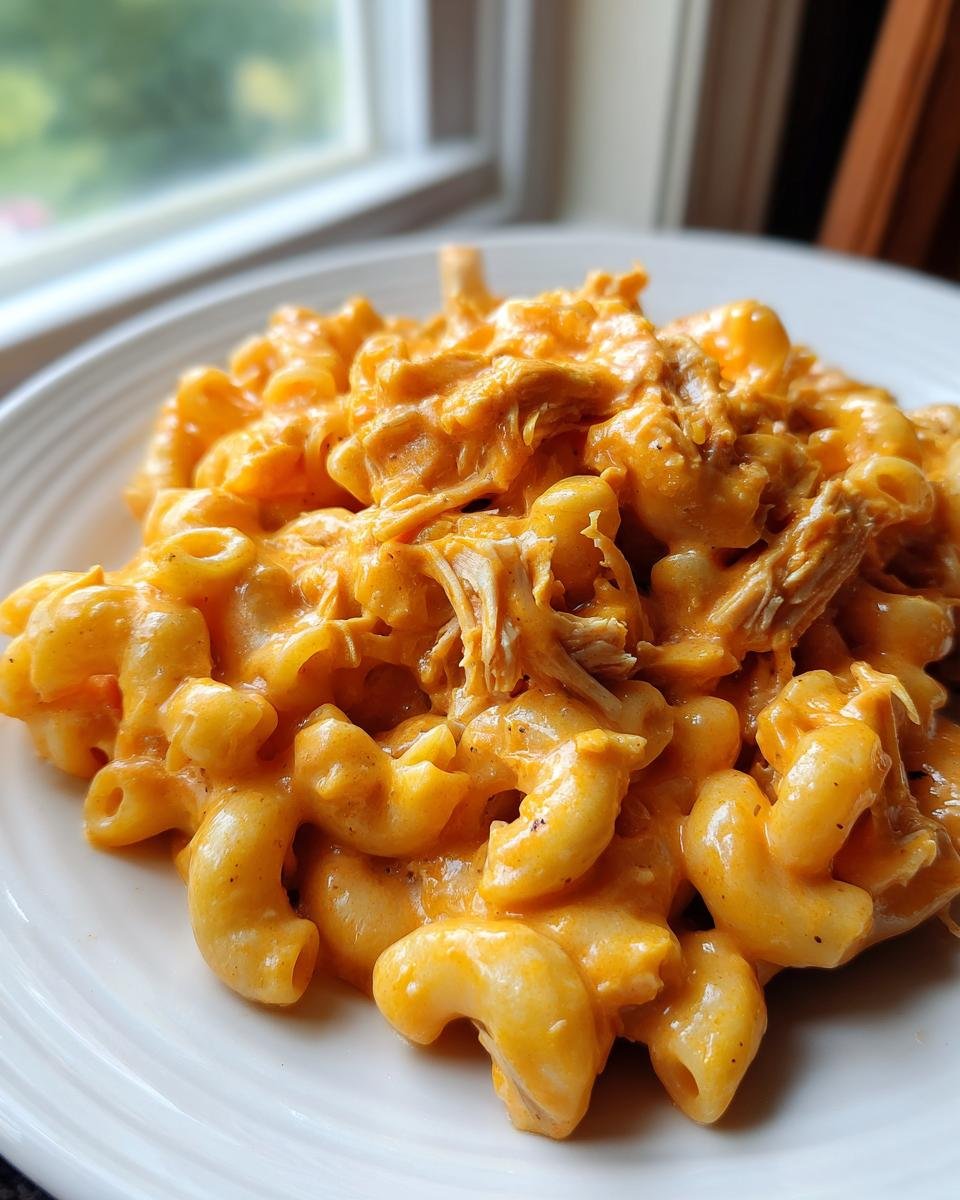
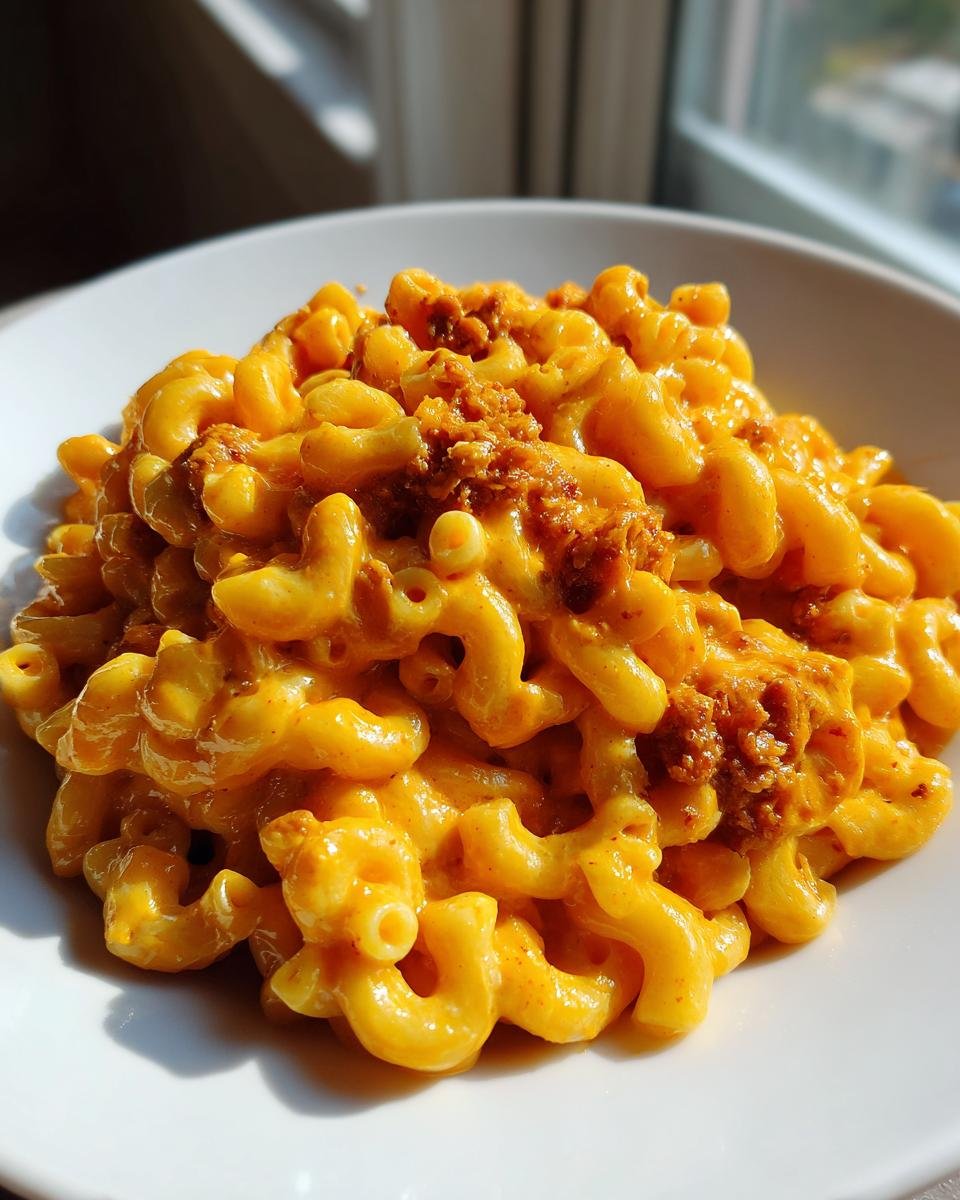
Okay, listen up, because I’m about to drop the recipe that officially ends your search for the ultimate comfort food fusion. Forget dry, boring macaroni; we are taking that creamy, dreamy cheesiness and kicking it square in the pants with pure, tangy Buffalo heat! This Buffalo Mac And Cheese isn’t just good—it’s the *best* you’ll ever make, guaranteed. Honestly, I spent years—literally years—tweaking the ratio of sharp cheddar to the cream cheese cubes to get that sauce texture just right. It has to coat every single noodle perfectly without ever feeling grainy. When you pull this off the stove, the smell alone, that sharp vinegar hitting the melted cheese? Instant happiness. Seriously, this is the spicy, soulful dish your weeknight dinner has been begging for.

Why This Buffalo Mac And Cheese Recipe is a Must-Try
I know you’ve had Buffalo Mac And Cheese before, maybe even tried making it. But trust me, this version hits different! It’s the perfect marriage of savory, creamy goodness and that sharp, exciting Buffalo kick. You don’t need a fancy oven setup; this stays stovetop delicious in about 40 minutes flat. It’s honestly my go-to when I need a serious comfort food hug, but I also want a little drama.
Here’s why you need to bookmark this one right now:
- The spice level is spot-on—tangy but not punishing!
- We use three kinds of cheese for unbelievable, silky smoothness.
- It’s fast! Dinner is on the table before takeout even calls you back.
- The optional chicken makes it a complete meal without any extra fuss.
If you’re looking for another quick, creamy option, you absolutely must check out my cottage cheese mac and cheese for a lighter but still indulgent take!
Essential Ingredients for Perfect Buffalo Mac And Cheese
Okay, let’s talk about what goes into this magic pot. You need good basics to build an epic Buffalo Mac And Cheese, right? We start with a pound of elbow macaroni—make sure you cook that slightly past al dente because it’s going to keep cooking in that amazing sauce!
For the sauce base, grab six tablespoons of good unsalted butter, half a cup of flour for the roux, and then four cups of whole milk. Don’t even think about using skim milk here; this dish demands the fat content to stay ultra-creamy! Then come the flavor powerhouses: salt, pepper, a little paprika for color, and that zip of cayenne pepper. The spice comes from half a cup of your favorite hot sauce—we need that vinegar tang!
And now for the cheese—the star! You need eight ounces of sharp cheddar, four ounces of Monterey Jack, and critically, four ounces of cream cheese cubes. I’m stressing this big time: shred your own cheddar and Jack! Pre-shredded cheese is coated in starches that make your beautiful sauce seize up faster than you can say “double the heat.” If you’re making this a full dinner, toss in about half a cup of leftover, shredded cooked chicken for protein.
Ingredient Notes and Substitutions for Buffalo Mac And Cheese
When it comes to the hot sauce, I’m loyal to Frank’s because that’s what gives you that authentic Buffalo wing flavor. If you use something that’s way too vinegary or too sweet, it throws off the whole balance of the Buffalo experience. Stick to a classic cayenne pepper-based sauce! And please, stick with whole milk for the milk component. It emulsifies with the butter and flour so much better, giving you that gorgeous, luscious coating.
If you absolutely must swap cheese, stick to something mild and melty like Colby Jack for the Monterey Jack, but don’t ditch the sharp cheddar or the cream cheese. That cream cheese is my little secret weapon for getting that restaurant-quality, velvety texture without any fuss. It just melts in and disappears, leaving behind pure cheesy bliss in your Buffalo Mac And Cheese.
Stovetop Instructions for Creamy Buffalo Mac And Cheese
Alright, gather your crew! This is where the real alchemy happens. You’re going to want to get your elbow macaroni going first, remember: *al dente*! That means slightly firm, because it’s going to soak up all that magnificent sauce later. Drain it, shake it dry, and set it aside, maybe even give it a quick little spray of oil so it doesn’t stick together while you work on the good stuff.
Next up, the roux! Grab a big saucepan—and I mean *big*, because we’re mixing a lot of goodness in here—and melt those six tablespoons of butter over medium heat. As soon as it’s bubbly, whisk in that half-cup of flour. You need to cook this paste, scraping the bottom constantly, for just about sixty seconds. It should smell a little nutty, not burnt! This step is vital for thickening your final Buffalo Mac And Cheese sauce.
Now, take your time pouring in the four cups of whole milk. I mean it—pour a little, whisk like crazy until it’s smooth, then pour a little more. We don’t want lumps! Keep stirring this mixture over medium heat until it gets thick enough to coat the back of a spoon. This usually takes me about five to seven minutes. You’ll see it really clinging nicely; watch closely so it doesn’t start a rapid boil, we just want a gentle simmer.
- Once it’s thick, immediately take that pan completely off the heat. This is important! We season the milk base before the cheese goes in. Stir in your salt, pepper, paprika, and cayenne.
- Now, pour in that half-cup of hot sauce. Give it a good stir so that spicy, tangy flavor permeates the white base.
- Time for the cheese party! Add your shredded cheddar, Monterey Jack, and the cubed cream cheese all at once. Stir gently, letting the residual heat do the heavy lifting. This is where we build that creamy, spicy perfection.
- If you prepped it, stir in your optional shredded chicken now until it’s warm and coated.
- Finally, dump in all that cooked macaroni and fold everything together until every noodle is dripping in this incredible Buffalo sauce. Serve it up hot immediately!
If you’re feeling lazy, you can check out how I make Instant Pot Mac and Cheese, but trust me, honestly, the stovetop method is worth the few extra minutes for this sauce!
Achieving the Perfect Cheese Sauce Consistency for Buffalo Mac And Cheese
This is the make-or-break moment for any great mac and cheese, especially our zesty Buffalo Mac And Cheese. Once you’ve taken the pot off the burner—and I mean *really* off the burner—you must add your cheeses slowly. If you put the cheese in while the sauce is still actively bubbling, the dairy proteins break down, and BOOM! Grainy, stringy sadness. We want silk, right?
My secret here is the cream cheese—it’s already soft, which helps. I stir constantly, but gently, until that last streak of white Monterey Jack disappears. If you notice things looking a little stiff or thick, *that’s* when you add a tiny splash—maybe a tablespoon—of extra warm milk or even a little more hot sauce just to loosen it up. Keep stirring until the whole mixture looks shiny and perfectly smooth. No one wants to bite into a chunk of unmelted cheese when they are expecting deep, creamy Buffalo flavor!
Expert Tips for Next-Level Buffalo Mac And Cheese
I’ve learned a few tricks the hard way making this Buffalo Mac And Cheese, and I promise they’ll save you kitchen heartache! First up, the chicken. If you use chicken, don’t just toss raw pieces in. I used to dump raw chunks in and thought I was saving time, but they never cooked right, and the sauce ended up cooling down too much while they finished. Now? I always use pre-shredded rotisserie chicken, or I shred up leftover grilled chicken. It warms through instantly when you stir it in, keeping that sauce piping hot and perfectly smooth.
My biggest lesson, though? Never, ever try to rush the roux! I once tried to crank the heat up when I was making this for a game night because I was running late. Rookie mistake! The flour burned just slightly on the bottom, and no amount of whisking could get rid of that slightly bitter undertone, even drowned out by the Buffalo sauce. It taught me that patience in that first minute of cooking the flour and butter is crucial for true, creamy success. For more meaty variations, you should absolutely look at the irresistible Buffalo chicken mac and cheese recipe I also perfected!
One last thing: if you want a slightly crispier top without baking the whole thing, just pour your finished mac right into oven-safe bowls, sprinkle a tiny bit of extra cheddar on top, and blast it under the broiler for two minutes. Watch it like a hawk, though! You want golden bubbles, not charcoal!
Variations on Your Favorite Buffalo Mac And Cheese
Even though this base recipe for Buffalo Mac And Cheese is pure perfection, sometimes you just want to mix things up, right? I love making small additions to keep things exciting! If you’re feeling adventurous, try topping the stovetop version right before serving with a heavy sprinkle of crumbled blue cheese. That funky, salty tang cuts through the richness and really amplifies the Buffalo flavor profile.
For texture, crunchy fried onions or perfectly chopped green onions sprinkled on top make a huge difference. If you want completely different protein ideas besides the chicken I mentioned earlier, switching to shredded carnitas or even some smoky pulled pork turns this into something totally new. Hey, speaking of pork, if you ever want to go the BBQ route instead of the hot sauce path, you have to try my BBQ pulled pork macaroni and cheese!
And don’t forget that note in the recipe about baking! If you want that golden, slightly crispy crust on top—way more satisfying than just eating it right off the stove—just transfer the whole shebang to a baking dish, toss some Panko breadcrumbs mixed with a little melted butter on top, and pop it in a 375-degree oven for about fifteen minutes. It makes for the best leftovers, too!
Serving Suggestions for Buffalo Mac And Cheese
You know, this Buffalo Mac And Cheese is decadent, spicy, and rich, so you need something cool and crisp right next to it to cut through all that deliciousness. I always keep it simple!
If you have celery or carrot sticks nearby, grab them! Dipping those cool veggies right into the extra sauce that pools on your plate is unbelievably satisfying. It’s the classic wing pairing for a reason, and it works perfectly here.
For something green, a light, super-acidic salad is the ticket. Something simple with lemon vinaigrette works the best. If you need a great dressing recipe, my one for the Ultimate Caesar Dressing totally cuts through the heaviness of the cheese without adding more richness. Either way, keep the side light so you can focus on that spicy pasta!
Storage and Reheating Buffalo Mac And Cheese
Man, leftovers of this Buffalo Mac And Cheese are almost better the next day, but you have to treat them right so they don’t dry out! Store any extra in a really tight, airtight container. Honestly, try to finish it within three days max, because pasta texture starts to go downhill after that, even in that amazing cheese sauce.
Now, reheating is key! I’ve messed this up before by just microwaving it straight from the fridge, and it seized up stiff as a rock. Don’t do that! When you scoop out your serving, put it in a microwave-safe bowl, and this is the secret: add a tiny splash—maybe a teaspoon—of whole milk or even heavy cream right on top before you heat it. Cover it loosely, and heat in short bursts, stirring in between. That little bit of liquid turns the sauce back into something dreamy and creamy again. It’s seriously worth the extra thirty seconds!
Frequently Asked Questions About Buffalo Mac And Cheese
I always get so many questions about this recipe—it’s a beast, I know! People are usually worried about one of three things: the spice, the texture, or timing. Let me clear up a few things that I hear all the time about making the best Buffalo Mac And Cheese.
Can I make this Buffalo Mac And Cheese ahead of time?
You absolutely can prep the components ahead, which is a lifesaver when company is coming! You can cook your macaroni a day ahead and keep it stored, and you can also make your cheese sauce (stopping right before you add the pasta!) and keep it covered in the fridge. But here’s the catch: when you combine them, it thickens up a lot in the fridge. You’ll need to reheat the sauce gently on the stove with an extra splash of milk or chicken broth to loosen it up before folding in the pasta. Trust me, it’s worth the reheat step for amazing leftovers!
How do I adjust the spice level if my family can’t handle the heat?
That’s so easy to fix! Remember, the heat is coming from the hot sauce and that pinch of cayenne. To make a milder version of this spicy mac and cheese, reduce the hot sauce by half to start. You can always stir in more at the table! Also, skip that extra pinch of cayenne entirely. The cheese and milk really temper the flavor, but cutting back on the main source first is the safest bet. If you want to swap the hot sauce entirely for a mild smoky paprika blend, you’d end up with a fantastic smoky cheese sauce instead of a Buffalo one!
What kind of pasta works best here besides elbows?
Elbow macaroni is my first love for this recipe because its little tubes capture the thick sauce so perfectly—it’s classic for a reason! But if you’re out of elbows or just feeling fancy, shells (small or medium) are a fantastic substitute. The cups hold the sauce beautifully. Rotini or cavatappi are also winners because they are twisty! I try to avoid long noodles like spaghetti because you can’t get that beautiful, thick, sauce-to-pasta ratio in every bite, but honestly, any good, sturdy pasta dish works if you follow the sauce rules. For more delicious pasta dishes, check out my roundup!
Why is my sauce grainy even though I followed the instructions?
Ugh, grainy sauce is the worst! Nine times out of ten, it means one thing: you added the cheese while the sauce was boiling too hard. When the sauce is aggressively bubbling, the cheese melts too fast, and the solids separate from the fat—that’s the graininess. The rule for perfect texture in Buffalo Mac And Cheese is always, always, always remove the pan from the heat *before* adding the shredded cheese and the cream cheese cubes. Let the residual heat melt it slowly while you stir gently.
Estimated Nutritional Information for Buffalo Mac And Cheese
So, we all know this is comfort food heaven, and honestly, that creamy, cheesy goodness isn’t exactly diet food, but I wanted to give you a general idea of what you’re looking at per serving, using the full recipe as written (including chicken, but no optional topping crust!). This data is just an estimate, of course, and your actual numbers might shift based on the specific brand of cheese or hot sauce you choose.
Here’s the breakdown for one serving (based on 6 servings):
- Calories: 650
- Fat: 38g (with 22g Saturated Fat)
- Cholesterol: 110mg
- Sodium: 850mg (Yeah, it’s a little salty, but it’s worth it!)
- Carbohydrates: 55g
- Protein: 28g
- Sugar: 5g
- Fiber: 3g

Buffalo Macaroni and Cheese
- Total Time: 40 min
- Yield: 6 servings 1x
- Diet: Vegetarian
Description
A recipe for creamy macaroni and cheese mixed with spicy buffalo sauce.
Ingredients
- 1 pound elbow macaroni
- 6 tablespoons unsalted butter
- 1/2 cup all-purpose flour
- 4 cups whole milk
- 1 teaspoon salt
- 1/2 teaspoon black pepper
- 1/4 teaspoon paprika
- 1/4 teaspoon cayenne pepper
- 1/2 cup hot sauce (like Frank’s RedHot)
- 8 ounces sharp cheddar cheese, shredded
- 4 ounces Monterey Jack cheese, shredded
- 4 ounces cream cheese, cubed
- 1/2 cup cooked, shredded chicken (optional)
Instructions
- Cook the macaroni according to package directions until al dente. Drain and set aside.
- In a large saucepan, melt the butter over medium heat. Whisk in the flour and cook for one minute, stirring constantly.
- Gradually whisk in the milk until the mixture is smooth. Cook, stirring often, until the sauce thickens enough to coat the back of a spoon, about 5 to 7 minutes. Do not let it boil rapidly.
- Remove the saucepan from the heat. Stir in the salt, black pepper, paprika, and cayenne pepper.
- Add the hot sauce and stir to combine.
- Add the shredded cheddar, Monterey Jack, and cream cheese to the sauce. Stir until all the cheese is melted and the sauce is smooth.
- If using, stir in the shredded chicken.
- Add the cooked macaroni to the cheese sauce and stir until the pasta is evenly coated.
- Serve immediately.
Notes
- For a baked version, transfer the mixture to a baking dish, top with breadcrumbs, and bake at 375 degrees F for 15 minutes until golden brown.
- Adjust the amount of hot sauce to control the spice level.
- Prep Time: 15 min
- Cook Time: 25 min
- Category: Main Dish
- Method: Stovetop
- Cuisine: American
Nutrition
- Serving Size: 1 serving
- Calories: 650
- Sugar: 5
- Sodium: 850
- Fat: 38
- Saturated Fat: 22
- Unsaturated Fat: 16
- Trans Fat: 1
- Carbohydrates: 55
- Fiber: 3
- Protein: 28
- Cholesterol: 110
Keywords: buffalo mac and cheese, spicy mac and cheese, macaroni and cheese recipe, comfort food, cheesy pasta