
Oh, cookies. Is there anything better than walking into a kitchen that smells like warm butter and melted brown sugar? Nothing beats that smell, honestly! I’ve been chasing the perfect batch of chocolate chip cookies since I was tall enough to reach the counter, and trust me, I’ve made every mistake under the sun—flat, burnt, cakey disasters, you name it.
But I finally landed on it. This recipe is the one. It’s the one that gives you those perfectly crisp, golden edges that just melt right into the soft, gooey center. These are the classic, balanced chocolate chip cookies that everyone expects at a barbecue or a bake sale. After years of tweaking the sugar ratios and watching how the butter melts, I promise you, this tried-and-true formula is the foundation you need for cookie happiness.

Why This Recipe for Chocolate Chip Cookies is a Must-Try
Look, the world has a million cookie recipes, but this one is different. This isn’t some fancy, complicated thing that requires you to chill dough for three days. We want cookies *now*, right? But we also want them to be perfect. This simple recipe absolutely nails that classic profile we all dream about. You won’t be disappointed, I promise!
If you want simple, reliable results that taste like nostalgia, stick with me. We manage to get incredible results from basic pantry staples. Trust me, once you try this batch, you’ll be saving yourself a trip to the store next time you need a real treat. Check out why this batch is my go-to time and time again. I even linked my favorite gooey version if you want to explore later, right here!
Perfect Texture Every Time
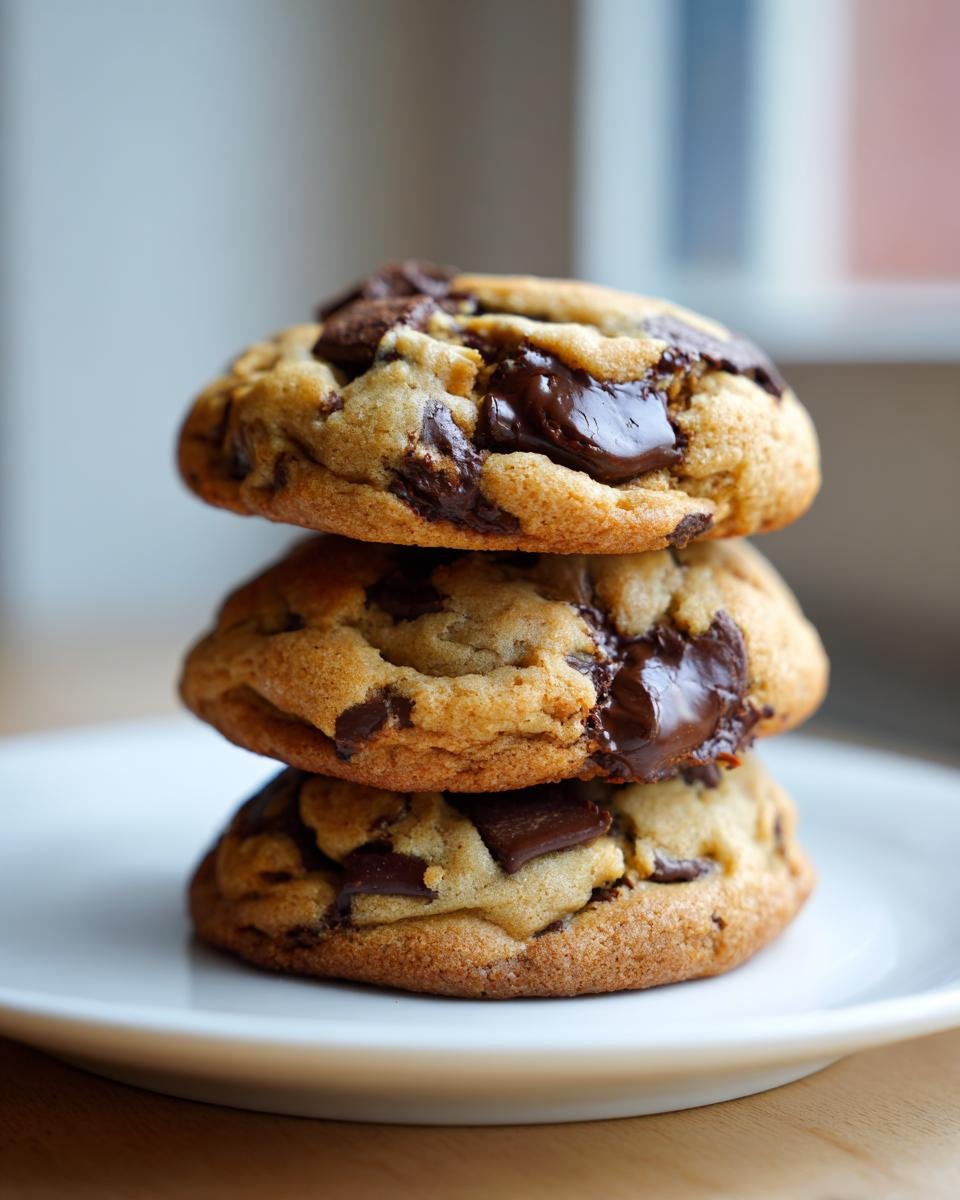
This is the holy grail, isn’t it? We are aiming for those slightly set, golden brown edges that offer just the right crunch, leading into that soft, almost under-baked center. That textural contrast is non-negotiable! Because we use just a touch of baking soda and the right amount of flour, these cookies bake up reliably without spreading into giant, thin puddles. Consistent results make baking fun, not frustrating.
Classic, Balanced Flavor Profile
A great cookie recipe needs harmony. You don’t want it tasting like pure sugar, and you certainly don’t want it tasting flat. We strike that perfect balance because we use both white sugar and packed brown sugar. That brown sugar brings in just a hint of molasses flavor that deepens the richness from the butter and vanilla. It’s just enough flavor complexity to make you reach for a second cookie without needing any weird additives.
Gathering Your Ingredients for Perfect Chocolate Chip Cookies
Okay, getting the right stuff is half the battle. You can’t just throw things in haphazardly if you want those textbook cookies! I’ve laid out exactly what you need below. Pay close attention to the butter temperature—that’s one of those little secrets professionals swear by, and I’ve certainly learned it the hard way!
We need the foundational elements: good quality flour, baking soda for that lift, salt to make the chocolate sing, and of course, the sugars. Don’t forget the vanilla! If you’re feeling adventurous, you can always check out the history of the classic recipe I linked here, but for now, let’s just focus on getting these measured out perfectly.
- 1 cup unsalted butter, softened to perfect room temperature
- 3/4 cup granulated sugar
- 3/4 cup packed brown sugar (make sure it’s packed tight!)
- 2 large eggs
- 1 teaspoon vanilla extract
- 2 1/4 cups all-purpose flour
- 1 teaspoon baking soda
- 1/2 teaspoon salt
- 2 cups semisweet chocolate chips
Ingredient Notes and Substitutions for Chocolate Chip Cookies
Seriously, about that butter. It needs to be soft enough that if you press it gently, your finger leaves an indent, but it should absolutely not be melty or greasy. If it’s too warm, your cookies will spread everywhere and become thin, sad pancakes. Let it sit out for at least an hour before you even think about touching the mixer. If you want to see the original standard-bearer recipe, I have the link for you right here.
For the chocolate chips, the recipe calls for semisweet, which gives us that ideal sweetness level. But hey, if you only have milk chocolate on hand, go for it! Or if you’re a dark chocolate purist, swap them out. It changes the final taste a bit, but it’s still going to be delicious because the structure is solid. Just try to stick to a good quality chip since that’s where most of your flavor pops from!
Essential Equipment for Making Chocolate Chip Cookies
Before we even get to the oven, let’s talk gear. You don’t need a fancy stand mixer, but you do need a couple of absolute basics to make this process smooth. Getting everything together first means you can just focus on the fun mixing part once you start. Trust me, nothing throws off my rhythm like realizing I haven’t pulled out the right size pan!
When you gather your tools, think about efficiency. Having two good mixing bowls is a lifesaver—one for the wet stuff and one for the dry stuff. It keeps everything neat, and you avoid that messy situation where you dump flour into the already-creamed butter prematurely. Oops!
- A good electric hand mixer or a sturdy stand mixer with a paddle attachment. If you’re feeling rustic, a strong arm and a wooden spoon work too, but be prepared for a workout!
- Two mixing bowls. One medium for dry ingredients, one large for creaming the butter and sugars.
- Measuring cups and spoons—accuracy matters here, even if we’re being chaotic!
- A quality rubber spatula for scraping down the sides of the bowl. This ensures everything gets mixed evenly.
- Heavy-duty baking sheets. I like the ones with a rim—they keep the cookies nicely contained.
- Parchment paper. Seriously, don’t skip this step. It prevents sticking and makes cleanup a dream.
- A wire cooling rack. This is crucial for stopping the baking process once they leave the oven so they don’t get soggy bottoms.
Having these things lined up helps keep the whole process moving fast, which is key when you’re trying to get warm cookies on a plate fast!
Step-by-Step Instructions for Classic Chocolate Chip Cookies
Alright, the moment of truth! Now that we’re prepped and ready, let’s get baking. Remember, baking is chemistry, but it’s also love, so keep it lighthearted! The key here is patience during the mixing stages, especially when we introduce the sugar and butter. If you rush that creaming step, your final cookies won’t have that wonderful dense-yet-tender structure we’re aiming for. Have your oven preheated to 375 degrees Fahrenheit and those baking sheets lined with parchment paper before you touch the mixer.
Creaming Wet Ingredients for Rich Chocolate Chip Cookies
In your big bowl, start by beating that room-temperature butter with both your granulated sugar and your packed brown sugar. You have to beat this mixture until it’s genuinely creamy, light in color, and fluffy, not grainy. This process whips air into the dough, which is essential for a great final texture! Once you’ve got that gorgeous fluff going, drop in the two eggs, one at a time, making sure each one is fully incorporated before you add the next. Finish this wet stage by mixing in that teaspoon of vanilla extract. Wow, that smells heavenly already!
Combining Dry Ingredients for Your Chocolate Chip Cookies
While your wet ingredients are setting up, grab that second bowl. This is where we handle the flour, baking soda, and salt. Don’t just dump them in separately! You need to whisk these items together really well. Whisking ensures that the baking soda (our lift!) is evenly spread out. If you skip this, you might end up with one cookie that puffs up huge while its neighbor stays flat. It’s a small step, but it makes a huge difference with your classic chocolate chip cookies.
Mixing Dough and Adding Chocolate Chips for the Best Chocolate Chip Cookies
Now, slowly bring the dry mixture into the wet mixture. This is crucial: only mix until you see the flour streaks *just* disappear. I mean it—stop immediately! Overmixing develops gluten, and gluten equals tough, chewy cookies. Once that flour is *just* incorporated, fold in your two cups of chocolate chips. Use your spatula for this part; you want to gently stir them in until they are evenly distributed throughout the dough. Don’t overthink it!
Baking and Cooling Your Chocolate Chip Cookies
Drop rounded tablespoons of the dough onto your parchment-lined sheets, leaving about two inches between each mound so they have room to spread nicely. Pop them into the 375°F oven for 9 to 11 minutes. You are looking for the edges to get nice and golden brown, but the centers should still look a tiny bit soft when you pull that tray out. Seriously, don’t panic! Let the cookies rest right there on the hot baking sheets for a full five minutes. This crucial resting period lets them set up beautifully without overbaking. After five minutes, slide them over to a wire rack to cool completely. If you’re feeling eager, I found a great resource on getting perfectly gooey results if you want to compare notes later!
Tips for Success When Baking Chocolate Chip Cookies
I’ve learned a few things over the years, and trust me, baking these classic chocolate chip cookies is way easier when you know the little tricks. My number one rule? If your dough isn’t chilling, you’re probably getting flatter cookies than you want. If you have the self-control—and that’s tough, I know—wrap that dough up and stick it in the fridge for at least 30 minutes.
Chilling the dough firms up the butter just enough so they don’t immediately pancake in the oven. This gives you those beautiful, thick, chewy chocolate chip cookies we’re aiming for. It also deepens the flavor slightly, which is a huge bonus!
Also, don’t be afraid to sprinkle a tiny pinch of flaky sea salt on top of the dough balls right before they go into the oven. It sounds fancy, but that little extra sprinkle really pops against the sweetness of the melted chips. If you want to try another amazing flavor combo, you have to see my recipe for peanut butter versions!
Storing and Reheating Your Delicious Chocolate Chip Cookies
Look, the biggest problem with these cookies is that they disappear way too fast. But assuming you show some restraint and manage to save a few, how do we keep them tasting like they just came out of the oven the next day? It’s all about air—or rather, keeping the air out!
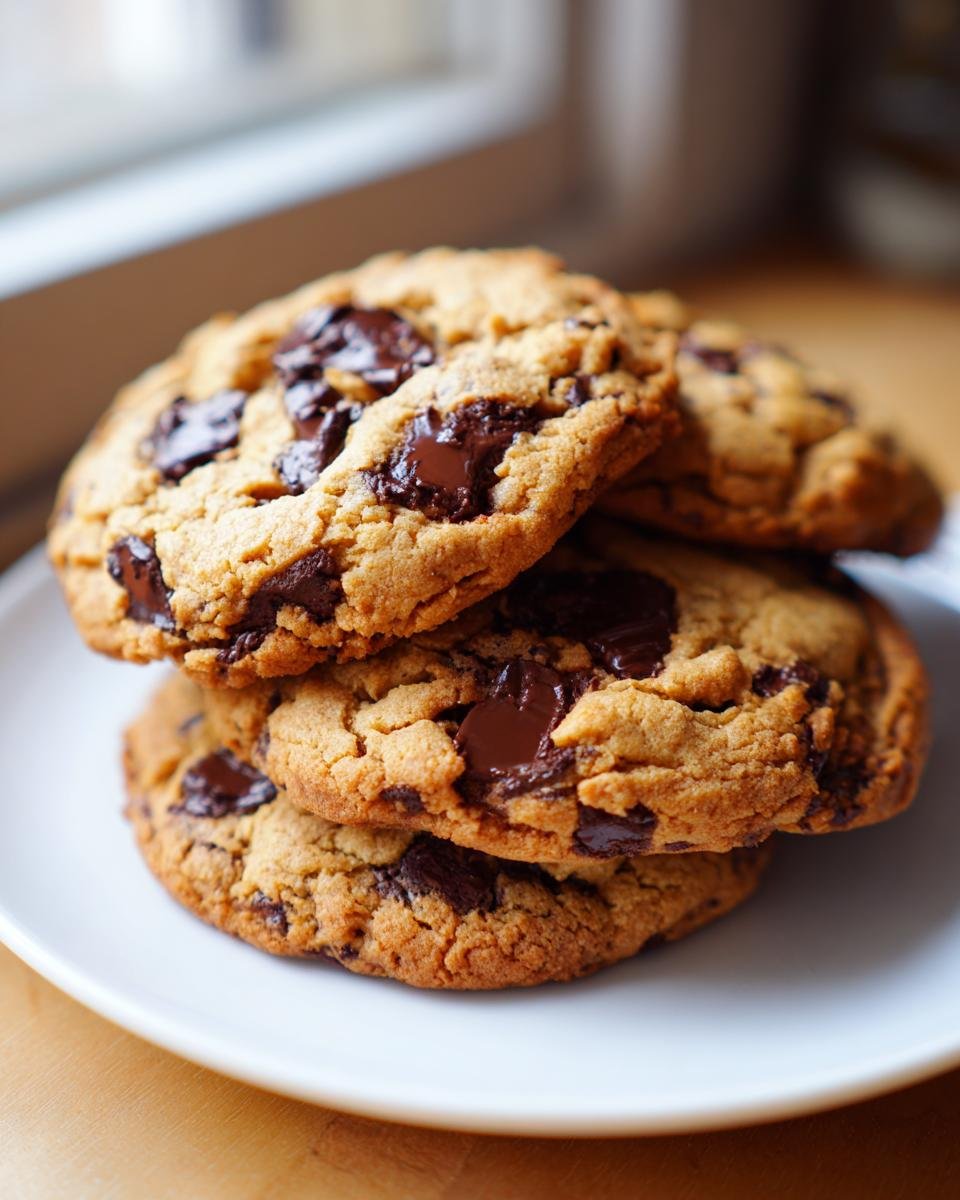
You want to store them at room temperature in an airtight container. A simple plastic container with a tight lid works perfectly fine, or even a good Ziploc bag with all the air pressed out. Seriously, keep them away from the fridge! Refrigeration tends to dry out buttery baked goods and makes them hard way too quickly. If stored correctly, a dozen of these beauties should stay wonderfully soft for a good three or four days.
How to Bring Them Back to Life
Now, sometimes they sit out a day too long, or maybe you just want that ‘just baked’ experience again. Don’t microwave them for too long, or they’ll get tough! The secret to reheating leftover cookies is using a quick burst of heat.
If you just want one or two, pop them on a microwave-safe plate for about 10 to 15 seconds. That’s just long enough to soften that chocolate back up without turning the cookie rubbery. If you are trying to save a whole batch, you can wrap a stack of three or four cookies loosely in a paper towel and zap them for about 20 seconds.
The Oven Trick for Restoring Texture
If you want that fresh-baked texture—crisp edges and soft middle—the microwave is your enemy, and the oven is your best friend. Preheat your oven to about 300 degrees Fahrenheit for just a minute or two. Place the cookies directly on the baking sheet (or a small oven-safe tray) and put them in for maybe three to five minutes. This quick blast warms them through evenly and evaporates just the slightest bit of surface moisture, giving you that perfect snap again. It’s almost magic, and it works every time!
Variations on Classic Chocolate Chip Cookies
Once you have the base recipe down—the one that nails the classic chocolate chip cookies perfectly—you can start playing around! That’s the fun part of baking, right? It’s so satisfying knowing you’ve mastered the standard, so now you can start treating it like your personal flavor sandbox. Don’t feel like you have to reinvent the wheel, though. A few tiny swaps can make a batch feel brand new.
If you have some pecans or walnuts hanging around in the pantry, toss in about a cup of roughly chopped nuts along with the chips. It adds a fantastic earthy crunch that pairs surprisingly well with the sweet chocolate. You want to make sure you chop them up, though; giant nut chunks can throw off the dough’s consistency when you’re scooping.
If you’re feeling a little more daring with your flavor profile, try swapping out some of that vanilla extract. Vanilla is wonderful, but almond extract—use it sparingly, like half a teaspoon mixed with the rest of the vanilla—gives those chocolate chip cookies a bright, almost festive undertone. It’s sophisticated.
And for my absolute favorite, easy upgrade? Flaky sea salt! After you drop those dough balls onto the parchment paper, take just a tiny pinch of flaky salt—Maldon is my favorite—and sprinkle it right over the top of each one. It seems wild, but that salty hit cuts through the richness of the chocolate and makes the whole cookie taste more complex and bakery-quality. If you’re looking for something even more decadent, you should definitely take a peek at how to double up the chocolate in my double chocolate version!
Frequently Asked Questions About Chocolate Chip Cookies
I get a ton of questions whenever I post these, so I figured I’d just lay out the biggest common issues readers run into when baking their chocolate chip cookies. Don’t worry if your first batch isn’t perfect; that’s just part of learning the rhythm of the dough!
Why do my cookies spread out so much when I bake them?
Nine times out of ten, spreading too much comes down to warm butter, I’m sorry to say! If the butter melts too fast in the oven before the structure of the flour and eggs can set up, the whole thing collapses into a giant circle. Always make sure your butter is softened, not melted, and consider chilling the dough for at least 30 minutes—that’s cookie insurance against spreading!
How do I make my chocolate chip cookies thicker instead of flat?
To combat flatness and get that beautiful thick center, you need to introduce more structure. As I mentioned before, chilling the dough helps immensely. Another trick is to increase flour by just one or two tablespoons, but only if you’re certain your butter wasn’t warm. Also, try using slightly less brown sugar and a bit more white sugar; brown sugar adds moisture, which causes spreading.
Can I bake the dough from frozen?
Oh yes, you absolutely can! Freezing dough is actually one of my favorite ways to keep them fresh for weeks. If you freeze dough balls, you just need to add a few extra minutes to the baking time—maybe 3 to 5 minutes more. Keep an eye on those edges, though; you want them golden, not burned. It’s a great way to always have fresh chocolate chip cookies ready to go!
If you ever decide you need something totally different than the classic, you should check out my waffle recipe, which surprisingly uses some of the same techniques for texture! It’s linked right here if you’re curious!
Nutritional Estimate for Chocolate Chip Cookies
Okay, last but not least, let’s touch on the numbers. I bake these beauties because they taste amazing, not because they’re health food, right? But I know a lot of you like to keep track, so I pulled together an estimate based on the ingredients listed for this batch.
Again, please remember this is just an estimate! The exact values can change based on what brand of butter or which type of chocolate chip you decide to use. Think of this as a general guideline for one cookie.
Here’s the breakdown for one single, glorious cookie:
- Serving Size: 1 cookie
- Calories: Roughly 150 calories
- Total Fat: About 8 grams, with 5 grams coming from saturated fat (that’s the butter talking!)
- Carbohydrates: Around 19 grams
- Sugar: That’s about 15 grams of sweetness
- Protein: About 2 grams
- Cholesterol: Generally around 25 milligrams
It’s a pretty standard cookie profile—lots of delicious fat and sugar to make that texture perfect. Enjoy them with a big glass of milk, and maybe just stick to one or two! Or don’t. I won’t tell anyone if you have three!
Print
Classic Chocolate Chip Cookies
- Total Time: 26 min
- Yield: About 3 dozen cookies 1x
- Diet: Vegetarian
Description
A simple recipe for making standard chocolate chip cookies.
Ingredients
- 1 cup unsalted butter, softened
- 3/4 cup granulated sugar
- 3/4 cup packed brown sugar
- 2 large eggs
- 1 teaspoon vanilla extract
- 2 1/4 cups all-purpose flour
- 1 teaspoon baking soda
- 1/2 teaspoon salt
- 2 cups semisweet chocolate chips
Instructions
- Preheat your oven to 375 degrees Fahrenheit. Line baking sheets with parchment paper.
- Beat the softened butter, granulated sugar, and brown sugar in a large bowl until creamy.
- Add the eggs one at a time, beating well after each addition. Stir in the vanilla extract.
- In a separate bowl, whisk together the flour, baking soda, and salt.
- Gradually add the dry ingredients to the wet ingredients, mixing until just combined. Do not overmix.
- Stir in the chocolate chips.
- Drop rounded tablespoons of dough onto the prepared baking sheets, about 2 inches apart.
- Bake for 9 to 11 minutes, or until the edges are golden brown.
- Let the cookies cool on the baking sheets for 5 minutes before moving them to a wire rack to cool completely.
Notes
- For chewier cookies, chill the dough for 30 minutes before baking.
- You can substitute milk chocolate or dark chocolate chips for semisweet.
- Prep Time: 15 min
- Cook Time: 11 min
- Category: Dessert
- Method: Baking
- Cuisine: American
Nutrition
- Serving Size: 1 cookie
- Calories: 150
- Sugar: 15
- Sodium: 80
- Fat: 8
- Saturated Fat: 5
- Unsaturated Fat: 3
- Trans Fat: 0
- Carbohydrates: 19
- Fiber: 1
- Protein: 2
- Cholesterol: 25
Keywords: chocolate chip cookies, classic cookies, easy cookies, dessert, baking