
When the day is long and you just need something that tastes like a hug, you simply cannot beat classic, unpretentious **Chicken And Gravy**. Forget those complicated six-hour braises; this recipe changed my life because it’s the most reliable, no-fuss way to get tender meat swimming in that rich, savory sauce. I first nailed this down years ago when I was roommates and cooking on one sputtering old electric stove. It felt like magic then, and honestly, it still feels like magic now. This isn’t gourmet fancy, it’s just undeniably delicious comfort food done right, and you’re going to make it perfectly on the first try. Trust me on this one!
Why This Simple Chicken And Gravy Recipe Works Every Time
Honestly, this recipe is my emergency dinner plan because it requires so little brainpower. I always have the ingredients on hand, and there are no tricky techniques that can throw you off track. When you need real, satisfying flavor without spending half the evening hovering over the stove, this is your go-to. It proves you don’t need fancy creams or hours of simmering to achieve true comfort.
I also love that it’s totally customizable if you need ideas later on, but the base recipe is rock solid. The secret is setting up all the layers of flavor right at the beginning. If you’re looking for an even faster way to mix up a gravy later on, check out my favorite mix recipe here: homemade country gravy mix.

Quick Prep and Cook Times for Easy Chicken And Gravy
This is truly a weeknight hero! You’re looking at getting everything ready—chopping the onion and seasoning the chicken—in just about 10 minutes total. Then, you pop it on the stove and it’s done in about 35 minutes. Twenty-five of those minutes are hands-off simmering time while the chicken gets super tender. Dinner on the table in under an hour? Yes, please!
Comfort Food That Delivers on Flavor
Even though we use simple seasonings, the flavor payoff is huge. Why? Because we’re building flavor, not just boiling chicken! Browning the pieces first creates those dark brown, savory bits stuck to the bottom of the pan—we call that ‘fond,’ and that’s liquid gold for the gravy. That base, combined with a touch of dried thyme and good quality broth, gives you that deep, rich taste you expect from the best comfort food.
- Tender Chicken: Cooked low and slow after browning, so it never dries out.
- Rich Roux: The flour mixed with the pan drippings forms the perfect, thick base.
- Simple Seasoning: Thyme and pepper do the heavy lifting here.
Gather Your Ingredients for Delicious Chicken And Gravy
Okay, let’s talk ingredients. This is where we set the foundation for that amazing sauce, so make sure you have everything measured out nearby before you even turn the stove on—I learned the hard way that trying to chop an onion while browning chicken is a recipe for burnt garlic!
You don’t need a mountain of fancy spices here. We’re keeping it beautifully simple with things you probably already have rolling around in your pantry. For gravy newbies, this is the perfect place to start because the process is so straightforward. If you want to skip the measuring sometimes, I totally get it. I sometimes rely on my homemade country gravy mix, but for this fresh pan gravy, accuracy matters!
Here is the absolute short and sweet list you’ll need for four satisfying servings:
- About 2 pounds of chicken pieces. I usually use thighs because they stay juicier, but breasts work fine too! Just make sure they’re ready to go—maybe cut large breasts in half.
- Just 1 tablespoon of olive oil to start things off.
- One medium onion—and you gotta chop this finely! We want it melting into the gravy, not chunky.
- Two cloves of garlic. Don’t even think about using the jarred stuff here; mince these fresh!
- Two cups of plain chicken broth. This is the body of our gravy, so use the best stuff you have.
- Roughly 1/4 cup of all-purpose flour. This is what thickens everything up when we cook out the raw taste.
- A teaspoon of dried thyme. This herb is the secret handshake for savory chicken dishes, trust me.
- Simple salt and pepper to taste—about 1/2 teaspoon of salt and 1/4 teaspoon of black pepper to start.
Step-by-Step Instructions for Perfect Chicken And Gravy
You’re going to see how quickly this comes together once you have your ingredients ready. These steps are crucial for getting that deep, savory flavor—especially the browning part. Don’t rush the stovetop magic! If you mess this up, your gravy might taste a little dull, so pay attention to building that flavor base first. For extra spice down the road, you can always check out my favorite Cajun method, but for now, we’re sticking to classic comfort.
Browning the Chicken for Flavor Base
First things first: We need to season those chicken pieces really well with your salt and pepper. Get your olive oil hot in a good, heavy skillet over medium-high heat. It needs to be hot enough to sear, not just sweat the chicken, so wait until the oil shimmers a bit.
Lay your chicken in—and here’s my big tip—don’t pile them in! If they touch too much, they steam instead of brown. Work in batches if you have to. You want a deep, golden-brown crust on both sides, about 3 or 4 minutes per side. Remove that beautifully browned chicken and set it aside somewhere warm. All those dark, sticky brown bits left in the pan? That is the foundation of your killer gravy!
Building the Savory Gravy Foundation
Now, turn the heat down just a hair. Toss in your chopped onion and let it soften up right there in those chicken drippings—that takes about five minutes. Once the onions are looking soft and sweet, throw in the minced garlic but only cook it for one minute. Garlic burns fast, so keep an eye on it!
Next comes the roux! Sprinkle your flour right over the onions and fat. Stir constantly for a full minute. This is non-negotiable! You have to cook out that raw flour taste, or your gravy will taste chalky. After that minute, start pouring in the chicken broth slowly, whisking like crazy as you go. Whisk until it’s smooth and all those browned bits are scraped up. Finally, stir in that teaspoon of dried thyme.
Simmering and Finishing the Chicken And Gravy
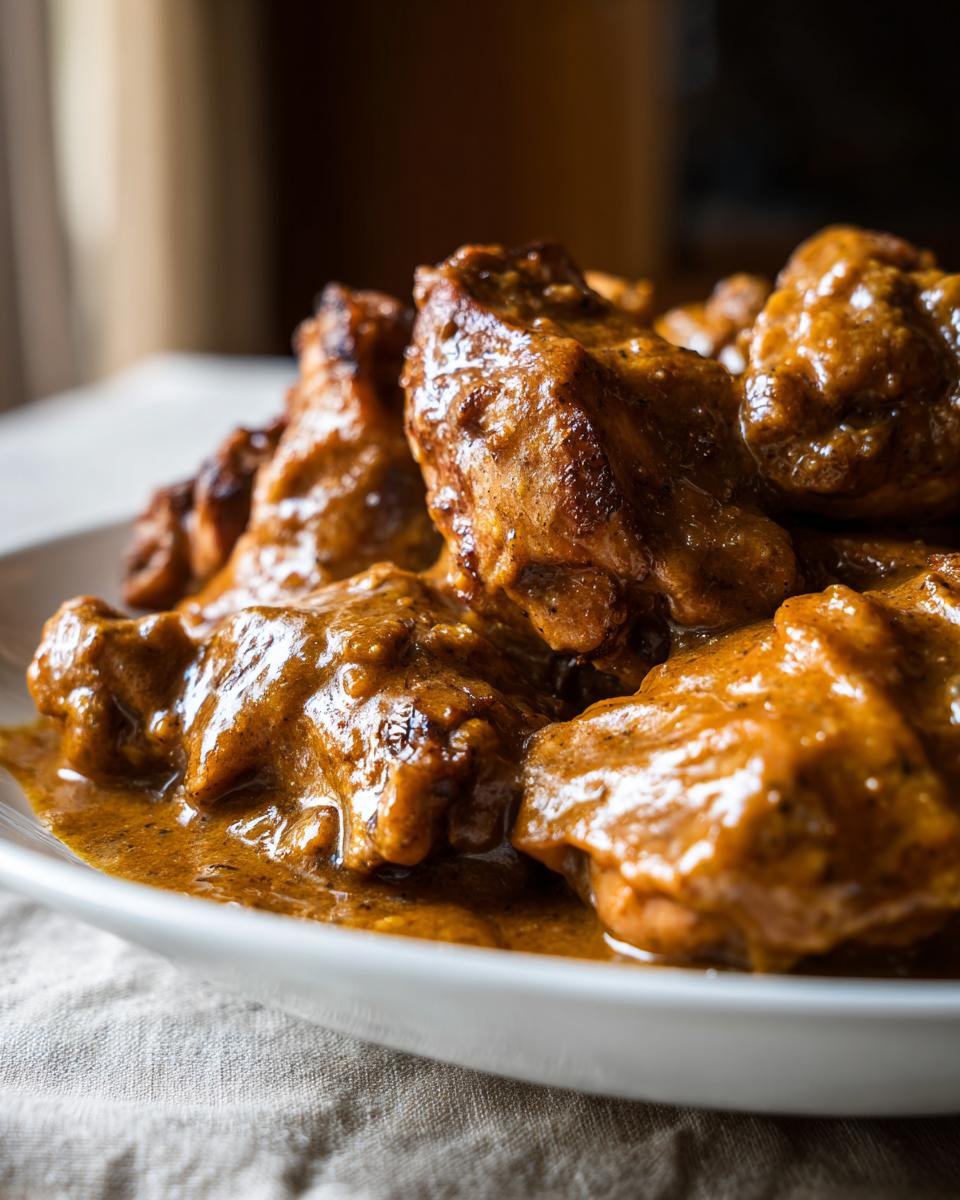
Time for the chicken to come home! Nestle all those browned pieces back into the skillet right on top of the gravy mixture. Bring it up to a gentle simmer—don’t let it boil like crazy!
Reduce the heat way down to low, cover the pan, and let it just gently bubble for about 20 to 25 minutes. This is when the chicken gets fall-apart tender. When the timer goes off, pull the chicken out and check that gravy. If it seems a little runny for your liking? No sweat! Pop the heat back up to medium, leave the gravy uncovered, and let it boil gently until it coats the back of a spoon beautifully. That’s it—serve that chicken smothered in that amazing homemade gravy!
Tips for the Best Chicken And Gravy Results
You know, even with a super simple recipe like this, there are always those little tweaks that take something from “good” to “I need to make this every Tuesday.” I find that readers sometimes get nervous when the gravy isn’t thickening fast enough, or they worry about picking the wrong cut of meat. Don’t stress! We have foolproof ways to handle those little kitchen hiccups right here.
The main recipe relies on that classic flour-based roux, which gives you that deep, opaque, savory gravy. But if you’re in a huge rush or just prefer a glossier finish, you have an easy out. If you need an extreme thickening boost, I sometimes keep my recipe for country gravy mix ready, but for this specific recipe, a quick slurry works wonders!
Thickening Your Gravy: Cornstarch vs. Flour Slurry
If you followed the steps and let your gravy simmer uncovered but it still looks a little thin for your liking, don’t just keep boiling it down forever! That’s where a cornstarch slurry saves the day. It thickens faster and gives a slightly clearer, glossier look than the flour roux we used initially.
To make one, grab a tiny little bowl—one perfect for holding a couple of tablespoons of cold water. Mix 1 tablespoon of cornstarch with 2 tablespoons of *cold* water until it’s totally smooth. If you use hot water, it clumps up instantly, so keep it cold!
Pour that slurry in a thin stream into your simmering gravy while whisking constantly. Seriously, whisk until you see it start to firm up. It thickens almost instantly! This is a great trick to remember for any sauce that needs a quick boost.
Choosing the Right Cut of Chicken
When you look at the ingredient list, you’ll see I listed both thighs or breasts. They both make fantastic **Chicken And Gravy**, but they behave differently in the pan, which is good to know so you can aim for the texture you prefer.
Chicken thighs are my personal favorite for this meal. They have more fat, which means they baste themselves as they simmer, and they are extremely forgiving. You can accidentally leave them a *tiny* bit longer, and they’ll still be tender. Thighs are great if you’re using bone-in cuts too!
Chicken breasts, however, are leaner. They cook a little faster, which is nice, but you have to be more careful during that final 20-minute simmer. If you use breasts, make absolutely certain they are cut to a uniform thickness before you start browning them. If they are too thick in one spot, that spot will dry out before the center is done, and nobody wants rubbery chicken under their gravy!
Serving Suggestions for Your Chicken And Gravy
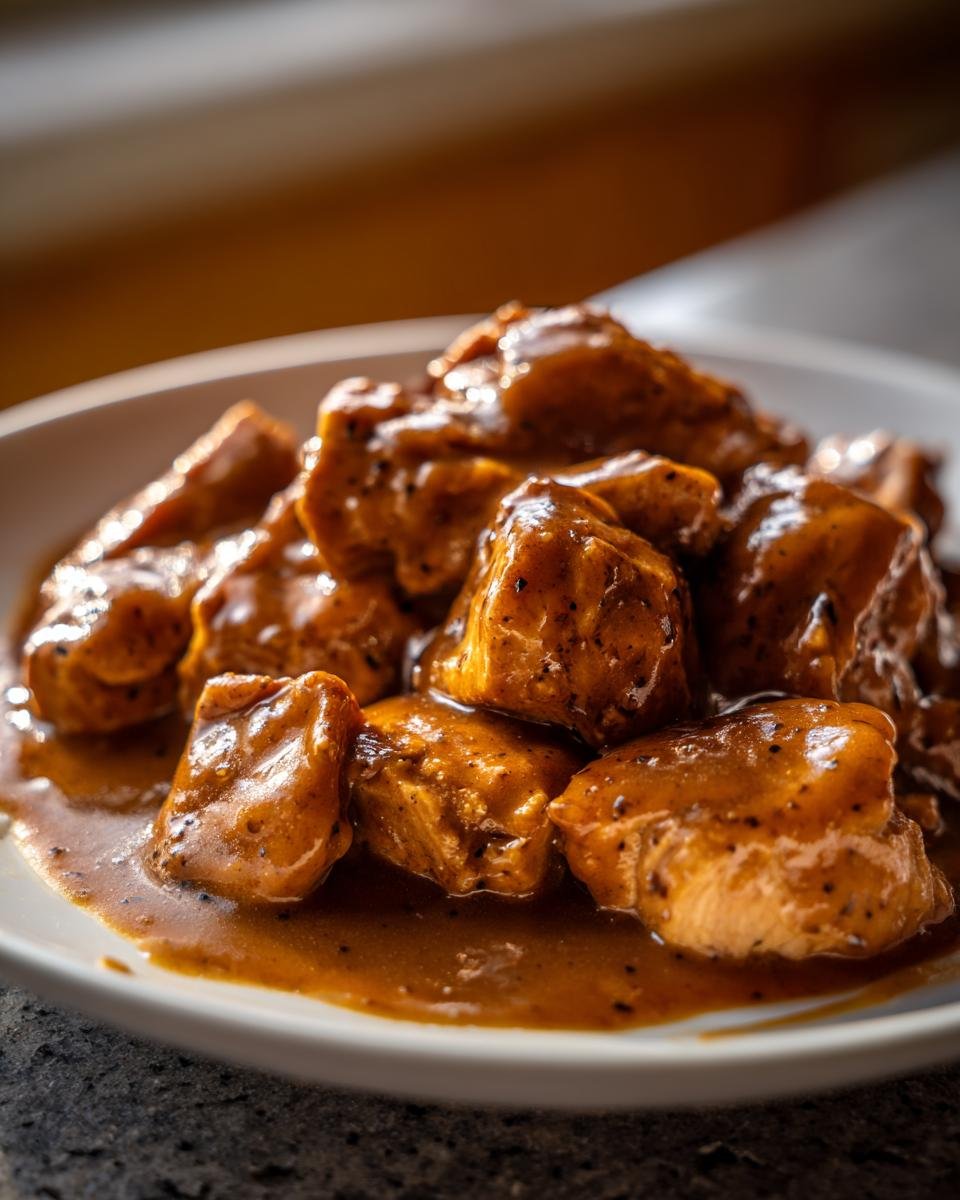
Okay, now that you have this glorious, satisfying plate of **Chicken And Gravy**, the next crucial question is: What are you going to put under it? This dish is the definition of comfort food, so you need sides that can stand up to that rich sauce pooling underneath them. I always plan my sides around what can soak up every last drop of that gravy!
You could go super simple with store-bought mashed potatoes—and I won’t judge you! But if you want to keep that made-from-scratch vibe going, here are my absolute favorite pairings. These sides make the meal feel complete and traditional.
First, you absolutely need something starchy for scooping. Creamy mashed potatoes are the classic, but if you want a little texture difference, my recipe for simple cornbread casserole is amazing for this. It bakes up fluffy and slightly sweet, which cuts through the savory saltiness of the gravy perfectly.
Next, you need something green to remind yourself you are eating vegetables. I usually aim for something roasted because you can get that done while the chicken simmers! My go-to is always delicious roasted vegetables—like broccoli, carrots, and maybe some Brussels sprouts—tossed with just salt, pepper, and garlic powder. Roasting keeps them slightly firm so they don’t get too mushy next to the tender chicken.
Finally, if you’re feeling particularly hungry or it’s a cold evening, you can never go wrong with buttered noodles. Not fancy pasta, just simple egg noodles tossed with melted butter and a tiny sprinkle of parsley. They are the ultimate soft delivery system for gravy, right alongside those potatoes. It’s heaven, trust me!
Storage and Reheating Instructions for Leftover Chicken And Gravy
The best part about making a big batch of **Chicken And Gravy** is having leftovers the next day! It’s one of those dishes that somehow tastes even better when the flavors have had a chance to really settle in overnight. But you have to store it right, especially the gravy, because gravy can misbehave if you aren’t careful.
Don’t just shove the whole skillet into the fridge—that’s asking for trouble! You want to let the chicken and gravy cool down *slightly* on the counter for about 30 minutes, but don’t leave it out for hours, of course. Food safety first!
For storage, I always recommend separating the components. The chicken texture holds up better if it isn’t swimming in liquid for days. Pop the chicken pieces into an airtight container and keep them on a shelf in the fridge. The gravy gets its own airtight container because it will firm up like a lovely savory jelly once it gets cold. Everything should last great for about three to four days in the refrigerator.
Reheating the Chicken Perfectly
When you’re ready to eat those leftovers, reheating the chicken gently is key to avoiding dryness. Since we seared the chicken first, it has a little protection, but a quick oven warm-up is always my preferred method.
Put the chicken pieces in a small, oven-safe baking dish. Don’t dump the gravy on yet! Just add a tablespoon or two of water or broth to the bottom of the dish to create steam. Cover that tightly with foil, and warm it in a 325°F oven for about 10 to 15 minutes. This keeps the chicken moist and hot all the way through without letting it get tough.
Reviving That Delicious Gravy
The gravy is simple, but it needs attention. When you take that cold, firm gravy out of the fridge, scrape it into a small saucepan over medium-low heat.
You will need to whisk it frequently as it melts. It might look a little odd at first, but keep stirring until it smooths out. If it seems too thick for your liking after it’s melted, that’s the perfect time to add a splash more chicken broth or even just water, whisking until you get that perfect drizzly consistency back. Taste it and add a pinch more pepper if you think it needs a lift. Then, pour that beautiful gravy right over your warm, tender chicken!
Frequently Asked Questions About Making Chicken And Gravy
I totally get it—sometimes after following a recipe, little questions pop up, especially when you’re working with pan drippings and creating a roux! These are the questions I get asked most often when people try my simple **Chicken And Gravy** recipe for the first time. I hope these quick tips clear up anything that trips you up so you can focus on enjoying the meal!
Don’t worry if you’re not a gravy expert yet; this recipe is designed to take you from zero to dinner hero! However, if you ever want to try a totally different flavor profile, like maybe a punchy Asian sauce, you could check out my easy kung pao beef recipe for a change of pace. But for reliable comfort, stick with these classics. Here are the answers to the big ones!
Can I make the gravy ahead of time?
Oh yes, you absolutely can, and I often do! Make the gravy the day before, let it cool, and store it in the fridge. Remember, like I mentioned in the storage section, it will solidify into a thick block. When you reheat it, you just need to scrape the cold gravy into a saucepan; add a splash of broth or water, and heat it gently over medium-low heat while whisking consistently. It comes back brilliantly!
What if my gravy separates or gets lumpy?
Don’t panic! Nobody likes lumpy gravy, and it happens to the best of us, usually because the liquid was added too quickly or wasn’t whisked enough when the flour hit the fat. If it separates (meaning the fat starts visibly floating away from the liquid), just crank the heat up slightly and whisk vigorously! The friction and heat often bring it right back together. If it’s lumpy, you can try pouring it through a fine-mesh sieve right before serving. That will catch any rogue flour clumps instantly!
Can I use water instead of chicken broth for the Chicken And Gravy?
You *can*, technically, but I really wouldn’t recommend it if you’re aiming for that deep, savory flavor this recipe promises. Chicken broth is essential because it contributes saltiness, color, and that underlying richness that defines great **Chicken And Gravy**. If you only have water, you absolutely must compensate by adding a bouillon cube or powder, or maybe a teaspoon of poultry seasoning, or your gravy will taste thin and totally lack that familiar comforting depth. Broth is always worth grabbing!
Nutritional Information Estimate
Hey, I know some of you out there are tracking macros or watching calories, and that’s totally fine! We want to enjoy our comfort food without complete guesswork, right? So, here’s a quick rundown of what you can generally expect from this dish.
Please remember, this is just an estimate because the final count can swing depending on the exact cut of chicken you use—thighs have more fat than breasts, for example—and how much of that glorious gravy you end up spooning onto your plate! We based these numbers on the serving size defined in the recipe card.
For one serving (which is roughly one piece of chicken topped with about 1/4 cup of that beautiful, homemade gravy):
- Calories: Around 350
- Total Fat: About 18 grams
- Protein Power: A whopping 38 grams! Perfect for feeling full.
- Carbohydrates: Around 10 grams
Since we’re dealing with whole ingredients and minimal sugar (mostly from the small amount in the broth or onion), you’ll notice the sugar content is really low. It’s a great, satisfying meal that really prioritizes protein!
Share Your Simple Chicken And Gravy Experience
Alright, we’ve browned the chicken, we’ve whisked the roux, and you’ve got a plate full of the best, most soul-soothing **Chicken And Gravy** you’ve ever made on a weeknight. Now comes my favorite part—hearing from you!
This recipe is a keeper, and I truly want to see how it turned out on your kitchen table. Cooking is a community activity, even when we’re working in our own homes, so please don’t be shy about telling me your results or sharing your photos online! It seriously makes my day to see this dish popping up in people’s lives.
Did you stick strictly to the plan, or did you sneak in a little something extra? Maybe you added a splash of white wine when you hit the fond? Perhaps you layered in some extra herbs? Whatever you did—good, bad, or messy—toss a comment down below! I read every single one and love getting feedback on how you customize this core recipe.
If you found this recipe helped you out on a busy Tuesday or served as the perfect throwback comfort food, I’d be so grateful if you could leave a rating right next to the title near the top of the page. And if you want to reach out directly with questions or just want to say hi, you can always use the quick contact form here: Get in touch with me! Happy cooking, and I can’t wait to see your delicious plate of comfort!
Print
Simple Chicken and Gravy
- Total Time: 45 min
- Yield: 4 servings 1x
- Diet: Low Fat
Description
A straightforward recipe for tender chicken served with a rich, savory gravy.
Ingredients
- 2 lbs chicken pieces (thighs or breasts)
- 1 tablespoon olive oil
- 1 medium onion, chopped
- 2 cloves garlic, minced
- 2 cups chicken broth
- 1/4 cup all-purpose flour
- 1 teaspoon dried thyme
- 1/2 teaspoon salt
- 1/4 teaspoon black pepper
Instructions
- Season chicken pieces with salt and pepper.
- Heat olive oil in a large skillet over medium-high heat.
- Brown chicken on both sides, about 3-4 minutes per side. Remove chicken and set aside.
- Add onion to the skillet and cook until softened, about 5 minutes.
- Add garlic and cook for 1 minute more.
- Sprinkle flour over the onions and stir constantly for 1 minute to cook out the raw flour taste.
- Gradually whisk in chicken broth until smooth. Add thyme.
- Return chicken to the skillet. Bring the liquid to a simmer.
- Reduce heat to low, cover, and cook until the chicken is cooked through, about 20-25 minutes.
- Remove chicken. If the gravy is too thin, increase heat and simmer uncovered until it thickens to your liking.
- Serve chicken topped with gravy.
Notes
- For a thicker gravy, mix 1 tablespoon of cornstarch with 2 tablespoons of cold water and stir into the simmering gravy until thickened.
- You can use chicken breasts or bone-in pieces for this recipe.
- Prep Time: 10 min
- Cook Time: 35 min
- Category: Dinner
- Method: Stovetop
- Cuisine: American
Nutrition
- Serving Size: 1 piece chicken with 1/4 cup gravy
- Calories: 350
- Sugar: 2
- Sodium: 450
- Fat: 18
- Saturated Fat: 5
- Unsaturated Fat: 13
- Trans Fat: 0
- Carbohydrates: 10
- Fiber: 1
- Protein: 38
- Cholesterol: 110
Keywords: chicken, gravy, comfort food, easy dinner, chicken and gravy