
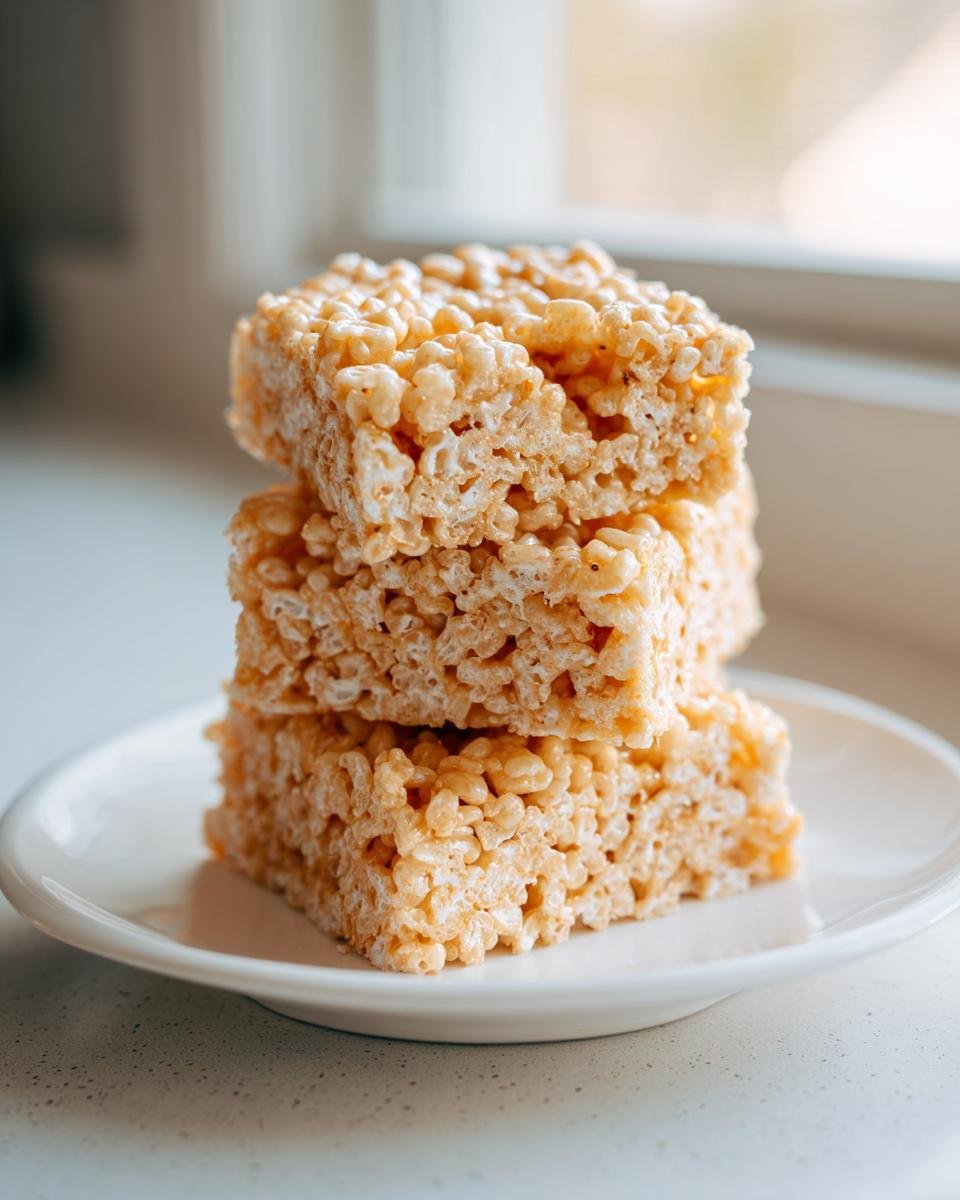
Oh my goodness, if there’s one dessert that immediately takes me back to childhood parties, rainy Saturday afternoons, and sheer, unadulterated simplicity, it’s these classics! Forget fancy frosting or endless measurements—we’re talking about the ultimate comfort food that comes together faster than you can decide what movie to watch. I promise you, this is the easiest, most foolproof way to make the absolute best Rice Krispie Treats you’ve ever tasted. I’m sticking to the tried-and-true three-ingredient method because why mess with perfection? They are chewy, sweet, and ready before the kettle even boils!
Why You Will Love These Classic Rice Krispie Treats
Honestly, these bars are the definition of an emergency dessert, and that’s why I adore them. You don’t even need an oven, which means cleanup is practically nonexistent. They are a guaranteed hit whether you’re making them for a potluck or just satisfying a sudden craving at 8 PM. Trust me, once you get the hang of it, you’ll never turn back! If you’re feeling adventurous later, you can check out my ideas for rainbow Rice Krispie Treats, but for now, we stick to the classic!

- They are ridiculously fast—seriously, ready in 15 minutes total!
- A huge crowd-pleaser; adults and kids alike always ask for the recipe.
- Absolutely no baking required, keeping your kitchen cool during the summer months.
- They taste just like the ones we used to sneak from the pantry as kids.
Speed and Simplicity: The Ultimate No-Bake Rice Krispie Treats
We are talking ten minutes of prep and five minutes of melting/mixing. That’s it! If you have cereal, butter, and marshmallows, you have dessert. It’s such a satisfying feeling knowing you whipped up a great snack with almost zero effort. You can even take the mixing bowl right to the coffee table for family fun!
Perfect Texture for Your Rice Krispie Treats Every Time
The secret sauce, besides using low heat, is definitely the marshmallows. If you use that stale, rock-hard bag hiding in the back of the cupboard, your treats will be crumbly and tough. Fresh ones—soft and pliable—melt down into that glorious, sticky web that grips the cereal perfectly. That perfect chewiness is what separates a great batch from just an okay one.
Essential Ingredients for Perfect Rice Krispie Treats
Okay, these treats only use three main building blocks, which is fantastic, but choosing the *right* versions of those blocks makes all the difference between chewy goodness and something that snaps when you bite it. You want quality here because there’s nothing else to mask the flavor!
- 6 cups Rice Krispies cereal (the original snap, crackle, pop kind)
- 1 package (10 ounces) marshmallows (make sure these are fresh, please!)
- 3 tablespoons butter or margarine (I prefer the flavor of butter, but margarine is a fine substitute)
Ingredient Notes and Substitution Tips for Rice Krispie Treats
Let’s talk marshmallows for a minute, because this is where most people mess up! If your marshmallows are dry and hard, they won’t melt correctly, and you won’t get that lovely, gooey binding agent. Always opt for soft, fresh marshmallows. If you can only find the mini ones, that’s fine—they melt faster, which is actually a bonus!
Now, about the fat. I use real unsalted butter because it adds a beautiful, creamy richness that margarine just can’t match. If you choose margarine, though, don’t worry! Your Rice Krispie Treats will still be fantastic, just slightly less rich in flavor. The texture will hold up just fine. Stick to the three tablespoons exactly, no more, no less, for the perfect ratio!
Step-by-Step Instructions for Making Rice Krispie Treats
These instructions are so straightforward, you almost don’t need them, but I always follow a rhythm to make sure they come out perfectly chewy, not hard and brittle. Remember, every second counts once those marshmallows start melting! We need to be precise during the melting phase and then move quickly when mixing everything together. Don’t worry, I’ll walk you through my exact process, including getting that beautiful initial press without sticking everything to your hands.
- Lightly grease a 13×9 inch pan. Seriously, do this first so it’s ready!
- Melt butter in a large saucepan over low heat.
- Add marshmallows and stir until completely melted and smooth.
- Remove from heat. Stir in cereal until well mixed.
- Press mixture evenly into the prepared pan.
- Cool completely before cutting into squares.
Preparing the Pan for Your Rice Krispie Treats
Before you even think about touching that butter, prep your 13×9 inch pan. My grandma’s method was always to wipe the entire inside down with butter, but I often skip that messy step now. You have a couple of great options! If you use a good quality non-stick baking spray, you’re golden. Or, my other favorite cheat is lining the pan with wax paper or parchment paper, leaving a little overhang on the sides. That way, once they cool completely, you can just lift the whole slab out and cut them into beautiful rectangles!
Melting Butter and Marshmallows for the Rice Krispie Treats Base
This is the most critical stage where patience pays off! Put your butter into the large saucepan and set the stove to low heat. I mean *low*. If you rush this and use medium or medium-high heat, you risk scorching the milk solids in the butter, and then your treats will taste funny—trust me on this one. Toss in your marshmallows and stir constantly, gently, until everything is completely melted down into one smooth, glossy mass. Don’t stop stirring or else the bottom will burn!
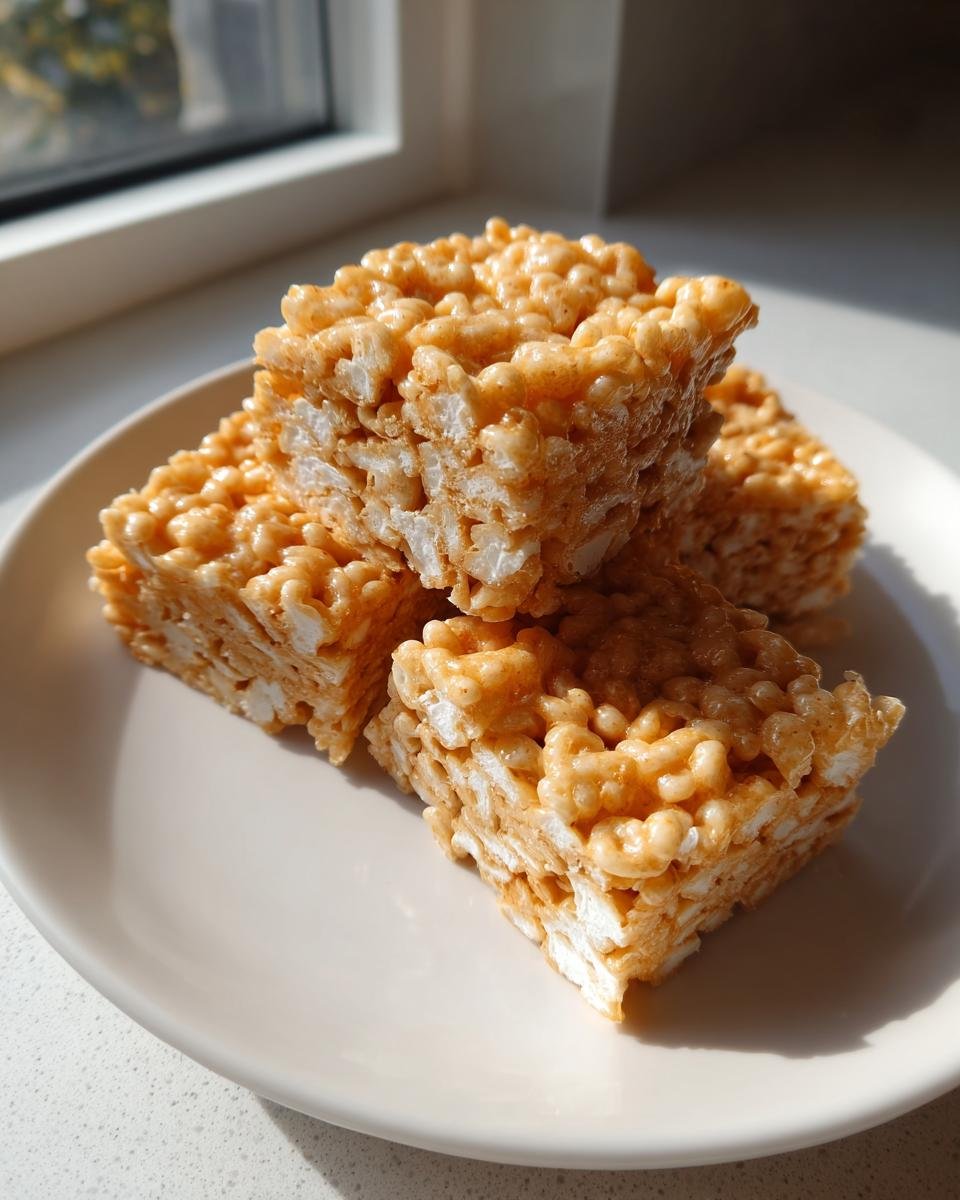
Combining Cereal and Pressing the Rice Krispie Treats Mixture
As soon as that marshmallow mixture is perfectly smooth, pull the entire saucepan *off* the heat source. This is important because if you mix the cereal while it’s still actively cooking on the stove, they will harden up like rocks when they cool down. Dump in your 6 cups of Rice Krispies and stir them in quickly until every puff is coated. Now, for pressing: grab some of that no-bake goodness and press it evenly into your prepared pan. Use a lightly greased spatula or even lightly butter your hands to prevent that awful sticking! Don’t pack it down too tightly, or they’ll be dense—just press gently until it’s an even layer.
Tips for Success When Making Perfect Rice Krispie Treats
People often ask me, “How do yours stay so soft for days?” Well, it boils down to being a little gentle and not overthinking the process once the melting starts! The number one mistake people make is leaving the marshmallow mixture on the heat for too long after the marshmallows are incorporated. You need to get them into the pan almost immediately after mixing in the cereal.
If you overcook those marshmallows, they turn into super glue when they set, and you’ll end up with something closer to a brick than a chewy bar. Think of it like this: the heat from the pan is enough to finish the job once the cereal is added. If you want those beautiful, even layers, pack them down slightly but don’t squash them! A light, even distribution makes for cleaner cuts and means every piece gets that perfect balance of marshmallow and crisp cereal. Keep an eye on your amazing 15-minute snack, and you’ll have chewy perfection!
Storage and Reheating Instructions for Rice Krispie Treats
Good news! Since these Rice Krispie Treats rely on butter and marshmallows—not baking science—they actually stay wonderfully fresh for several days if you store them right. The biggest enemy here is air, which basically sucks the moisture right out of them, turning them stale and crusty. Nobody wants a crusty Rice Krispie Treat!
The absolute best way to keep these marshmallow bars soft and chewy is to use an airtight container. After you’ve cut them into squares, place them snugly inside a container. If you’re worried about them sticking to each other, you can gently place small squares of wax paper between the layers. This is great if you’re making a huge batch for a party later in the week.
Keep them tucked away at room temperature. Seriously, do not refrigerate them! Cold temperatures make the marshmallow stiffen up faster, which is the nemesis of a chewy bar. If you store them correctly in a sealed container, you can count on these homemade Rice Krispie Treats tasting just as fresh on day three or four as they did right when you made them. I usually finish a batch in about two days, but that’s only because my family knows when I’ve made a fresh pan!
Variations to Customize Your Rice Krispie Treats
While I will always sing the praises of the classic three-ingredient version—it’s just perfect, right?—it’s also really fun to dress these things up a little bit to match a mood or a holiday! Since the base is so simple, it acts like a wonderfully blank canvas for adding flavor or color. I always try to incorporate something extra when I make a big batch for school events because it makes them feel special, even though they still take barely any time at all.
You don’t need another recipe card to change things up; you just need a little flair! Check out my fun ideas for Fourth of July Rice Krispie Treats if you want some patriotic color inspiration!
Here are my three favorite, super easy upgrades you can implement right into the main mixing step:
- A Splash of Vanilla: Right when you take the marshmallows off the heat—before you add the cereal—stir in about one teaspoon of good quality vanilla extract. It just deepens the flavor profile and makes them taste richer, almost like a sweet pastry. It’s a subtle change, but wow, it makes a difference!
- Chocolate Chip Surprise: If your family loves chocolate as much as mine does, fold in about a cup of semi-sweet chocolate chips at the same time you add the cereal. The residual heat from the marshmallow mixture will make them slightly melty, creating those lovely pockets of gooey chocolate throughout your Rice Krispie Treats.
- Color Coordination: This is the easiest trick for birthdays or holidays! Once the marshmallows are fully melted, before you add the cereal, stir in a few drops of gel food coloring. Gel colors work much better than liquid drops because they won’t thin out your marshmallow mixture. Want green for St. Patrick’s Day? Go for it! Want pink swirled in? Aim for that!
Just remember that any time you add things like chips or candy, you might need to add a tiny bit more butter or a few more marshmallows next time, just to make sure everything sticks together because you’ve added extra volume. But for these three additions, sticking to the original measurements works out perfectly!
Serving Suggestions for Your Homemade Rice Krispie Treats
So, you pulled them out of the pan, they’re cut perfectly, and that incredible buttery, vanilla-y smell is filling your kitchen. Now what? While I maintain that a plain, room-temperature Rice Krispie Treat is perfection all on its own—especially when grabbed straight from the counter for a midnight snack—sometimes a dessert calls for a little something extra!
These bars are surprisingly versatile. They are sturdy enough to handle toppings, but I usually keep my pairings simple because the treat itself is already so rich in texture. If you’re serving them as a true dessert after dinner, here are my go-to ways to elevate the experience without spending more than five minutes on preparation.
- The Classic Milk Pairing: Honestly, nothing beats dunking a fresh Rice Krispie Treat into a tall, cold glass of milk. It’s tradition! The milk softens the bottom just slightly, and it cuts through the sweetness perfectly. It brings me right back to being a kid.
- A Scoop of Vanilla Ice Cream: If you want to make these feel fancy, serve a square slightly warmed with a scoop of really good vanilla bean ice cream right next to it. If you drizzle a little caramel sauce over the top of the ice cream, you’ve got a five-star plated dessert that took you 30 seconds to throw together. I actually have a recipe for the ultimate chocolate milkshake that pairs surprisingly well with these, too, if you’re looking for maximum indulgence!
- Drizzled with Chocolate: This is my favorite way to dress them up if I make a batch ahead of time for guests. Melt about half a cup of nice milk or dark chocolate chips. Put your squares on a sheet of parchment paper and drizzle the chocolate haphazardly over the top in thin lines. Let that chocolate shell harden up for about 15 minutes at room temperature—and boom! Suddenly, your simple snack looks totally professional.
Don’t overthink it, though. If you’re packing them for a lunch box or taking them to a friend’s house, just wrap them individually in plastic wrap. They shine brightest when they are simple and delicious!
Frequently Asked Questions About Rice Krispie Treats
I get so many questions about these little beauties! Honestly, most issues people run into are because they tried to rush the cooling time or maybe they were stirring the marshmallows a little too vigorously over the flame! Don’t sweat it, though; we can fix any batch! Here are the three most common things folks ask me about their homemade Rice Krispie Treats.
Why did my Rice Krispie Treats turn out hard and crunchy?
Oh, I’ve been there! That dense, jaw-breaking texture is almost always a sign of overcooking the marshmallows. Remember how I stressed taking the saucepan completely off the heat right before adding the cereal? If you leave that gooey goodness simmering on the burner for too long after the sugar melts, it continues to cook and caramelize slightly. When that mixture cools down, it gets rock solid! My rule is: marshmallows melted, heat off, cereal in seconds later. That gentle warmth is all you need to coat the cereal for that perfect chew.
Can I use stale Rice Krispies cereal for these treats?
You really shouldn’t! I know sometimes we want to avoid waste, but the cereal is half the flavor and texture here. Stale cereal won’t absorb the marshmallow binder quite right, and you’ll end up with lackluster, dull-tasting Rice Krispie Treats. They need that fresh, crisp crunch to contrast with the soft marshmallow. If your box is a little old, try a quick experiment: pour out a cup and hold it up to the light. If it looks dull or if it doesn’t snap when you squeeze it, grab a fresh box. It’s the one ingredient where freshness truly matters for the final texture.
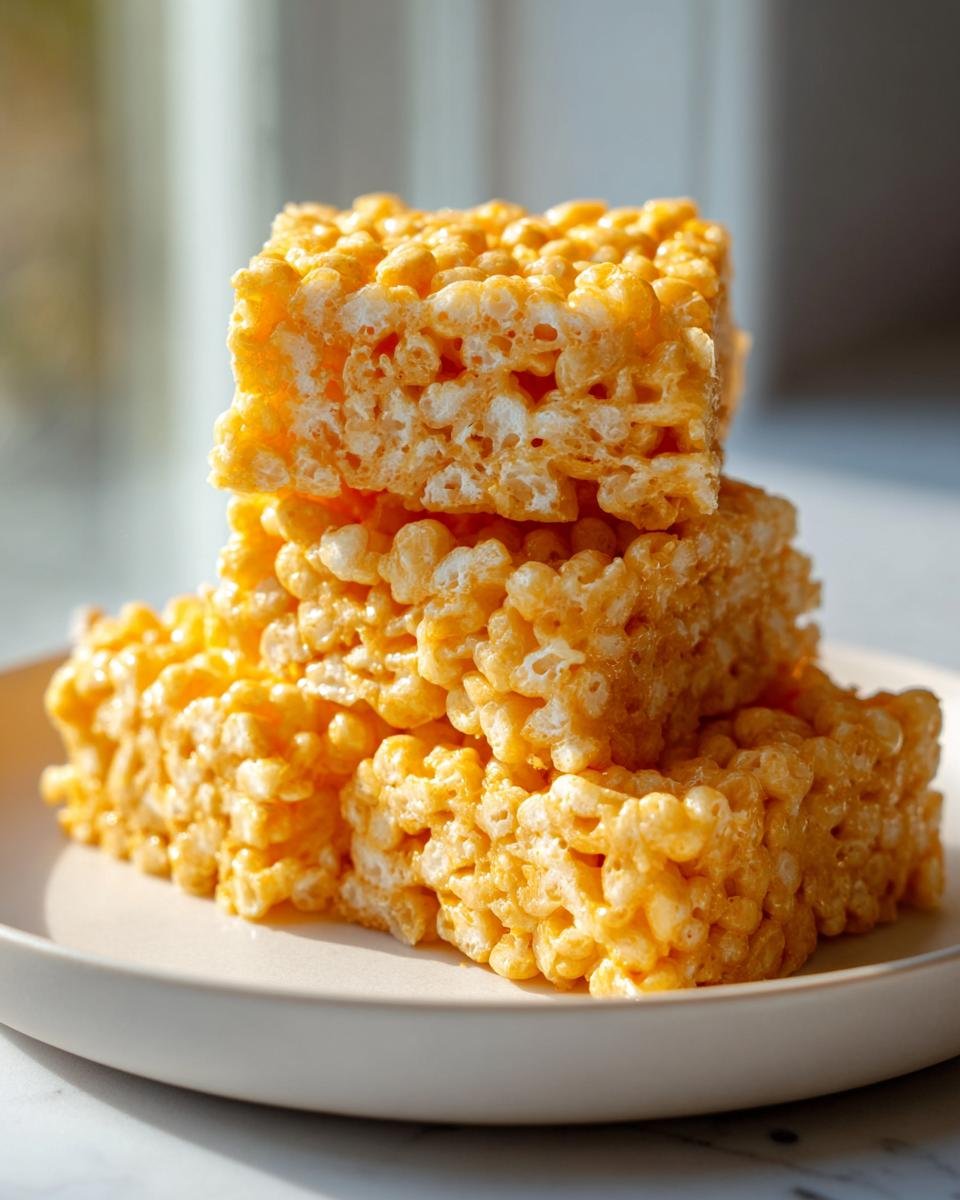
What is the best way to cut perfect squares of Rice Krispie Treats?
This takes patience, but it pays off in beautiful presentation! First, you absolutely must let them cool *completely*. I know, waiting is the hardest part when smelling that buttery goodness, but if you try to cut them while they are even slightly warm, the marshmallow will stretch, pull apart messily, and you’ll end up with jagged, sticky edges. Once they are fully set and cool, grab your sharpest knife. To make sure the knife doesn’t stick to the cuts, lightly spray it with non-stick cooking spray or wipe the blade down with a little butter before each slice. Go slow and steady—firm pressure for a clean break!
Estimated Nutritional Snapshot for Rice Krispie Treats
I’m not going to lie, these homemade Rice Krispie Treats aren’t exactly what I’d call a health food! They are pure comfort, sugar, and butter, and that’s okay sometimes. When you’re making something this nostalgic and delicious, you probably aren’t counting macros, but it’s good to have a general idea of what you’re grabbing when you cut that next square.
Here’s a general breakdown of the nutrition based on the recipe serving 18 squares. Keep in mind that using real butter versus margarine, or even the brand of marshmallow you choose, might shift these numbers a little bit. These values are estimates, so treat them as a general guide rather than a strict guarantee!
- Serving Size: 1 square
- Calories: 120
- Sugar: 12g
- Sodium: 100mg
- Fat: 4g
- Saturated Fat: 2.5g
- Unsaturated Fat: 1.5g
- Trans Fat: 0g
- Carbohydrates: 20g
- Fiber: 0.5g
- Protein: 1g
- Cholesterol: 10mg
See? Nothing too scary, especially when you remember this is a special treat you make maybe once or twice a year! Enjoy every single bite knowing you made them yourself with love.
Print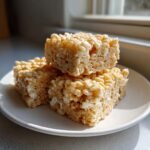
Simple Rice Krispie Treats
- Total Time: 15 min
- Yield: 18 squares 1x
- Diet: Vegetarian
Description
A quick recipe for classic marshmallow and cereal bars.
Ingredients
- 6 cups Rice Krispies cereal
- 1 package (10 ounces) marshmallows
- 3 tablespoons butter or margarine
Instructions
- Lightly grease a 13×9 inch pan.
- Melt butter in a large saucepan over low heat.
- Add marshmallows and stir until completely melted and smooth.
- Remove from heat. Stir in cereal until well mixed.
- Press mixture evenly into the prepared pan.
- Cool completely before cutting into squares.
Notes
- Use fresh marshmallows for the best texture.
- For easier handling, lightly grease your hands or a spatula before pressing the mixture into the pan.
- Prep Time: 10 min
- Cook Time: 5 min
- Category: Dessert
- Method: No Bake
- Cuisine: American
Nutrition
- Serving Size: 1 square
- Calories: 120
- Sugar: 12
- Sodium: 100
- Fat: 4
- Saturated Fat: 2.5
- Unsaturated Fat: 1.5
- Trans Fat: 0
- Carbohydrates: 20
- Fiber: 0.5
- Protein: 1
- Cholesterol: 10
Keywords: Rice Krispie Treats, marshmallow bars, cereal treats, no bake dessert, easy snack