
Oh, you know how much I live for October baking! There’s just something about the crisp air whispering that it’s time for spices and cozy nights that gets my flour flying. Forget the complicated pumpkin cut-outs that stress everyone out; I have found the absolute easiest, cutest, and most delicious way to celebrate the season. We are talking about vibrant, fun, and shockingly simple Milk Chocolate Jack O Lantern Cookies!
These cookies are my go-to because they look like you spent hours fussing over them, but honestly, they’re just two slightly different doughs pressed together. I remember one year, right before my nephew’s first big school Halloween party, my oven decided to take a vacation. I thought I was doomed! But I pulled this recipe out—the one where you color the dough instead of intricate icing—and saved the day. The chocolate chips melting inside that little orange pumpkin? Perfection.

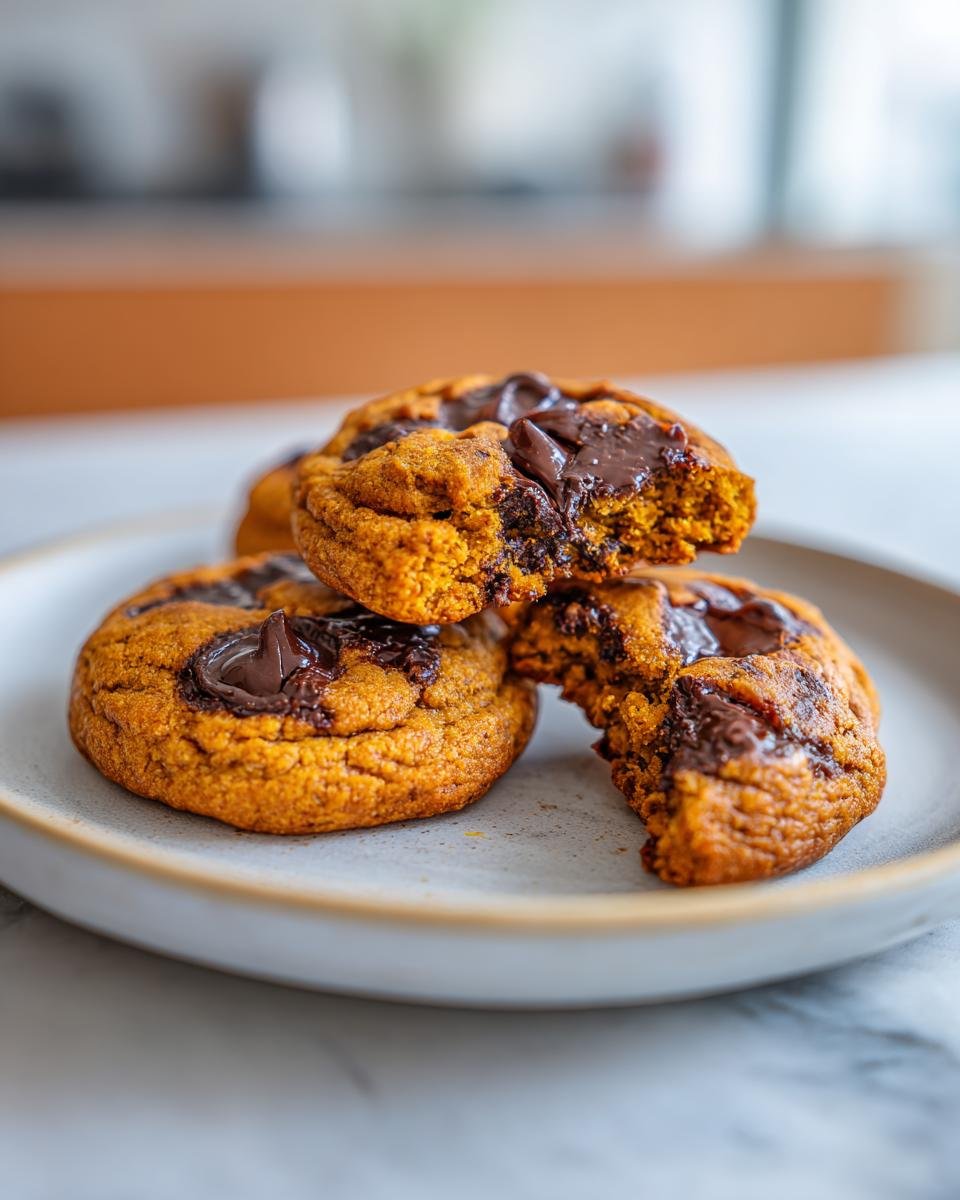
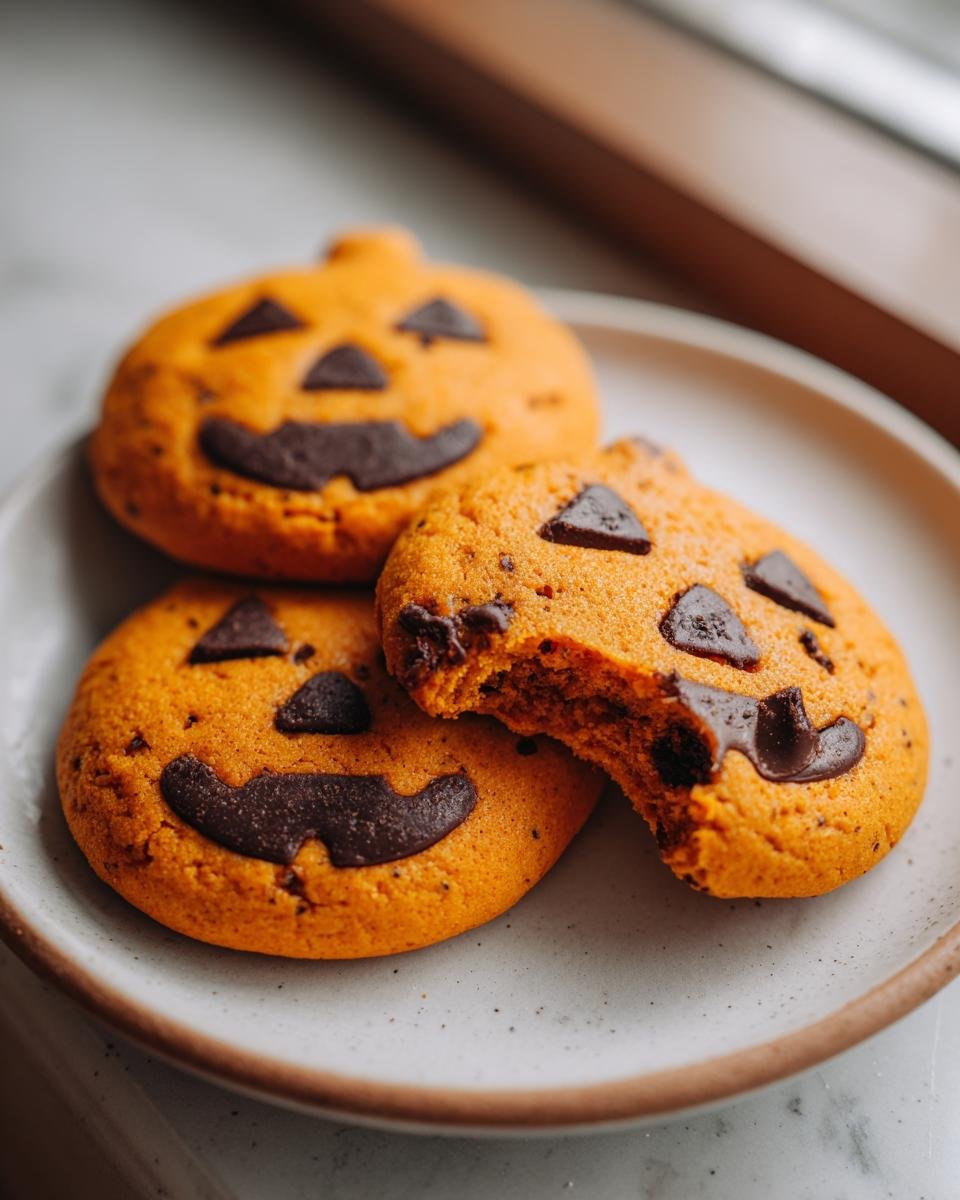
These Milk Chocolate Jack O Lantern Cookies are guaranteed crowd-pleasers, and they don’t require a degree in piping skills. We hide sweet little milk chocolate chips right inside the color, making them decadent and totally festive. Let’s get baking before the spooky season passes us by!
Why You Will Love These Milk Chocolate Jack O Lantern Cookies
Honestly, these cookies check every single box for fall baking excitement. They’re the perfect balance of festive fun and supreme deliciousness. You really can’t go wrong when you combine bright color with melty chocolate!
- No Fussy Piping Required: Forget the headache of trying to draw perfect triangles; we use simple dough cut-outs for the faces. Trust me, this makes cleanup so much better.
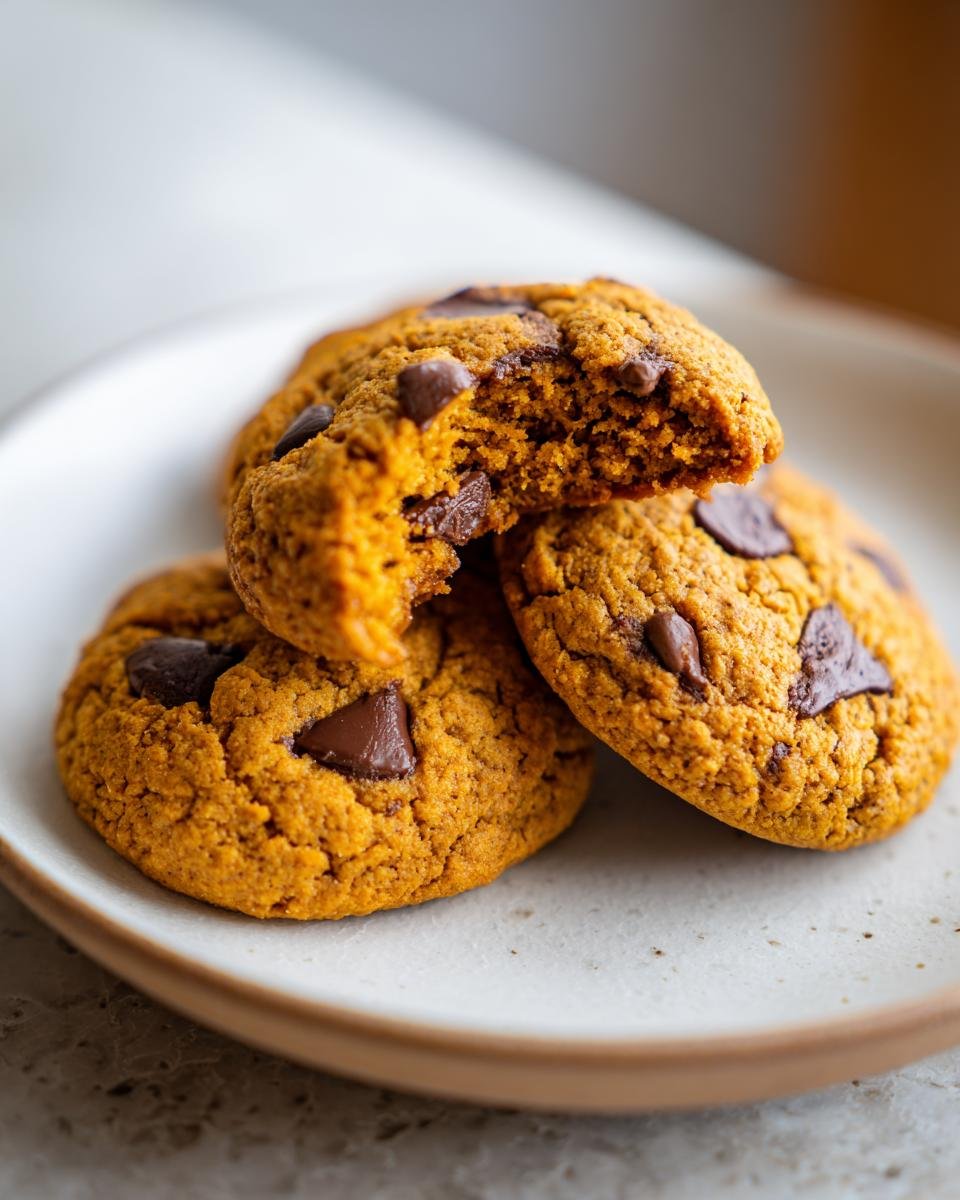
- Surprise Milk Chocolate Center: Who doesn’t love finding a melted chocolate pocket inside a soft sugar cookie? The milk chocolate chips are tucked right inside that orange dough.
- Vibrant Color that Pops: A little bit of orange gel coloring makes these look incredibly festive on the platter without needing fancy frosting techniques.
- Super Quick Bake Time: Once the dough is chilled, these babies are in and out of the oven in less than 10 minutes. Perfect for last-minute spooky party preparations! If you like fast cookies, you should check out my snickerdoodle cake mix cookies too!
Essential Ingredients for Perfect Milk Chocolate Jack O Lantern Cookies
Okay, this might seem like a lot of little components, but once you look at the list, you’ll see it’s just a standard sugar cookie base with a few fun additions! Getting the proportions right, especially with the flour and the butter, is how we keep these cookies from spreading all over the pan. Please, please make sure your butter is truly softened, not melted! It makes such a huge difference in the creaming step.
We’ve got the main dough, the colorful bits with the chocolate hidden inside, and finally, the little details. If you’re looking for an amazing recipe for classic melted chocolate chips, don’t forget to check out my take on the original Toll House cookies!
For the Cookie Dough Base
- 1 cup unsalted butter, make sure it’s softened up nicely on the counter!
- 1 cup granulated sugar
- 1 large egg—just one, don’t be tempted to add more!
- 1 teaspoon vanilla extract
- 2 3/4 cups all-purpose flour
- 1 teaspoon baking soda
- 1/2 teaspoon salt
For the Jack O Lantern Coloring and Filling
- 1/2 cup milk chocolate chips—these are the sweet surprise inside!
- Orange food coloring gel—I stress the *gel* here! Liquid coloring adds too much moisture and can make the dough sticky. Gel gives us vibrant color with almost no extra liquid.
For the Facial Details
- Black decorating gel or icing—this is for drawing those little triangular eyes and smiles once the cookies are totally cool.
Expert Tips for Making Milk Chocolate Jack O Lantern Cookies
Baking these cookies is easy, but getting that perfect, defined pumpkin shape? That takes just a couple of little tricks I’ve learned over the years. Don’t skip the chilling part, seriously! If you rush it, the dough will get too soft when you cut the shapes, and your beautiful pumpkins might turn into sad, flat ovals while baking. That’s a rookie mistake I only made once!
Another thing: when you’re working with the two doughs—the orange and the plain—handle them as little as possible. Warm hands equal soft dough. Try chilling your cookie cutters in the freezer for about ten minutes before you start cutting the shapes out. This helps keep the edges super sharp so you get those crispy lines, a trick I also use a lot when making sugar cookie bars.
For the faces, remember that the plain dough you use for the eyes and mouth will puff up *just a tiny bit*. So, even if you cut a perfect tiny triangle, it will bloom slightly. Plan for that little bit of spread when you place the pieces on the pumpkin.
Step-by-Step Instructions for Your Milk Chocolate Jack O Lantern Cookies
Alright, grab your mixer! This is where the magic starts to look like actual Halloween fun. We’re going to move step-by-step, making sure everything is mixed just enough—remember, we don’t want tough cookies here! If you’ve ever made a perfect simple sauce, you know that timing is everything; it’s the same for cookies. For great flavors, check out my guide for making homemade simple pasta sauce in 30 min, because even cooks need dinner!
Mixing the Dough and Coloring
First things first, cream that softened butter with the sugar until it’s pale and fluffy. Don’t rush this part; you’re building air into the cookie! Then beat in the egg and vanilla until everything is happy and combined. In a separate bowl, whisk your flour, baking soda, and salt.
Now, add those dry ingredients to the wet ones slowly, mixing until it *just* comes together. Seriously, stop mixing as soon as you don’t see streaks of dry flour anymore. Divide that dough right down the middle. Take one half and start adding your orange gel coloring drop by drop until you get that perfect, vibrant pumpkin shade. Mix until uniform. Finally, gently fold those sweet milk chocolate chips right into the orange dough. Don’t overmix when adding those chips!
Chilling and Preparing for Baking
This is non-negotiable: wrap both the orange dough and the plain dough tightly in plastic wrap. They need to chill in the fridge for a minimum of one hour. If your kitchen is warm, definitely go for an extra 30 minutes! Chilling stops the butter from melting too fast, which keeps your little pumpkins from spreading out too thin.
When that hour is up, preheat your oven to 375 degrees Fahrenheit. Make sure you line your baking sheets with parchment paper. It ensures easy cleanup and helps prevent sticking, which is always a win on busy baking days!
Cutting Shapes and Assembling the Jack O Lantern Faces
Time to roll! Roll out the orange dough to about a quarter-inch thickness. Use your pumpkin cookie cutter to press out your main shapes and place those on the lined sheets.
Next, take the plain dough and roll it out to the same thickness. Now, here’s the fun part: you need to make their faces. You have two options! You can cut tiny circles, triangles, and slivers out of the plain dough and carefully press them onto the orange pumpkin shapes to form the eyes and mouth. OR, you can use a very small knife or a tiny cutter to cut those shapes *out* of the orange pumpkin dough entirely, and then plug those holes with small pieces of the plain dough. Both ways work, but cutting out the holes generally gives you a cleaner look!
Baking, Cooling, and Decorating
Pop those assembled treats into the preheated oven and bake them for just 8 to 10 minutes. You’re looking for edges that are just starting to look lightly golden. Immediately after they come out, let them sit right there on the hot baking sheet for about 5 minutes—this lets them firm up so they don’t fall apart.
After 5 minutes on the sheet, gently move them over to a wire rack to cool completely. And whatever you do, do *not* try to decorate them while they are even slightly warm! Once they are totally cool, pull out that black decorating gel. This is where you give them personality—draw in those little jack-o’-lantern details! A quick little swirl of icing makes them look professionally done.
Ingredient Notes and Substitutions for Milk Chocolate Jack O Lantern Cookies
Everyone asks about the color! I insist on using orange food coloring *gel* because liquid coloring is mostly water, and adding too much water to our perfect cookie dough makes everything too soft. We want firm dough so those cute faces don’t melt away, otherwise, you’ll end up with a soupy mess, something like what happens if you don’t follow the moisture secrets in my blueberry coffee cake recipe!
If you don’t have a tiny cutter for the eyes, don’t panic. Just use the tip of a sharp paring knife to quickly carve out the shapes from the orange dough. It takes a steady hand, but it works perfectly! As for the milk chocolate chips, if you had to use dark chocolate chips in a pinch, the cookie would taste great, but the orange color might look a little muddy when they melt slightly against the coloring. Stick to milk chocolate for the best visual pop!
Storage and Make-Ahead Tips for Your Milk Chocolate Jack O Lantern Cookies
These cookies are just as good the next day, which is crucial for holiday baking when you need things done ahead of time! The key is making sure they are completely cool before you wrap them up, otherwise, you’re setting yourself up for a soggy disaster.
Once they are totally cooled down from the wire rack, I store my Milk Chocolate Jack O Lantern Cookies in a fairly airtight container. I learned a trick from my sister when we were packing up fresh herbs preserved in oil—she said always put a single paper towel in the bottom of the container. It absorbs any tiny bit of moisture that might try to migrate and ruin the crisp edges we worked so hard to achieve!
They stay perfectly fresh at room temperature for about four or five days. If you need to make them even further ahead? You can definitely freeze the cut-out shapes before baking, or freeze them after they are baked! If you freeze them baked, just make sure the black icing details are fully set first. Place them in a single layer in a freezer bag, maybe with a little wax paper layered between batches, and they’ll be great for up to three months. Then you just let them thaw on the counter, and they’re ready to go!
Serving Suggestions for Milk Chocolate Jack O Lantern Cookies
What’s better than biting into a soft, chocolate-flecked cookie shaped like a pumpkin? Only having the perfect drink right alongside it! My first choice, always, is a super cold glass of whole milk. It just cleanses the palate and lets that vanilla and milk chocolate shine through.
For the grown-ups, these cookies pair beautifully with hot black coffee—the slight bitterness cuts right through the sweetness of the sugar cookie base. And during those really chilly October evenings, you absolutely have to have one dunked into a rich cup of hot chocolate. If you are going all out, try making my ultimate chocolate milkshake and enjoy the cookie crumbled right on top! It’s pure decadence.
Frequently Asked Questions About Milk Chocolate Jack O Lantern Cookies
I always get the same questions when I post pictures of these little guys online! They are so straightforward once you know the little secrets, but there are always a few things people worry about before they dive into making their own batch of these fun pumpkin cookies.
Can I skip chilling the dough for these Milk Chocolate Jack O Lantern Cookies?
Oh, honey, please don’t try it! If you skip the mandatory hour of chilling—or the extra half hour if you’re in a hot kitchen—the butter in the dough will soften up too much while you’re rolling and cutting. When those soft cookies hit the 375-degree oven, they will immediately lose all definition. That means your adorable pumpkin shape will slump, and those sharp little facial features you carefully placed using the plain dough will just melt right into the orange. For the best looking Halloween cookies, chilling is your best friend!
What is the best way to get crisp edges on my Milk Chocolate Jack O Lantern Cookies?
Crisp edges really come down to two things we talked about: keeping things cold and keeping the dough thickness consistent. Make sure you roll both the orange dough and the plain dough to that 1/4 inch mark. If one part is thicker than the other, it bakes unevenly, and the thinner part burns before the thick part is done, leading to soft edges overall. Also, make sure your baking sheets aren’t overloaded! Giving the cookies a little breathing room on the pan helps the heat circulate correctly, resulting in even browning and those nice, slightly crisp edges all the way around.
Are these Milk Chocolate Jack O Lantern Cookies suitable for cookie exchanges?
Absolutely, yes! These are fantastic for cookie exchanges because they look so much more complicated than they are. The nice thing about using a firm sugar cookie base plus the milk chocolate chips inside is that they hold up really well to transport. They aren’t super delicate like shortbread, and since the faces are made from dough pieces—not delicate piped icing—they are pretty sturdy. Just make sure the black icing details are completely dry and set before you stack them in your tin or trade box!
Estimated Nutritional Information for Milk Chocolate Jack O Lantern Cookies
I always toss this information up here because, let’s be real, we aren’t making these cookies for their health benefits, are we? They are a treat, a spooky season indulgence! But I know some of you are tracking things, so here is what my trusty calculator came up with for a single cookie based on the ingredients list.
Remember, these numbers are just an estimate! If you use a different brand of butter, or swap out some of the milk chocolate chips for dark, these values are going to shift a bit. Think of this as a really good ballpark figure based on the standard measurements we use for these delightful Milk Chocolate Jack O Lantern Cookies.
- Serving Size: 1 cookie
- Calories: 180
- Sugar: 15g
- Sodium: 90mg
- Fat: 10g
- Saturated Fat: 6g
- Unsaturated Fat: 4g
- Trans Fat: 0g
- Carbohydrates: 22g
- Fiber: 1g
- Protein: 2g
- Cholesterol: 30mg
If you’re worried about sugar, remember you can always reduce the granulated sugar in the base dough by just a touch, but I wouldn’t go more than a couple of tablespoons less, or the texture might not come out right! Enjoy them!
Print
Milk Chocolate Jack O’Lantern Cookies
- Total Time: 90 min
- Yield: 24 cookies 1x
- Diet: Vegetarian
Description
Simple, festive cookies shaped like jack-o’-lanterns using milk chocolate.
Ingredients
- 1 cup unsalted butter, softened
- 1 cup granulated sugar
- 1 large egg
- 1 teaspoon vanilla extract
- 2 3/4 cups all-purpose flour
- 1 teaspoon baking soda
- 1/2 teaspoon salt
- 1/2 cup milk chocolate chips
- Orange food coloring gel
- Black decorating gel or icing
Instructions
- Cream together the softened butter and sugar until light and fluffy.
- Beat in the egg and vanilla extract.
- In a separate bowl, whisk together the flour, baking soda, and salt.
- Gradually add the dry ingredients to the wet ingredients, mixing until just combined.
- Divide the dough in half. Add a few drops of orange food coloring gel to one half and mix until the color is uniform. Leave the other half plain.
- Gently fold the milk chocolate chips into the orange dough.
- Wrap both dough halves in plastic wrap and chill for at least 1 hour.
- Preheat your oven to 375 degrees Fahrenheit. Line baking sheets with parchment paper.
- Roll out the orange dough to about 1/4 inch thickness. Cut out pumpkin shapes using a cookie cutter.
- Roll out the plain dough to about 1/4 inch thickness. Cut out smaller circles or use a small cutter for the eyes and mouth shapes.
- Place the pumpkin shapes on the prepared baking sheets. Place small pieces of the plain dough onto the orange dough to form eyes and a mouth, or use a small knife to cut out shapes from the orange dough and fill the holes with small pieces of the plain dough.
- Bake for 8 to 10 minutes, or until the edges are lightly golden.
- Let the cookies cool on the baking sheet for 5 minutes before transferring them to a wire rack to cool completely.
- Once cool, use black decorating gel or icing to draw details onto the jack-o’-lantern faces if desired.
Notes
- For a smoother dough, chill the dough for an extra 30 minutes.
- You can use a small round tip to pipe the facial features instead of cutting shapes.
- Store cooled cookies in an airtight container at room temperature.
- Prep Time: 30 min
- Cook Time: 10 min
- Category: Dessert
- Method: Baking
- Cuisine: American
Nutrition
- Serving Size: 1 cookie
- Calories: 180
- Sugar: 15
- Sodium: 90
- Fat: 10
- Saturated Fat: 6
- Unsaturated Fat: 4
- Trans Fat: 0
- Carbohydrates: 22
- Fiber: 1
- Protein: 2
- Cholesterol: 30
Keywords: milk chocolate, jack o lantern, cookies, Halloween, pumpkin, sugar cookie