
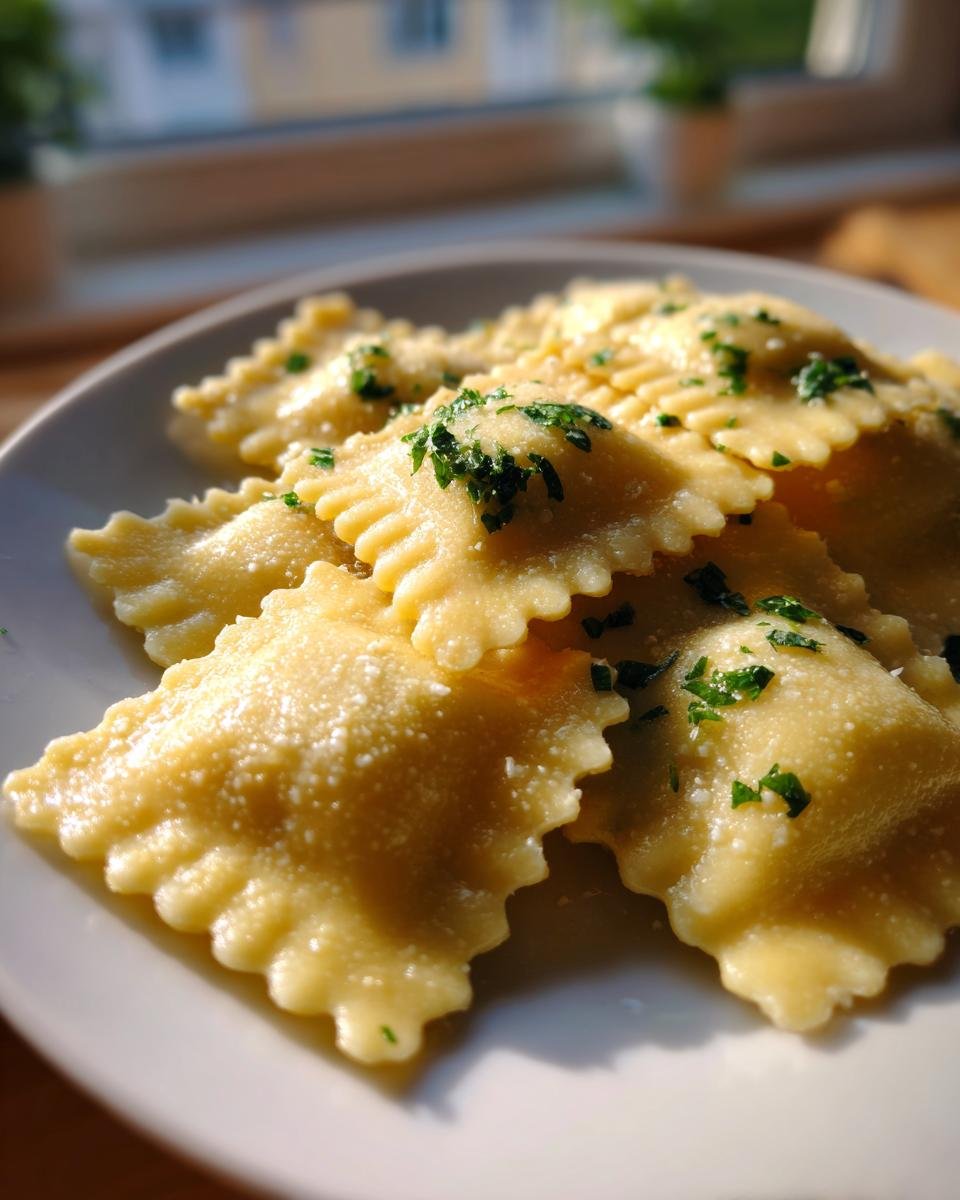
Oh my goodness, there is nothing on earth that beats the taste of truly fresh pasta. Nothing! I remember my first time making pasta dough years ago—it was messy, I nearly cried when it felt too stiff, and I’m pretty sure I got flour in my hair—but the result? Spectacular. Forget those dry boxes on the shelf; this recipe is your personal ticket to making authentic, pillowy **Italian Ravioli** right in your kitchen. Seriously, this guide strips away all the intimidation. If I could handle it back then, you absolutely can nail this ricotta filling and those perfect pasta sheets! If you’re feeling ambitious after mastering these, you should check out 10 delicious pasta dishes later on.
Why You Will Love Making Homemade Italian Ravioli
Once you taste these, you’ll never go back. Trust me!
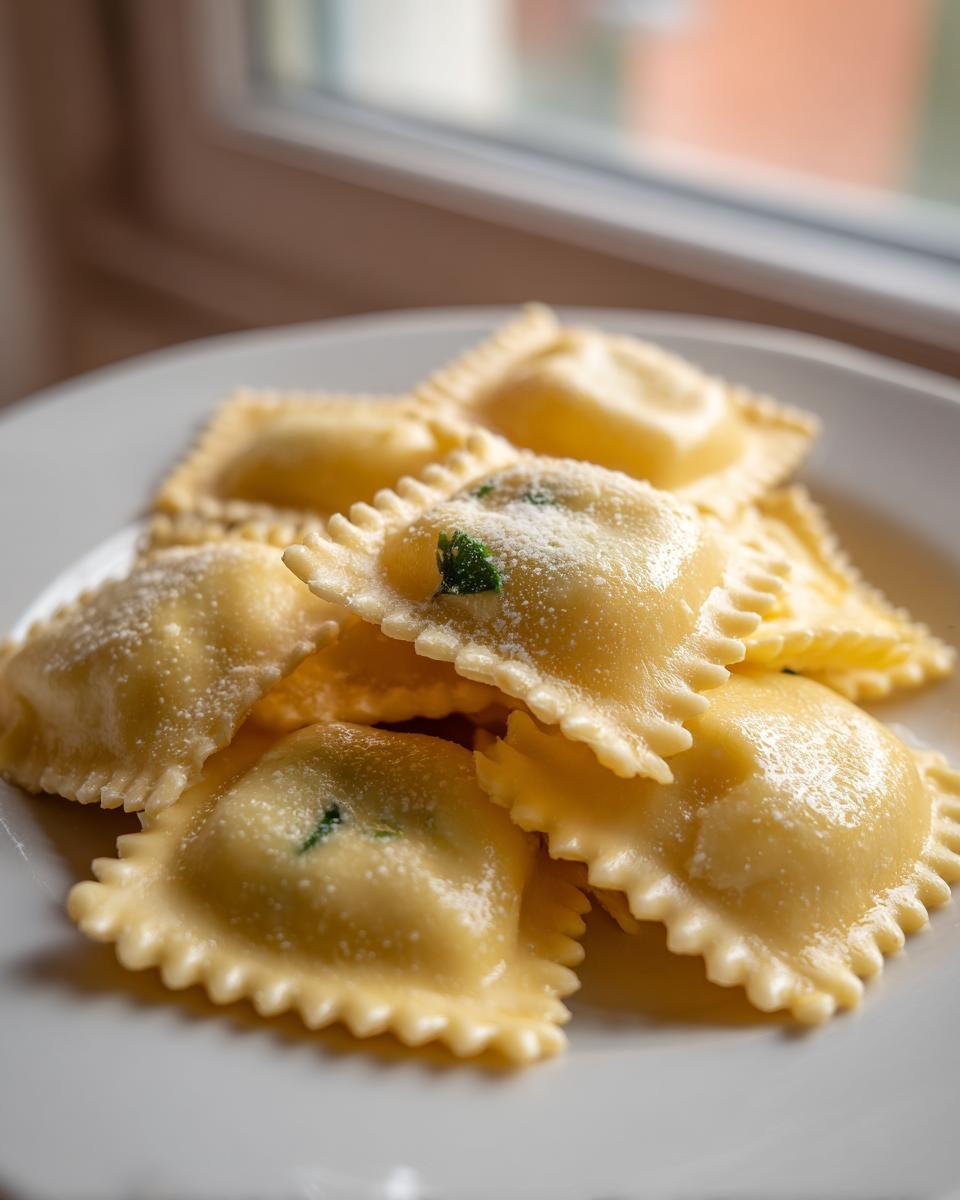
- The texture is unbelievable—tender, delicate, and miles away from anything store-bought.
- You control every flavor in that ricotta filling!
- That pride you feel when you cut the perfect square? Priceless!
If you want something amazing to serve alongside your masterpiece ravioli, consider whipping up some buttery garlic breadsticks.
Essential Ingredients for Perfect Italian Ravioli
Okay, for these beautiful homemade ravioli, precision matters, especially with the filling. You can’t just wing it! First, you absolutely must use two cups of all-purpose flour—that’s the backbone of great pasta. For the filling, the most important part is starting with a cup of ricotta cheese that has been thoroughly drained. I mean it, we want ricotta, not watery cheese soup! Then, we bring in a half cup of Parmesan that’s freshly grated, not the dusty stuff from the shaker! Fresh herbs truly sing, so chop up a quarter cup of fresh parsley.
For binding and flavor, we need three large eggs for the dough, plus an extra egg yolk reserved just for sealing those pockets shut. Don’t forget that tablespoon of olive oil for richness when mixing the pasta, and a half teaspoon of salt for the dough. If you ever explore freezing fresh herbs for later use, remember to check out how I do that!
Expert Tips for Perfect Italian Ravioli Dough
Getting the dough right is the key to making ravioli that feels luxurious, not tough. This is where you can really make your **Italian Ravioli** shine above anything you buy pre-made. You need to treat the dough right here—it’s going to feel stiff at first, but hang in there! A good dough is the foundation for those thin, beautiful sheets we need later on.
Mixing and Kneading the Italian Ravioli Dough
Start by making your flour volcano on the counter—that classic well in the center—and drop in your eggs and olive oil. Now, gently pull the flour in from the sides. Don’t rush it and dump it all in, or you’ll end up with a flour explosion everywhere! Once it’s shaggy, it’s time for the main event: kneading. You need to work this dough for a solid 8 to 10 minutes. I know, it feels like a workout, but you’re building structure. When it stops fighting you and feels smooth, elastic, and springs back when you poke it, you’ve done it right. If you want an amazing sauce for these, check out my tip for an amazing homemade pasta sauce.
Resting the Dough for Better Italian Ravioli Sheets
This next step is non-negotiable, so don’t skip it! Once that dough is perfectly kneaded, wrap it up tight in plastic wrap. Why? The gluten needs a serious break after all that aggressive kneading. If you try to roll it immediately, it will just spring back on you every single time. Let it rest on the counter for at least 30 minutes. This relaxation time is what makes the dough pliable enough to get those super thin sheets required for a delicate ravioli bite.
Preparing the Ricotta Filling for Your Italian Ravioli
Now for the star of the show—the filling itself! This mixture is so fresh and savory, simple perfection. You must make sure your ricotta is well-drained first; a wet filling means soggy ravioli that will absolutely burst when they hit the water. I usually press mine between a couple of paper towels for a while just to be sure!
Mix that firm ricotta with your grated Parmesan cheese and the fresh parsley—wow, the herbs really wake up the cheese. A tiny pinch of black pepper is all you need. Once everything is combined, you get that gorgeous, slightly tangy, herbaceous flavor that pairs so nicely with fresh pasta. If you ever make my smoked meatballs, this ricotta mix would be a great side dip!

Assembling Your Homemade Italian Ravioli
Okay, deep breath! This is the part people find the scariest, but really, it’s just assembly work. We’ve got the dough rested and the filling ready, so now we turn them into beautiful **Italian Ravioli** pockets! Remember to work quickly so the dough doesn’t dry out, and dust your surface lightly with flour if you need to.
Rolling Sheets Thin for Ideal Italian Ravioli Texture
If you have that amazing pasta machine, use it! Bring the dough down one setting level at a time. Don’t try to force a thick piece through the thinnest slot—you’ll just tear it! Keep working the dough through until you hit that magical thinness. You want it so thin that you can almost see the shadow of your hand right through the sheet. That’s how you get that delicate, melt-in-your-mouth texture when you boil them up.
Sealing the Italian Ravioli Pockets Correctly
Lay your first thin sheet out. Dollop little spoonfuls of the ricotta mix about an inch-and-a-half apart. Now, this is critical: lightly brush the dough *around* the filling mounds with a bit of water or the reserved egg white. This is your glue! Lay the second sheet right over the top. Use your fingers to gently press down all around the filling mounds, pushing out every single bubble of air you can find. I’m serious about this air part—if air stays trapped, the ravioli will burst open when they cook, and all your amazing filling will end up in the water! Once sealed, use a fluted pastry wheel to cut out your squares or circles. If you’re looking for inspiration on how to use up any leftover filling, check out my recipe for Spinach Four Cheese Ravioli Lasagna.
Cooking Instructions for Fresh Italian Ravioli
Phew! You did the hard part, now for the payoff! Cooking fresh ravioli is so fast, it’s almost shocking. You definitely don’t want to overcrowd your pot, so grab your biggest one and get it filled about two-thirds of the way with water.
Bring that water to a serious, rolling boil. You need that vigorous bubbling so the pasta cooks evenly and doesn’t stick together right off the bat. Make sure you salt that water generously—it should taste salty like the sea! That’s where all the flavor starts, believe it or not.
Gently drop your beautiful, freshly sealed ravioli into the boiling water. Don’t just dump them in; use a slotted spoon or your hands to lower them in softly. They need a minute or two to settle on the bottom, so give them a very gentle stir to make sure they aren’t sticking to the pot or each other.
Forget checking the clock too much! Fresh pasta cooks in a flash. You’re looking for them to float right up to the surface—that’s your first huge clue that they are almost done! Once they start floating, let them bob around for another 3 to 5 minutes, depending on how thin you rolled your sheets. You want them beautifully tender, not mushy. When they look perfectly plump and float happily, scoop them out immediately. If you’re wondering what to sauce them with, check out my secrets for authentic Italian Carbonara; it’s divine with these!
Serving Suggestions for Your Fresh Italian Ravioli
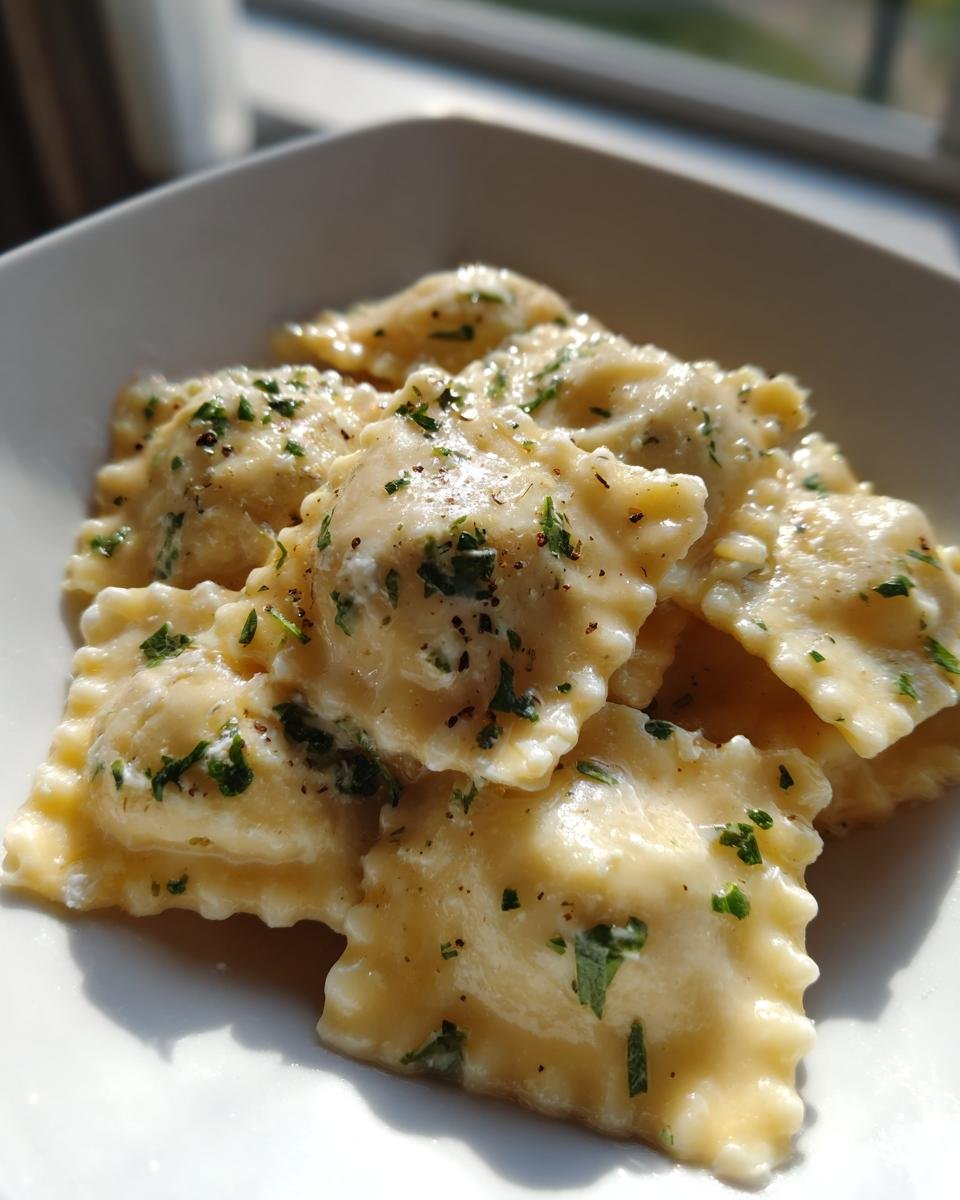
Now that you’ve made perfect Italian Ravioli, you don’t want to drown that delicate flavor in a heavy, overwhelming sauce, right? Keep it simple! The best thing for this ricotta filling is something light that lets that fresh pasta taste shine through. My absolute go-to is a classic sage and brown butter sauce. You just melt a stick of good quality butter in a wide pan until it smells nutty and starts turning brown, then toss in a handful of fresh sage leaves until they crisp up. Seriously, that’s it!
If you are feeling slightly more robust, a very simple, high-quality crushed tomato sauce works wonders. Make sure it’s barely seasoned—you want brightness, not a giant flavor bomb competing with your ravioli. Give those ravioli a quick toss in the sauce right before serving so they don’t get too sticky. If you happen to have some roasted carrots on the side, the slight sweetness pairs surprisingly well with the brown butter sauce!
Storage and Make-Ahead Tips for Italian Ravioli
One of the best parts about making homemade pasta is that you don’t have to eat it all right away! Knowing how to store your **Italian Ravioli** properly is key to enjoying them another day without them turning into one giant sticky clump. I always make a massive batch, and then I divide them up for immediate cooking, refrigeration, and freezing. You can refrigerate fresh ravioli, but you have to be careful.
If you plan on cooking them tomorrow or the day after, spread the cut ravioli out on a baking sheet dusted with plenty of semolina flour—not regular flour, semolina is coarser and prevents sticking much better! Make sure there is space between each one, cover the tray loosely with plastic wrap, and pop it right into the fridge. They should be fine for about two days this way.
But if you want to keep them for weeks? Freezing is the way to go, and this technique is a total game-changer.
The Secret to Freezing Italian Ravioli Flat
Never, ever just toss your fresh ravioli into a freezer bag. Seriously, they will fuse together into one giant, solid block of cheese and dough—and then you spend twenty minutes chipping away at it! The pro trick is flash freezing. This is where that first dusting of semolina on a baking sheet comes into play.
Lay them out in a single layer, making sure nothing is touching. Pop that entire baking sheet right into the deepest part of your freezer, uncovered, for about an hour. You want them rock solid; they should be tough and totally separate pieces.
Once they are frozen solid to the touch, you can gently transfer them into heavy-duty freezer bags or airtight containers. When you bag them, you can toss them together now because they won’t stick, thanks to that initial freezing step. Make sure to press out as much air as you can before sealing the bag tightly! This method keeps them perfect for maybe two months. If you’re looking for other ways to reduce your kitchen time during the week, check out my favorite meal prep recipes!
Cooking Frozen Italian Ravioli
The best news is that you don’t even need to thaw them before boiling, which saves so much time! Just toss them straight from the freezer into salted, rapidly boiling water. Because they are heavily frozen, they will take a little longer to cook. Keep them boiling until they float, and then give them another 2 to 3 minutes longer than you would the fresh ones. They will taste nearly identical to the fresh batch, I promise!
Frequently Asked Questions About Homemade Ravioli
I know when you dive into a new recipe, especially pasta from scratch, little questions pop up right when you need an answer. Don’t worry, I’ve got you covered before you even put the water on to boil! Making **Italian Ravioli** is mostly intuition once you get the feel for the dough, but these tiny details make all the difference.
Can I make the pasta dough ahead of time?
You absolutely can make the dough ahead, but you can’t leave it for days! The maximum I would recommend for refrigerated dough is about 24 hours. Make sure you wrap it super tightly in plastic wrap—like, really secure it so it doesn’t form any weird dry skin. When you take it out to use it, let it sit on the counter for about 30 minutes to warm up slightly, otherwise, it will be too stiff to roll properly. If you leave it wrapped, it keeps that beautiful moisture in.
What are good substitutes for the ricotta filling in Italian Ravioli?
The ricotta filling is classic, but variety is the spice of life! If you’re looking to change things up, you have great options. If you want something richer, you can absolutely do a ground meat filling (like seasoned veal or pork), just make sure it’s cooked and cooled completely before mixing it in—we don’t want hot filling melting the dough! Alternatively, spinach is a classic companion. If you use spinach, you need to cook it down first and squeeze out every single drop of moisture, otherwise, you run into the same watery filling issue as using un-drained ricotta.
How do I prevent my homemade ravioli from sticking together?
This is such a rookie mistake, and it’s so frustrating when you’ve done all that work! The best defense is a good, fine dusting of flour, but I swear by semolina flour if you have it. It’s coarser and acts almost like little ball bearings between the pasta sheets. After you cut your individual ravioli pieces, toss them *gently* in a bowl with a light coating of semolina before placing them on your dusted work surface or baking sheet. This keeps them perfectly separate, whether you cook them right away or get them ready for the freezer. If you’re looking for something sweet afterwards, you have to try some classic Italian desserts!

Simple Homemade Ravioli
- Total Time: 55 min
- Yield: 4 servings 1x
- Diet: Vegetarian
Description
A straightforward recipe for making fresh pasta dough and filling it to create classic ravioli.
Ingredients
- 2 cups all-purpose flour
- 3 large eggs
- 1 tablespoon olive oil
- 1/2 teaspoon salt
- 1 cup ricotta cheese (drained)
- 1/2 cup grated Parmesan cheese
- 1/4 cup chopped fresh parsley
- 1/4 teaspoon black pepper
- 1 egg yolk (for sealing)
Instructions
- Combine flour and salt on a clean surface. Make a well in the center.
- Add eggs and olive oil to the well. Gradually incorporate the flour into the wet ingredients until a shaggy dough forms.
- Knead the dough for 8 to 10 minutes until smooth and elastic. Wrap in plastic wrap and let rest at room temperature for 30 minutes.
- Mix ricotta, Parmesan, parsley, pepper, and egg yolk in a bowl for the filling.
- Divide the dough into four pieces. Working with one piece at a time, flatten it and run it through a pasta machine, gradually reducing the thickness until it is thin enough to see your hand through.
- Lay one sheet of pasta flat. Place small spoonfuls of filling about 1.5 inches apart on the sheet.
- Brush the dough around the filling mounds lightly with water or a beaten egg white.
- Place a second pasta sheet over the first. Press firmly around each mound of filling to seal, removing any trapped air.
- Use a fluted pastry wheel or knife to cut the ravioli into individual squares or circles.
- Cook the ravioli in salted boiling water for 3 to 5 minutes, or until they float and the pasta is tender.
Notes
- If the dough feels too dry, add water one teaspoon at a time. If it is too sticky, add a little flour.
- Make sure to press out all air pockets when sealing the ravioli to prevent them from bursting during cooking.
- You can substitute spinach or ground meat for the ricotta filling if desired.
- Prep Time: 45 min
- Cook Time: 10 min
- Category: Main Course
- Method: Boiling
- Cuisine: Italian
Nutrition
- Serving Size: 1 serving
- Calories: 450
- Sugar: 3
- Sodium: 350
- Fat: 18
- Saturated Fat: 9
- Unsaturated Fat: 9
- Trans Fat: 0
- Carbohydrates: 55
- Fiber: 3
- Protein: 22
- Cholesterol: 150
Keywords: Italian Ravioli, homemade pasta, ricotta filling, fresh ravioli, Italian recipe