
Okay, listen up! If you close your eyes when you smell cinnamon, nutmeg, and hot oil, you are probably already dreaming about fall. And honestly, what’s better than biting into a warm, perfectly spiced apple cider donut?
I remember the first time I tried making these at home. I was terrified of deep-frying—truly terrified. I thought they’d come out oily bricks, but wow, was I wrong! This recipe is honestly the easiest one I’ve ever tried. It’s not one of those complicated yeast doughs that needs hours to rise. Nope. This is the real deal: a super straightforward, mix-it-and-chill-it recipe that gives you that classic, cozy, tangy bite you only get from an orchard stand.
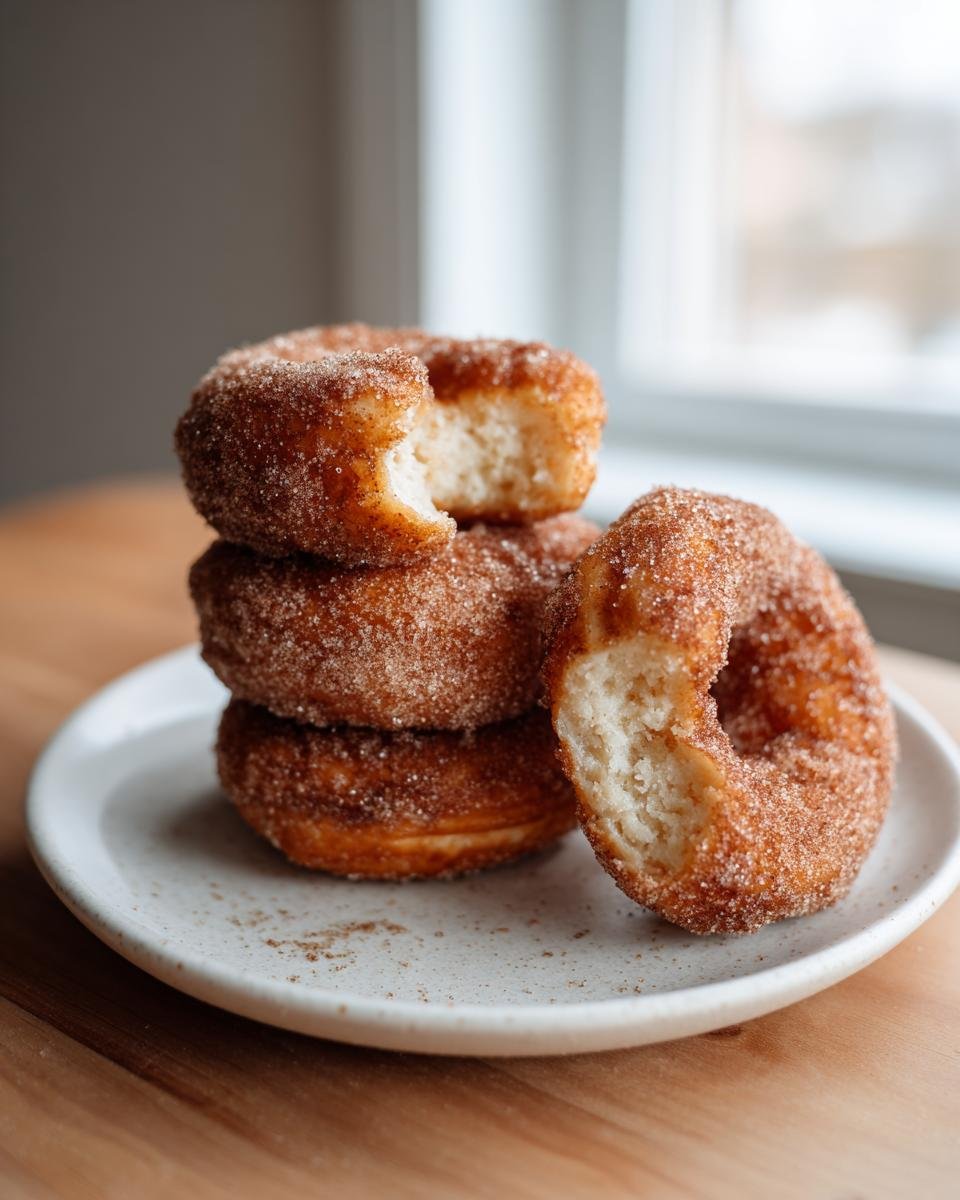
We’re talking about soft, pillowy donuts that are tangy from the cider and coated in the best cinnamon sugar mixture. They take less than an hour total, which means spontaneous fall treat emergencies are now totally coverable. Trust me, once the scent of these hits your kitchen, you’ll never go back to the store-bought stuff!
Why You Will Love These Simple Apple Cider Donuts
There are a million donut recipes out there, but these homemade apple cider donuts just hit different, especially when the weather starts turning crisp. They’re just so much better than those dry ones you find later in the season. Here’s the short list of why I keep coming back to this formula:
- They skip the crazy rising time! Seriously, you just mix the batter, chill it briefly, and you’re ready to roll. No fussing with yeast or waiting half the day.
- That incredible flavor pop! The concentrated apple cider gives them a perfect, slightly tangy sweetness that balances the rich spices—cinnamon and nutmeg go a long way here. You can check out my apple cinnamon muffins if you love this flavor profile too!
- They are the definition of cozy baking. The aroma that fills the house while these fry is honestly worth the effort alone. It smells like the best kind of fall carnival.
- They are deceptively easy to fry. Once you nail that oil temperature (we’ll talk about that later!), it’s fast. You get a batch done in minutes, which is perfect for satisfying a sudden craving.

Essential Ingredients for Perfect Apple Cider Donuts
This is where we get down to the nitty-gritty! Since this recipe is so straightforward, the quality of what you put in really matters. Don’t try to cheat on the apple cider; it’s the star, after all! You’ll want something flavorful, not watery or weak. If your cider tastes amazing on its own, it’ll bake like a dream.
Here’s everything you need to gather before you start mixing up that dough. I like to line everything up on the counter first—it keeps me from forgetting the nutmeg when I’m already deep into the mixing stage!
- Two cups of all-purpose flour. Standard stuff, but measure it gently!
- For lift: one teaspoon of baking soda and one teaspoon of baking powder. They work together to make sure these aren’t too dense.
- Spices are key! One teaspoon of ground cinnamon and half a teaspoon of ground nutmeg. Don’t skip the nutmeg; it adds that warm background note.
- Just a quarter teaspoon of salt to balance out all that sweetness.
- Sugar, broken into two jobs: we need three-quarters of a cup for mixing into the dough itself, and then a full cup set aside for the final sugar coating.
- One large egg to bind everything together nicely.
- The moisture bombs: Half a cup of high-quality apple cider and a quarter cup of buttermilk. Buttermilk gives a lovely, subtle tang that cuts through the richness—I always have some on hand for pancakes, too!
- Two tablespoons of unsalted butter, melted. Making sure it’s cooled just a hair before adding it to the wet ingredients is a small step that prevents curdling.
- And finally, vegetable oil for frying. You’ll need enough for about two inches deep in your pot.
If your cider is super concentrated, you might be able to sneak in a tiny bit less, but stick close to the recipe the first time. That cider is doing a lot of heavy lifting flavor-wise!
Expert Tips for Making the Best Apple Cider Donuts
Even though this recipe for apple cider donuts is simple, the frying part needs a little respect! I’ve learned through trial and, yes, a few sad, greasy, half-baked attempts that precision here makes a huge difference. You want that airy, cakey interior without the dough soaking up all the oil.
First tip, and this is straight from my notes: for the coating, always mix that remaining cup of sugar with just about a teaspoon of extra cinnamon. It makes the outside taste so much richer and keeps the spice evenly distributed. Another thing I’ve picked up is that while chilling the dough helps it hold its shape, don’t chill it *too* long, or it gets stiff to cut. About 30 minutes is perfect for me!
If you want to check out some other fun donut tricks that might help you on your donut journey, I collected some great wisdom over here at this donut secrets post. But honestly, temperature is king when frying.
Achieving the Ideal Oil Temperature for Frying Apple Cider Donuts
This is non-negotiable, folks! You absolutely need a candy or deep-fry thermometer handy. If your oil isn’t at a solid 365 degrees Fahrenheit, you’re asking for trouble. Too cool, and those beautiful donut shapes just soak up oil like tiny sponges, making them heavy and greasy. Yuck!
If the oil is too hot, maybe 380 or 390, the outside burns before the middle even cooks through. We want golden brown perfection, not charcoal rings! Keeping it steady at 365°F ensures they puff up nicely and cook evenly all the way to the center. It’s the secret to that perfect, professional texture in our homemade apple cider donuts.
Step-by-Step Instructions for Frying Apple Cider Donuts
Alright, time to assemble these beauties! The process is faster than you think once the dough is chilled. Just remember, when dealing with frying, always pay attention and never leave a pot of hot oil unattended—safety first, always!
We’re going to walk through this one step at a time:
- First things first, let’s handle the dry stuff. Grab a nice big bowl and whisk together the flour, baking soda, baking powder, cinnamon, and nutmeg, plus that tiny bit of salt. Make sure everything is blended well so you don’t end up with one bite tasting only like baking powder!
- In a separate bowl, it’s time for the wet ingredients. Whisk the small amount of sugar (that’s the 3/4 cup part), the egg, your apple cider, the buttermilk, and the melted butter. Keep whisking until it all looks smooth like a lovely, pale liquid.
- Now, the merging! Pour those wet ingredients into the dry mixture. Mix them together until they are *just* combined. I can’t stress this enough: stop mixing when you still see a few streaks of flour hiding in there. If you mix until it’s perfectly smooth, you’ll develop the gluten too much, and your donuts will be tough, not tender. We want this dough to look a little shaggy!
- This step is crucial and often skipped by impatient bakers like myself! You absolutely must chill the dough for at least 30 minutes. I usually aim for 40. This stiffens the dough enough so that when you roll it out, the shapes hold up perfectly in the hot oil.
- Time to heat up the oil! Get about two inches of vegetable oil going in a deep pot. Use that thermometer we talked about! We are aiming precisely for 365 degrees Fahrenheit. Don’t rush this heating process; it’s worth the wait.
- Once chilled, dust your counter lightly with flour. Roll out that dough until it’s about half an inch thick. Grab your donut cutter (or two different-sized glass rims if you’re old-school like me) and cut out your shapes. Keep re-rolling scraps until you use all the dough. You can find some great ideas on making your own homemade cutters right here if you need inspiration!
- Okay, deep breaths! Very carefully, gently place 2 or maybe 3 of those cut donuts into the hot oil. Don’t crowd the pot, or the oil temperature will drop too quickly. Let them fry for about 1 to 2 minutes per side until they look beautifully golden brown.
- Use a slotted spoon to fish them out and set them immediately on a wire rack lined with paper towels to drain off any excess oil.
See? That wasn’t scary at all! The next step is the best part when you get that sugary, warm coating just right.
Coating Your Warm Apple Cider Donuts for Maximum Flavor
After all that hot oil excitement, we finally get to my favorite part—the coating! This final step transforms your freshly fried rings into those iconic, irresistible apple cider donuts we all obsess over in the fall. The key here is timing. You have to do this while they are still genuinely warm, but cool enough that they don’t just dissolve all the sugar instantly.
Remember that extra cup of granulated sugar we set aside? Now is its moment to shine! I always mix in about a teaspoon of ground cinnamon into that cup of sugar before I even start frying. If you don’t pre-mix it, you end up with a few bites that are all sugar and no spice, and who wants that? Mixing it first guarantees every single donut gets kissed with that perfect spiced sweetness.
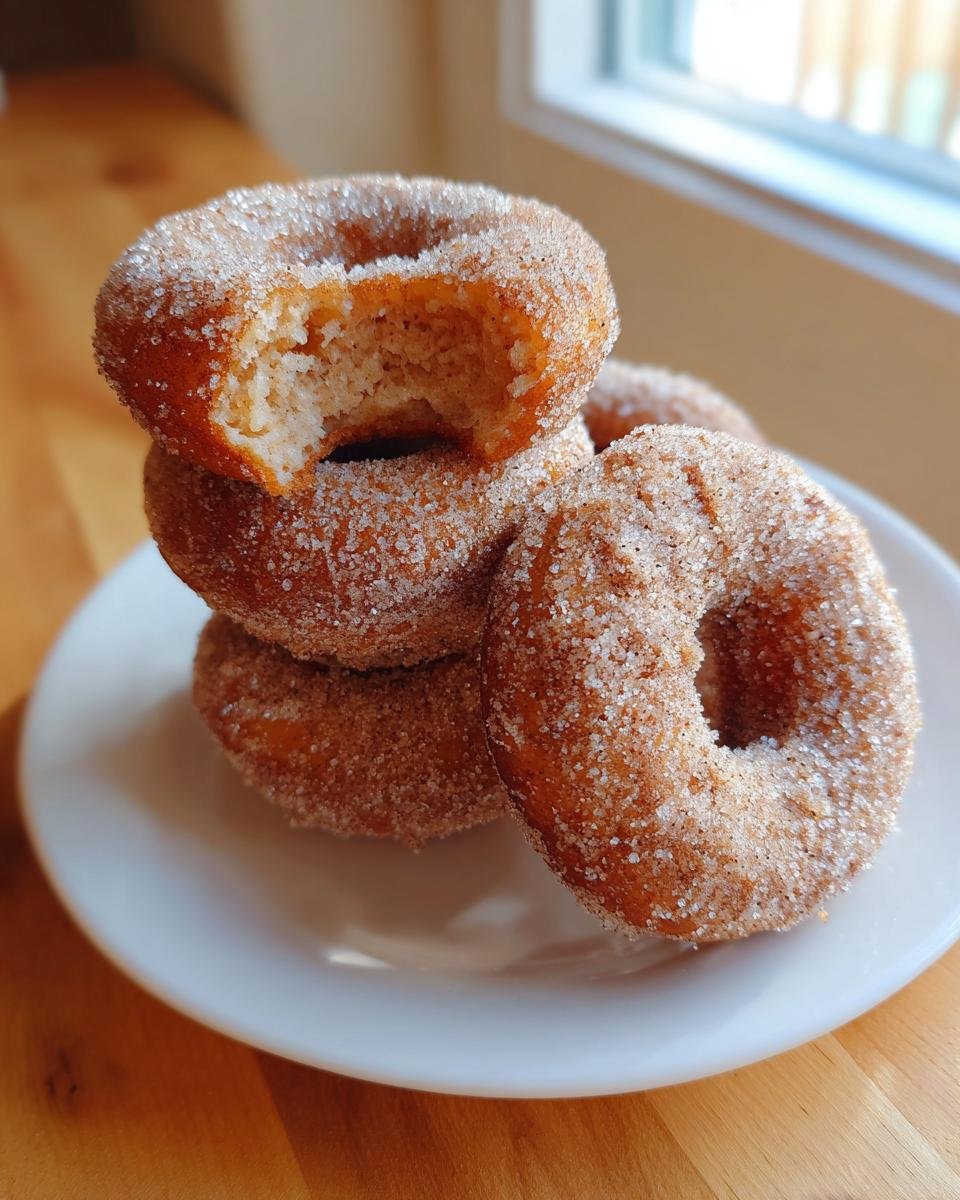
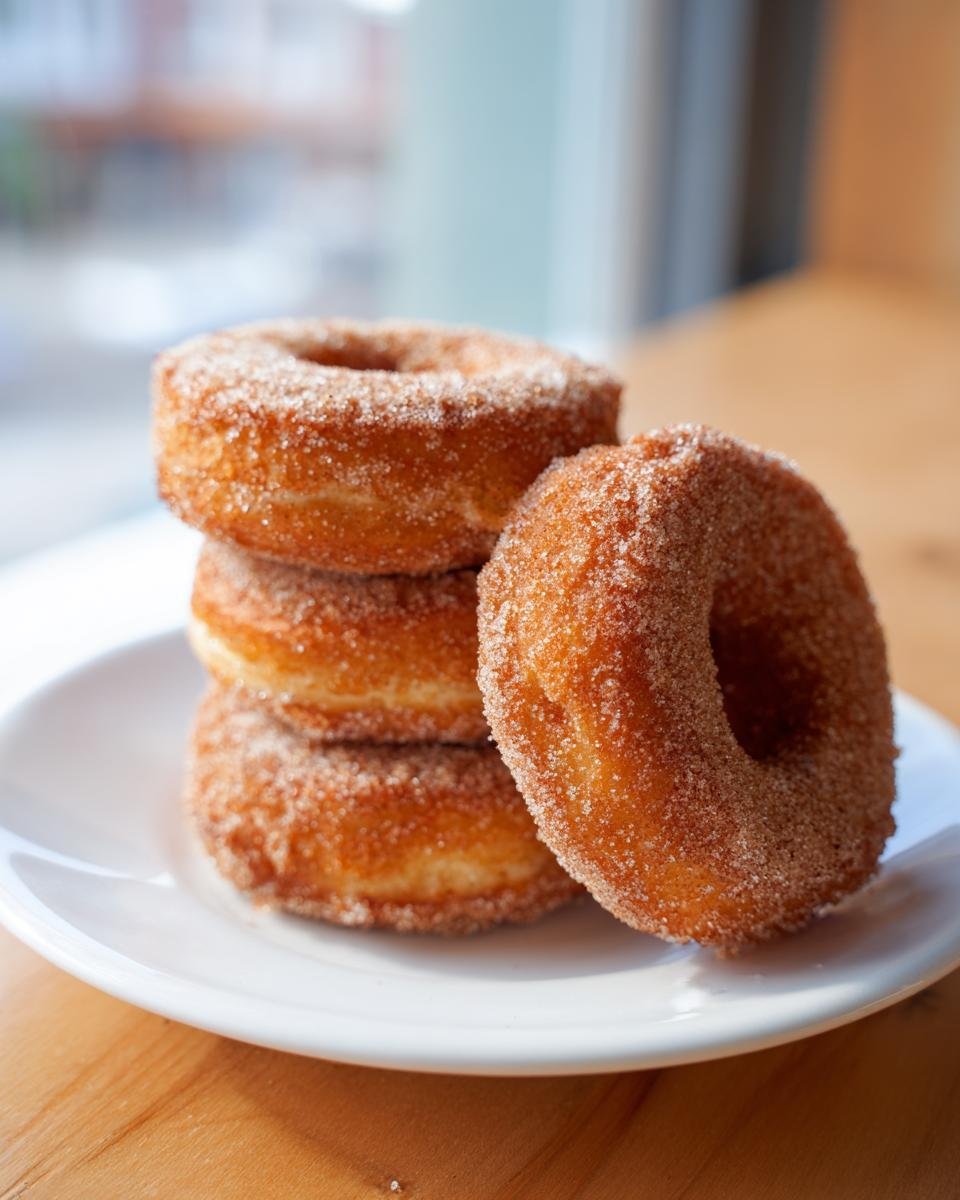
As soon as the donuts have drained for just a minute—long enough so they aren’t dripping oil, but still steaming lightly—toss them right into that cinnamon-sugar mixture. Gently roll them around in a large bowl or use a zip-top bag if you want to get really fancy and avoid messy fingers for a minute. Make sure they are completely coated, front and back. Shake off any excess, and place them on a clean cooling rack. They set up perfectly as they cool down just a little bit more. Seriously, try one right now while it’s still warm. That crunchy exterior gives way to that soft, tangy interior, and it’s pure magic. That’s the classic apple cider donut flavor sealed in!
Storage and Reheating Apple Cider Donuts
Okay, let’s talk storage, because these apple cider donuts are definitely at their absolute peak about five minutes after they come out of the sugar bath. I wish I could tell you they taste just as good a week later, but deep-fried treats lose their magic fast, right?
The sad truth is, fried donuts are best eaten the day you make them. If you have leftovers, they need a little TLC to bring them back to life. Don’t even think about the fridge! Cold air makes them instantly stale and hard. Keep them in an airtight container at cool room temperature. They should be fine like this for a day, maybe two, but honestly, they’ll lose that perfect exterior texture by day two. They just become denser cake items.
If you’re planning ahead, you can totally make the dough the day before and keep it wrapped tightly in the fridge. Since it has buttermilk and apple cider, it’s safer than yeasted doughs. Just let it sit on the counter for about 15 minutes before you roll it out so it warms up just enough to cut properly. Trust me, cold dough snaps!
Bringing Day-Old Donuts Back to Life
If you wake up and realize you have a couple of leftover apple cider donuts that are feeling a bit sad and soft, here’s my trick. Microwaving them makes them soggy and rubbery—worst idea ever. We need some dry heat to wake up the surface again.
The best way to reheat is in a toaster oven or a regular oven set really low, like 250°F. Just pop them in for about three to five minutes. You aren’t trying to cook them, you’re just warming the interior slightly and drying out the surface a touch so that the sugar coating feels crisp again. If you didn’t coat them heavily enough the first time, toss them back into a little bowl of plain white sugar for a quick refresh before popping them in the heat!
Variations on Classic Apple Cider Donuts
While these classic cinnamon-sugar coated apple cider donuts are seriously perfect as they are—I mean, why mess with such an amazing recipe?—sometimes a baker just needs to shake things up a little bit, right? Don’t worry; we aren’t changing the core dough at all! We are just tweaking the finish to suit whatever mood strikes you.
Since the basic spiced dough is so wonderfully versatile, you can easily swap the simple sugar coating for something a little fancier or even more intense in the spice department. If you’re interested in baking the whole batch into a cake instead of frying individual donuts, check out my Bundt cake version—it’s a showstopper!
Here are two fun ways I like to switch things up when I’m making a double batch:
- Maple Glaze Drizzle: Ditch the cinnamon sugar completely! Once the donuts are cooled just slightly (you want them warm, but not steamy hot, or the glaze melts away completely), dip the tops into a simple maple glaze. Just mix about 1.5 cups of powdered sugar with 1/4 cup of real maple syrup and a splash of milk until it’s pourable. It gives you that autumn pancake vibe!
- Extra Spicy Coating: If you’re a spice fiend like me, try swapping out the plain granulated sugar for a mixture of half granulated sugar and half light brown sugar in the coating step. Then, bump up that cinnamon in the coating mix to a full two teaspoons and add just a tiny pinch of ground cloves. It really enhances that deep, autumnal flavor profile of the apple cider donuts.
The important thing is that the dough itself is already so flavorful from the cider and the buttermilk that it can totally handle these little additions. Have fun switching up that final toss or dip!
Frequently Asked Questions About Homemade Apple Cider Donuts
I know when you’re trying a new frying recipe, you always have some lingering doubts. It’s totally normal! Frying can feel a little intimidating, but once you understand the dough consistency and the heat management, you’ll be a pro. I’ve gathered up the questions I get asked most often about making these perfect homemade apple cider donuts right at home.
If you want to dive even deeper into the process, I’ve covered a few extra things over on my guide to best fall baking recipes that might answer your other burning questions!
Can I bake these Apple Cider Donuts instead of frying?
Oh, you absolutely *can* bake these, but I have to be upfront: the result is going to be much closer to a spiced apple cake donut than the classic, light, fried variety. Frying creates that incredibly tender crumb and slightly crisp exterior that we’re all looking for. If you bake them, you’ll need to grease your donut pans heavily, and they will be denser and less airy.
If you go the baking route, you might also need to reduce the chilling time slightly, as the dough firms up faster in the cold and might crack if you try to work with it when it’s fully chilled. It’s a tasty treat either way, but for that true, authentic experience, frying wins every time for these apple cider donuts!
What is the best way to cut out the donut shapes?
This is a great specific question because a floppy dough is the enemy of a neat cutout! If you were lucky enough to get one of those dedicated metal donut cutters, use it! It does the job perfectly in one press. But if you are like me sometimes and just want to start baking *now*, don’t worry!
I usually use two round biscuit cutters—one slightly larger for the outside edge and a smaller one (like the rounded bottom of a spice jar or a small piping tip) to punch out the hole in the middle. The key is flouring your surface *and* your cutters lightly between each press. This stops the sticky dough from dragging and messing up the shape of the donut ring. If you get scrappy edges, you can gently smooth them with lightly floured fingers before dropping them into the oil!
Why did my donuts turn out greasy?
Ugh, greasy donuts are the worst, aren’t they? It’s almost always one of two culprits. The first one we talked about: the oil temperature wasn’t high enough (under 360°F). If the oil is too cool, the dough sits there bathing in fat instead of rapidly sealing itself, so it absorbs too much oil.
The second reason is crowding the pot. If you put too many donuts in the oil all at once, the temperature plummets suddenly. When that happens, the oil cools down around the donuts, and they start absorbing fat again instead of cooking. Work in small batches, keep that thermometer glued to 365°F, and you’ll have beautifully crisp apple cider donuts every single time!
Serving Suggestions for Your Apple Cider Donuts
Now that you have a pile of warm, sugar-dusted, incredible apple cider donuts, the only question is: what do you serve them with? Honestly, they can stand alone, especially if you’ve gone heavy on the cinnamon sugar coating. But pairing them just elevates that cozy fall feeling to a brand-new level, don’t you think?
Since they are warm and sweetly spiced, you want drinks that cut through that richness a little bit, or things that lean into that comforting vibe. My go-to, no contest, is a massive, steaming mug of black coffee. The slight bitterness of the coffee is the perfect counterpoint to the sweet, spiced dough. It’s just the right balance!
If coffee isn’t your thing, a strong, hot black tea works wonders—I prefer something like an English Breakfast or maybe even a spicy Chai blend if you want to double down on the warmth. If the kids (or me, let’s be real) want something cooler, you can’t beat a simple scoop of good quality vanilla bean ice cream nestled right next to a warm donut. It turns a snack into a full-blown dessert experience!
If you’re looking for more breakfast goodness to go alongside the donuts on a lazy weekend morning, check out my recipe for super fluffy pancakes—though you might need to make a double batch of donuts if you serve them side-by-side!
Print
Simple Apple Cider Donuts
- Total Time: 50 min
- Yield: About 10 donuts 1x
- Diet: Vegetarian
Description
A straightforward recipe for making classic apple cider donuts at home.
Ingredients
- 2 cups all-purpose flour
- 1 teaspoon baking soda
- 1 teaspoon baking powder
- 1 teaspoon ground cinnamon
- 1/2 teaspoon ground nutmeg
- 1/4 teaspoon salt
- 3/4 cup granulated sugar plus 1 cup for coating
- 1 large egg
- 1/2 cup apple cider
- 1/4 cup buttermilk
- 2 tablespoons unsalted butter, melted
- Vegetable oil, for frying
Instructions
- Whisk together flour, baking soda, baking powder, cinnamon, nutmeg, and salt in a large bowl.
- In a separate bowl, whisk together 3/4 cup sugar, egg, apple cider, buttermilk, and melted butter until combined.
- Pour the wet ingredients into the dry ingredients and mix until just combined. Do not overmix.
- Chill the dough for at least 30 minutes.
- Heat about 2 inches of vegetable oil in a deep pot to 365 degrees Fahrenheit.
- Roll the dough out on a lightly floured surface to about 1/2 inch thickness. Cut out donut shapes using a donut cutter.
- Carefully place donuts into the hot oil, frying 2 to 3 at a time. Fry for about 1 to 2 minutes per side, until golden brown.
- Remove donuts with a slotted spoon and drain on a wire rack lined with paper towels.
- While still warm, toss the donuts in the remaining 1 cup of granulated sugar until fully coated.
Notes
- For a better coating, mix the sugar with 1 teaspoon of cinnamon.
- Use a candy or deep-fry thermometer to maintain the correct oil temperature for even cooking.
- Prep Time: 20 min
- Cook Time: 15 min
- Category: Dessert
- Method: Frying
- Cuisine: American
Nutrition
- Serving Size: 1 donut
- Calories: 280
- Sugar: 25
- Sodium: 180
- Fat: 15
- Saturated Fat: 4
- Unsaturated Fat: 11
- Trans Fat: 0
- Carbohydrates: 35
- Fiber: 1
- Protein: 3
- Cholesterol: 30
Keywords: apple cider donuts, fried donuts, cinnamon sugar, fall dessert, homemade donuts