
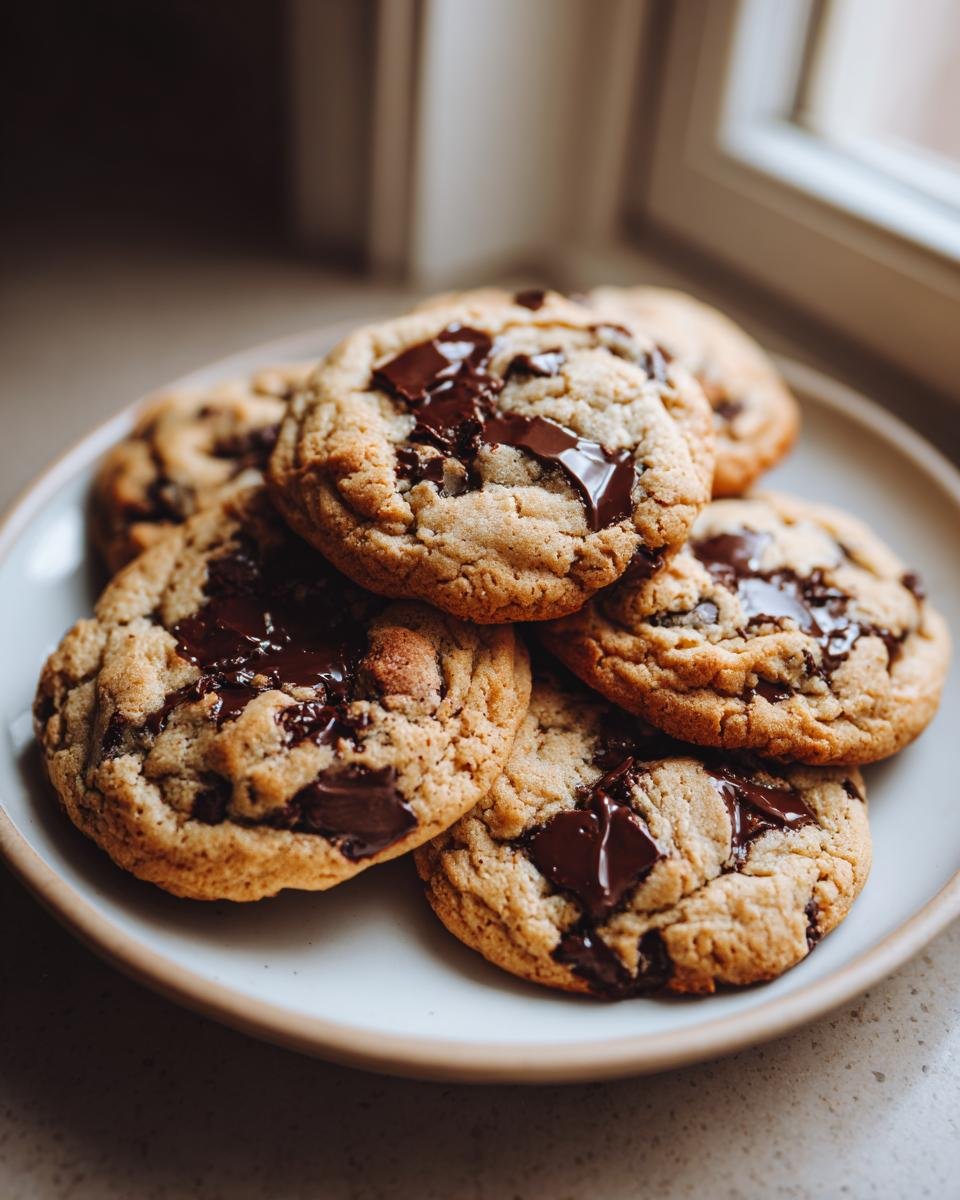
Oh my gosh, who hasn’t stood in the kitchen, box of chocolate chips in hand, looking for that one perfect, nostalgic cookie? I swear, there’s nothing quite like that first bite of a perfectly baked, wonderfully chewy cookie that tastes exactly like childhood. That’s why I guard this recipe so closely! Forget the endless search; this is it. We are making the Original Nestle Toll House Chocolate Chip Cookies, and trust me, they deliver that exact soft, golden-edged perfection. I learned this recipe from my aunt, who insisted on using room temperature eggs—it sounds fussy, but trust me, it makes the world of difference!
I remember making my first batch when I was about ten, being so careful not to spill the flour bomb everywhere. Now, I can whip these up anytime the craving hits. They come together so fast, and the house smells absolutely incredible while they bake. If you want chewy, classic, no-fuss cookies that everyone raves about, you absolutely need to stick to these exact proportions. I even have some secrets on how to make them even gooier, which I’ll share in a bit!
For more delicious cookie adventures, check out my guide on pure happiness in a gooey chocolate chip cookie, but stick around—these originals are the foundation of everything!
Why You Will Make The Original Nestle Toll House Chocolate Chip Cookies Again and Again
People try every trick in the book to reinvent the chocolate chip cookie, but honestly, why mess with perfection? These cookies are legendary for a reason. Once you try this classic formula with the right balance of sugars and butter, you’ll see why everyone comes back to it time and time again. They just *work*!
- They deliver that famous, nostalgic flavor profile. You know the one—slightly caramelized edges meeting a soft, warm center. It just tastes like home.
- The texture is spot on. If you follow the instructions—especially regarding the temperature of the butter—you get that fantastic mix of chewy centers and slightly crisp edges. Check out my tips for even gooier results if you want to push the chewy factor!
- It’s utterly reliable. This isn’t some fussy, high-maintenance recipe. It uses common ingredients, and if you measure correctly, you’ll get about five dozen perfect little discs of joy every time.
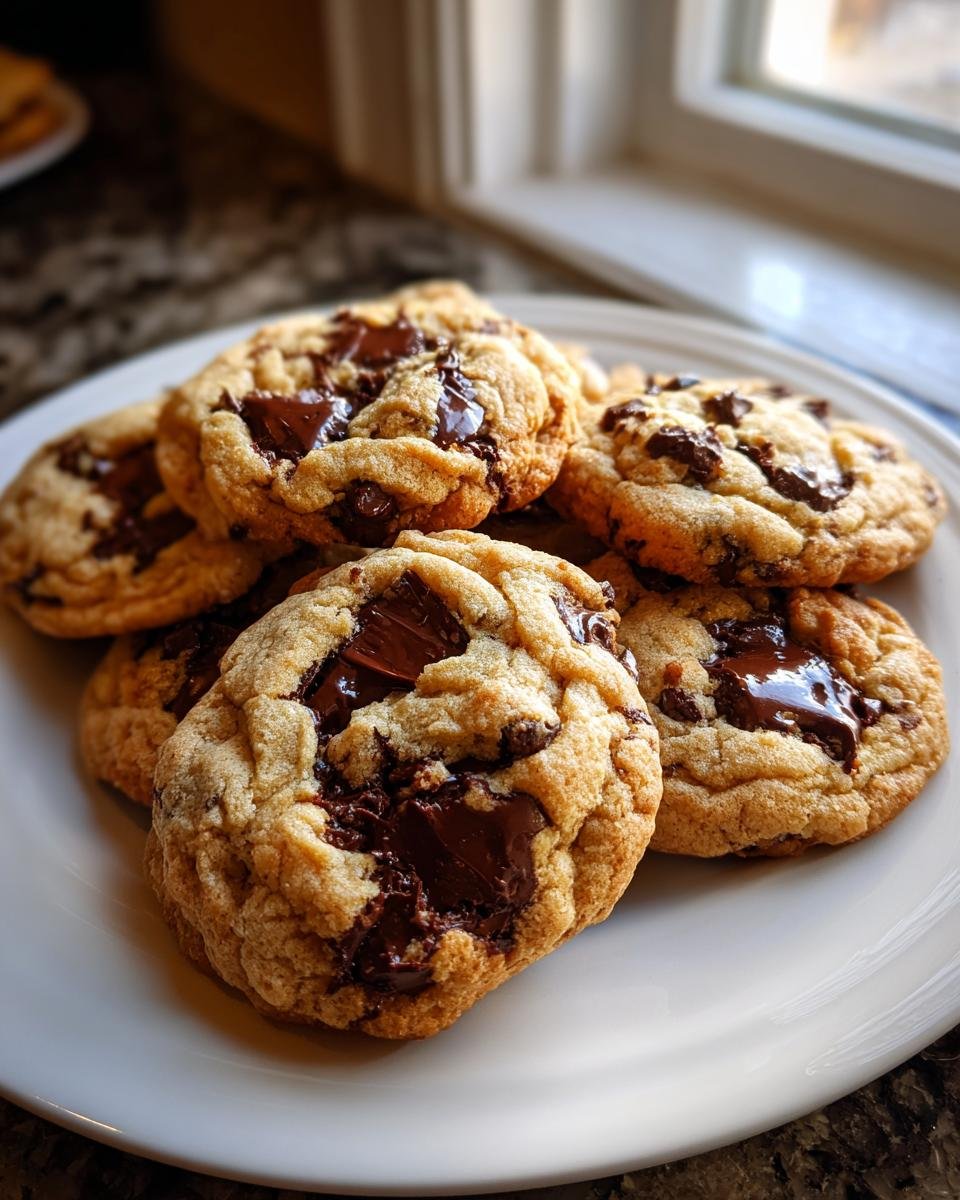
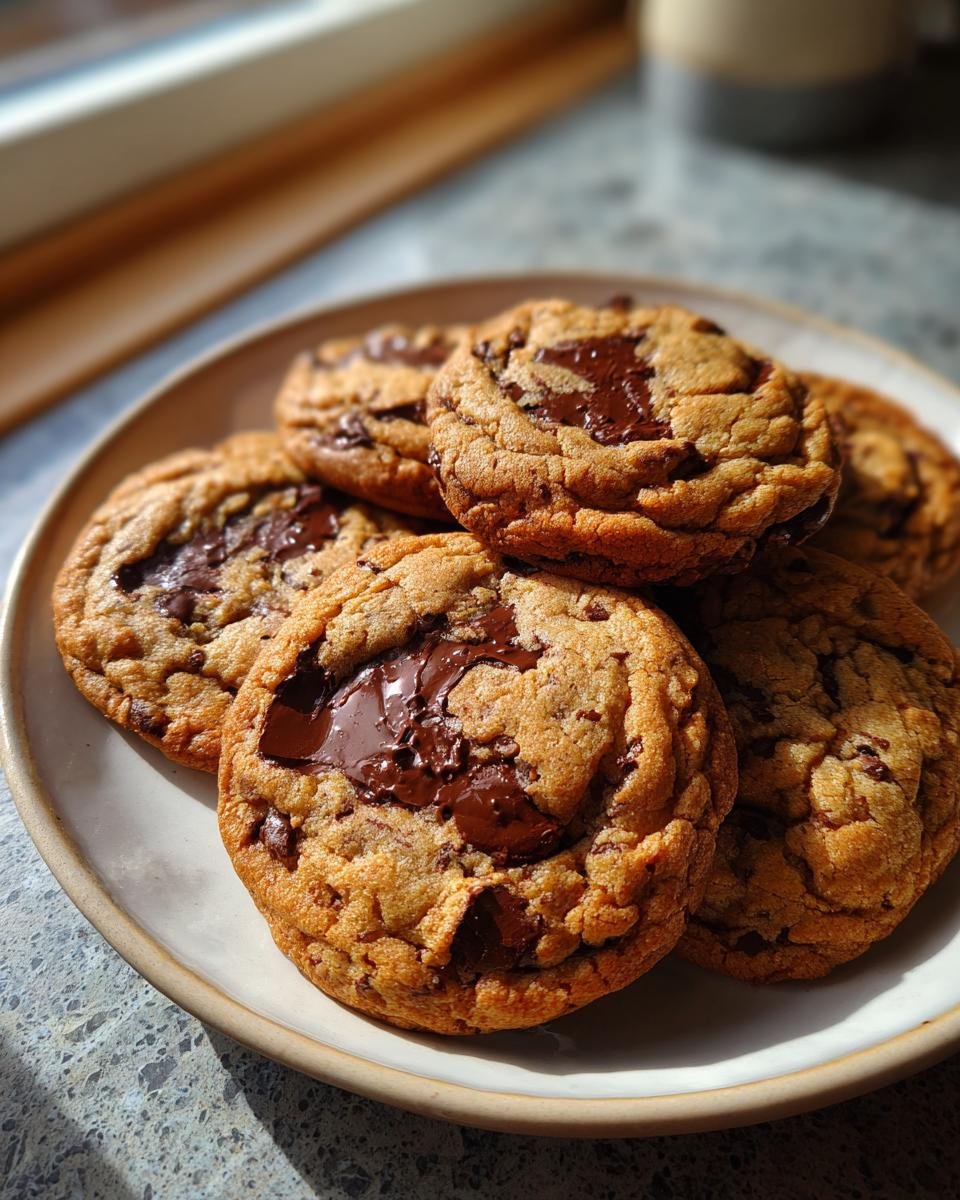
- The chocolate distribution is fantastic. Since you’re stirring in the morsels at the end, they don’t disappear into the dough structure; you get those delightful pools of melted chocolate in almost every bite. For more ideas on amazing cookie batches, go see my post on four soft and chewy cookies!
- They freeze like a dream! You can scoop the dough balls and freeze them raw. Then, you bake them straight from the freezer whenever you need a fresh, warm treat without the whole baking production.

Gathering Ingredients for Original Nestle Toll House Chocolate Chip Cookies
Okay, listen up! Ingredients are where the magic starts, and for the **Original Nestle Toll House Chocolate Chip Cookies**, we aren’t taking any shortcuts. You need to make sure everything is ready to go before you even think about turning the mixer on. This recipe uses standard pantry items, but their state matters hugely! We need exactly one cup of butter, and that butter has to be totally softened—no melty messes, please.
You’ll also grab your sugars: three-quarters of a cup of white granulated sugar, and the same amount of brown sugar, but remember, that brown sugar needs to be firmly packed into the measuring cup. Then, we use two big eggs, which should definitely be brought up to room temperature! Finally, measure out your dry stuff—flour, baking soda, and salt—and don’t forget the star of the show: one whole bag of Nestle Toll House semi-sweet chocolate morsels.
If you’re curious how these compare to other great doughs, swing over and see my recipe for irresistible peanut butter chocolate chip cookies later!
Ingredient Notes and Substitution Guidance
Let’s talk about the non-negotiables, shall we? First off, the butter. If your butter is hard straight from the fridge, your cookie texture will suffer. I mean it! It needs to be soft enough that you can easily press your finger into it without tearing it—that’s the only way it creams properly with the sugar.
Next, the chocolate. If you want truly authentic **Toll House** flavor, you must stick to the semi-sweet morsels. Chips made for melting are great sometimes, but these specific little nuggets hold their shape better when baking, giving you those lovely melted pools we all crave. Leave the milk chocolate alone for this classic batch; the semi-sweet is what balances the sugars perfectly!
Essential Equipment for Perfect Original Nestle Toll House Chocolate Chip Cookies
Don’t get overwhelmed thinking you need specialized bakery gear for these classics, but having the right tools makes all the difference between a decent cookie and a truly magnificent one. Honestly, if you only grab three things, grab a great mixer, a good bowl, and reliable baking sheets.
For the creaming step, using an electric mixer—either a hand mixer or a stand mixer—is a lifesaver. My aunt used to beat the butter and sugar by hand until her arm fell off, but really, using the paddle attachment on a stand mixer gets you that fluffy, creamy texture much faster and more consistently. You need that texture development!
You’ll also need:
- A Large Mixing Bowl: You need room to mix the butter into a fluffy cloud without sending sugar flying across your kitchen. Trust me, start big!
- Standard Baking Sheets: These should be sturdy and, ideally, lined with parchment paper. That’s my favorite equipment trick to ensure a super even bake and zero sticking.
- Cookie Scoop or Tablespoons: For consistency is key! If you want all your cookies to look uniform and bake at the same rate, use a medium cookie scoop or just two regular tablespoons to drop your dough onto the sheet.
- Wire Cooling Racks: This is important for the final step. You must let the cookies cool on a rack so air circulates all around them. If you leave them on the hot baking sheet too long, they keep cooking and get crispy when you wanted chewy!
Step-by-Step Instructions for Original Nestle Toll House Chocolate Chip Cookies
Alright, time to put those beautiful ingredients to work! The actual baking time is so quick—it’s all about prepping the dough correctly. First things first: get that oven preheated to 375 degrees F. We want it nice and hot and ready to go when your dough drops onto the sheets. Preheat your oven right away so you don’t waste a second!
We’re dropping rounded tablespoons of dough onto ungreased baking sheets. Remember, these cookies spread a little, so give them some space, maybe two inches apart. Then, bake them for just 9 to 11 minutes. You are looking for that perfect golden brown on the edges but still a little soft looking in the absolute center. Seriously, pull them out when you think they might need another minute—that’s the secret to avoiding hockey pucks!
After that short bake, don’t touch them! They need two minutes sitting right there on the hot pan to set up nicely. Once those two minutes are up, gently move them over to wire racks to cool completely. If you skip that cooling step, you might end up with a broken cookie, and trust me, you want that beautiful shape. If you’re looking for other quick cooking victories, you should check out this amazing 1-pan sizzling Texas chicken recipe for a fast dinner later!
Creaming Wet Ingredients for Original Nestle Toll House Chocolate Chip Cookies
This is where we build volume and moisture, so don’t rush it! Take your softened butter, your granulated sugar, and that perfectly packed brown sugar, and beat them together. You’re looking for creamy—absolutely creamy. It should look noticeably lighter in color than when you started, almost fluffy.
Next, those room temperature eggs go in, one at a time. Beat well after each addition. I mean it, beat until the first egg disappears completely into the creamy mixture before you even think about adding the second one. That careful incorporation is what prevents greasiness down the line!
Combining Dry Ingredients and Final Dough Assembly for Original Nestle Toll House Chocolate Chip Cookies
While that wet mix is chilling out, whisk your flour, baking soda—that important teaspoon—and salt together in a completely separate bowl. Once they are unified, you start adding this dry mixture *gradually* to your butter mixture. ‘Gradually’ means in about three additions, mixing just until it barely comes together each time.
The very final step is always the most exciting! Dump in that whole package of Nestle Toll House semi-sweet chocolate morsels. Now, grab a sturdy spoon or use the lowest setting on your mixer and *stir* them in gently. We don’t want to overmix once the flour is in, so just stir until you see those lovely chocolate specks distributed throughout the dough. That’s it—ready for the pan!
Tips for Success with Original Nestle Toll House Chocolate Chip Cookies
Even with this straightforward recipe, a few little tricks taken straight from my personal experience can elevate these classics into something truly unforgettable. Remember those notes I mentioned earlier? They aren’t suggestions; they are rules for perfection, I tell you!
If you want those truly decadent, wonderfully pliable cookies that feel like they melt in your mouth, you absolutely must chill your dough. Just thirty minutes in the fridge makes a huge difference! It allows the fats to firm up just a tiny bit, resulting in chewier cookies rather than ones that spread too thin. Also, make sure those eggs are room temperature before you start—it helps them incorporate air better with the butter and sugar, leading to a beautifully uniform mix.
My personal game-changer? Never bake them directly on a bare metal sheet. Always use parchment paper. It ensures even browning on the bottom and guarantees the cookies slide right off the pan when done. For more secrets on making the bottom crisp just right, check out my post on one secret for crispy pan-banging cookies!
Storing and Reheating Your Original Nestle Toll House Chocolate Chip Cookies
So, you’ve baked five dozen cookies, which is fantastic, but now you have to resist eating them all in one sitting! Keeping these cookies tasting bakery-fresh takes just a tiny bit of know-how. The goal here is to keep that center soft and chewy, not dry!
For keeping them fresh for a few days, you want an airtight container, no question. Don’t just stack them in a Tupperware; stack them in layers separated by a piece of wax paper or parchment paper. This keeps them from sticking together and smooshing the beautiful tops, and it really helps maintain that ideal softness on the inside. Kept on the counter, away from any direct sunlight or heat, they should stay dreamy for about four or five days.
Now, what if you want one of those gorgeous **chewy cookies** warmed up just right? Never try to reheat a whole stack! Take just the one (or two!) you plan to eat immediately. The microwave is your best friend here, but you have to be gentle. Pop the cookie on a paper towel and zap it for just 10 seconds. Seriously, 10 seconds! It gets that chocolate melty again and brings back the warmth without turning the edges tough.
If you have a big batch and you know you aren’t going to get to them for longer than a week, freezing is the way to go. I like to freeze the baked cookies flat on a tray first, just until they are solid, and *then* transfer them to a heavy-duty freezer bag. This prevents sticking! They keep beautifully for up to three months this way, ready for a quick reheat any time you have a sudden chocolate craving!
Serving Suggestions for Original Nestle Toll House Chocolate Chip Cookies
Okay, once these beautiful, classic cookies are cooled, the real fun starts: figuring out the *perfect* way to eat them. You can’t just pop one in your mouth; you have to pair it right! Honestly, you can hand these out just as they are, and people will be thrilled—they are that good on their own. But if you want to turn them into an event, I have a few thoughts.
First, let’s talk beverages. There is simply no substitution for an ice-cold glass of whole milk. It’s the law! The coolness and creaminess of the milk just balance the richness of the butter and the dark sweetness of the semi-sweet chocolate perfectly. If milk isn’t your thing, a good, strong cup of hot black coffee is my second favorite pairing. The slight bitterness cuts through the sugar, creating a wonderful contrast.
If you want to elevate this into a real dessert experience, you absolutely must pair them with ice cream. Forget fancy sundaes; just grab a big scoop of high-quality vanilla bean ice cream. The way the warm cookie softens the cold ice cream edges? Utter heaven. I have a recipe for an amazing ultimate chocolate milkshake, and sneaking a couple of these cookies into that? That’s a weekend I look forward to all week!
You don’t need any fancy additions here; this cookie is the star. Whether you’re dipping it, crumbling it over a bowl of ice cream, or just eating it plain while hiding in the pantry, these **Original Nestle Toll House Chocolate Chip Cookies** are built for pairing with simple, delightful things!
Frequently Asked Questions About Original Nestle Toll House Chocolate Chip Cookies
It’s funny how a recipe this classic still brings up so many questions! People want their cookies to be perfect, and I totally get it. We all aim for that sweet spot between soft, chewy, and perfectly flat. Here are some of the things I hear most often when folks are baking up their first (or tenth!) batch of these legendary **Toll House** wonders.
Can I substitute the butter in this Original Nestle Toll House Chocolate Chip Cookies recipe?
You *can*, technically, but would I recommend it? Absolutely not, especially if you are aiming for the *original* experience! Butter is more than just fat here; it carries flavor, and its melting point is crucial for how the cookie spreads and sets. Margarine or shortening won’t give you that rich, classic taste or the exact chewy texture we are chasing. If you try to swap it out, you risk a flatter cookie or one that tastes completely different. Stick to that full cup of softened butter for the best results!
Why did my Original Nestle Toll House Chocolate Chip Cookies spread too much?
Oh, this is such a common heartbreak! If your cookies melt into giant, thin puddles on the baking sheet, it usually comes down to two things. First, your butter was probably too soft—maybe even slightly melted—when you tried creaming it. Remember, we need it soft, but still holding its shape! Secondly, sometimes your oven runs a bit cool. If the oven isn’t hot enough right away, the dough sits there melting before the structure has a chance to set. Make sure you use an oven thermometer if you suspect your temperature gauge is lying to you! A quick 30-minute chill of the dough, as I mentioned before, also drastically helps prevent excessive spreading and guarantees those lovely chewy cookies!
I hope that helps clear things up! Every baker has a couple of batches that flop before they get it right, but with this recipe, I promise you’ll hit that perfect balance quickly!
Nutritional Estimates for Original Nestle Toll House Chocolate Chip Cookies
Now, I know we aren’t baking these for their health benefits, right? They are a treat through and through! But just so you have a good idea of what you’re working with when you pull that batch of glorious **chocolate chip cookies** out of the oven, I’ve put together the estimated breakdown based on the recipe ingredients.
It’s really important to remember that this is just an estimate, calculated based on dividing the dough into about five dozen cookies. If you make bigger cookies, those numbers shift immediately! So, please take this breakdown with a grain of salt—or maybe a pinch of extra sea salt on top of the dough next time, just for fun!
Here is what the numbers look like per cookie, based on the standard yield:
- Serving Size: 1 cookie
- Calories: 100
- Fat: 6g (with 3.5g of that being saturated fat—hello, butter!)
- Carbohydrates: 12g
- Sugar: 10g (Yes, sugar is high, but that’s why they taste so good!)
- Protein: 1.5g
- Sodium: 50mg
- Fiber: 0.5g
If you’re worried about that fat content, remember what I said earlier about chilling the dough? That little bit of patience helps keep the cook time right and prevents excess spreading, which can sometimes lead to a greasier finish. Enjoy these responsibly, friends! They are worth every single calorie.
Print
Original Toll House Chocolate Chip Cookies
- Total Time: 26 min
- Yield: About 5 dozen cookies 1x
- Diet: Vegetarian
Description
A classic recipe for soft and chewy chocolate chip cookies using the original Nestle Toll House proportions.
Ingredients
- 1 cup (2 sticks) butter, softened
- 3/4 cup granulated sugar
- 3/4 cup packed brown sugar
- 1 teaspoon vanilla extract
- 2 large eggs
- 2 1/4 cups all-purpose flour
- 1 teaspoon baking soda
- 1/2 teaspoon salt
- 1 package (12 ounces) Nestle Toll House semi-sweet chocolate morsels
Instructions
- Preheat your oven to 375 degrees F.
- Beat the softened butter, granulated sugar, brown sugar, and vanilla extract in a large bowl until creamy.
- Add the eggs one at a time, beating well after each addition.
- Combine the flour, baking soda, and salt in a separate bowl.
- Gradually beat the flour mixture into the butter mixture.
- Stir in the chocolate morsels.
- Drop rounded tablespoons of dough onto ungreased baking sheets.
- Bake for 9 to 11 minutes or until golden brown.
- Cool on baking sheets for 2 minutes; remove to wire racks to cool completely.
Notes
- For chewier cookies, chill the dough for 30 minutes before baking.
- Use room temperature eggs for better mixing.
- Prep Time: 15 min
- Cook Time: 11 min
- Category: Dessert
- Method: Baking
- Cuisine: American
Nutrition
- Serving Size: 1 cookie
- Calories: 100
- Sugar: 10
- Sodium: 50
- Fat: 6
- Saturated Fat: 3.5
- Unsaturated Fat: 2.5
- Trans Fat: 0
- Carbohydrates: 12
- Fiber: 0.5
- Protein: 1.5
- Cholesterol: 15
Keywords: chocolate chip cookies, Toll House, Nestle, classic cookies, chewy cookies, butter cookies