
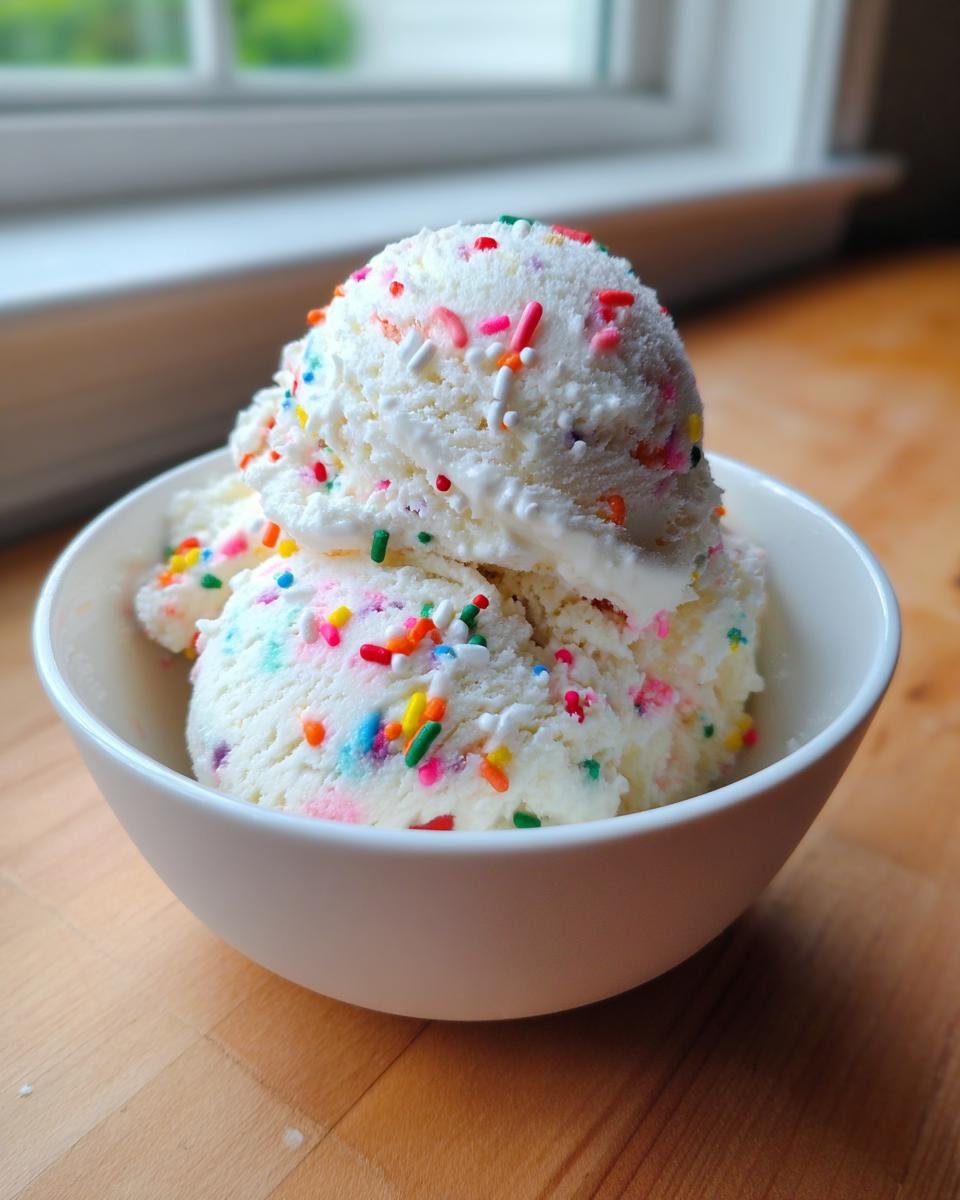
Oh, that smell! Nothing whisks me back to being seven years old faster than that sweet, slightly artificial bakery note, right? It’s pure nostalgia in a cone, and honestly, why should we only wait for birthdays to eat cake flavor? Trust me when I say ditch those tubs in the freezer aisle. We are making the **Birthday Cake Ice Cream** of your dreams right here in your kitchen, and the best part? It’s ridiculously simple. You only need a few powerhouse ingredients to capture that perfect, classic celebration taste. I just could not keep this recipe secret any longer!
Why This Homemade Birthday Cake Ice Cream Recipe Shines
Honestly, making this flavor at home is a total game-changer. You control everything, and it tastes so much cleaner than the store-bought stuff. It really captures that authentic party vibe, you know?

- It’s super fast to mix up—less elbow grease than a standard bake!
- We get that classic, unmistakable birthday cake flavor profile that hits all the right nostalgic notes.
- You can totally customize the mix-ins, which is where the fun really starts.
If you love a simple, impressive frozen treat, this is it. If you’re looking for another fun, low-effort dessert, you should check out this no-bake funfetti option, too!
Essential Ingredients for Perfect Birthday Cake Ice Cream
I know, I know, sometimes the ingredient list looks long, but honestly, half of this is just the stuff you always have lurking in the fridge! For the base, we need one cup of whole milk and two cups of heavy cream. Make sure that cream is nice and cold; it really helps everything whip up right later on.
Next up is the sweetness—we’re using three-quarters of a cup of regular granulated sugar. Don’t try to cut back on that, because sugar doesn’t just sweeten; it actually keeps the ice cream nice and soft so it scoops easily. We’re also adding a teaspoon of vanilla extract and, this is a big deal for that true baked flavor, a quarter teaspoon of almond extract. Please don’t skip the almond; that’s what gives it that authentic funfetti taste we crave. A tiny pinch of salt finishes the base mixture.
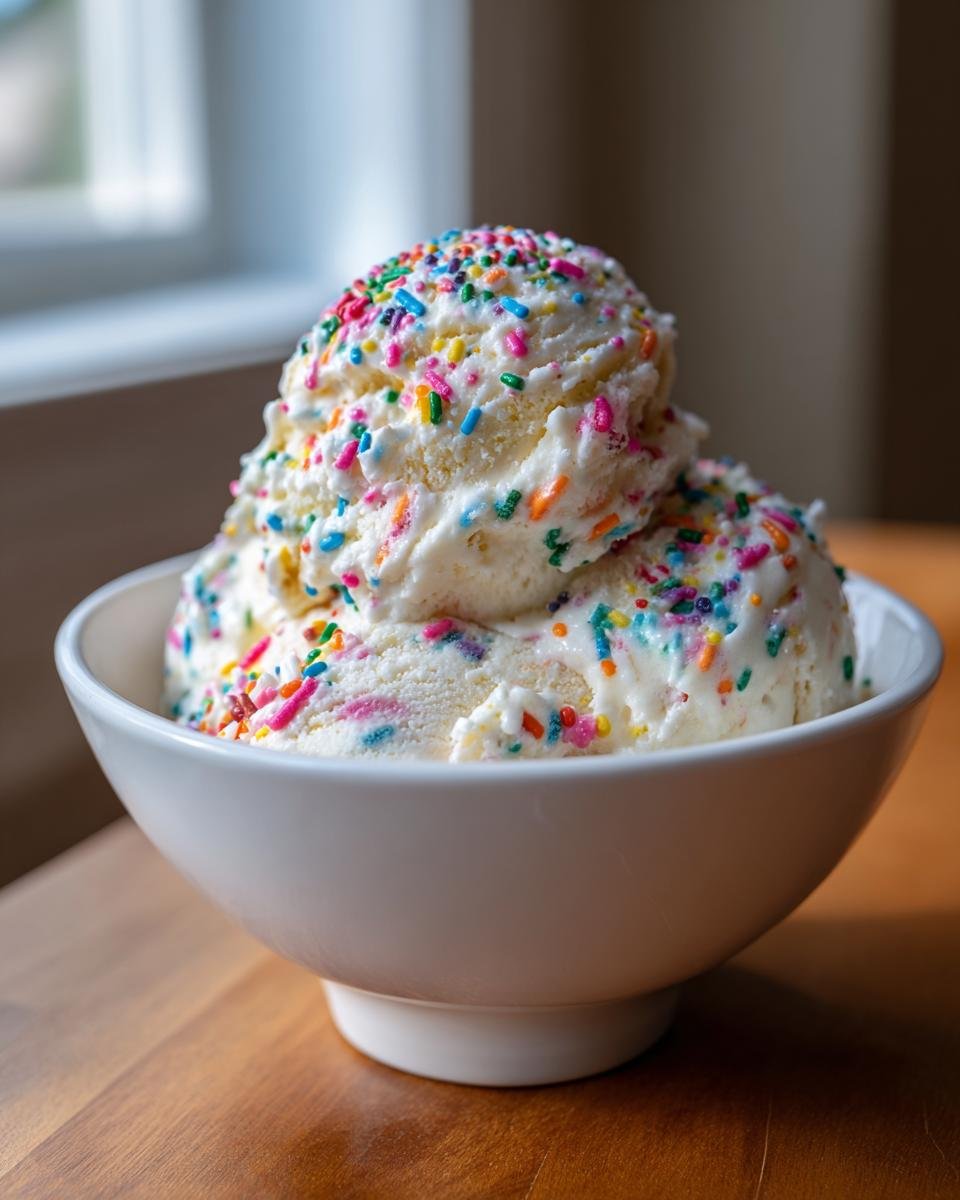
Finally, the party starts when we add the half-cup of rainbow sprinkles. If you’re going for the full experience, toss in that optional quarter cup of cake batter mix! Speaking of amazing treats, if you are looking for more ways to use your baking stash, you absolutely have to check out these four delicious dessert recipes you’ll adore.
Step-by-Step Instructions for Making Birthday Cake Ice Cream
This is where the magic really happens, and trust me, the ice cream maker does most of the heavy lifting. You don’t even have to cook anything! If you nailed the base mixture, the rest is just process. It’s easier than making a simple sauce, honestly! For a fantastic step-by-step guide on a totally different kitchen task, check out how to make simple homemade pasta sauce in 30 minutes!
Preparing the Birthday Cake Ice Cream Base
First things first: we whisk! Grab a big bowl and combine your milk, heavy cream, the sugar, the vanilla, that crucial almond extract, and that tiny bit of salt. You need to whisk this vigorously until you can no longer feel any of the sugar granules grating against the side of the bowl. If the sugar isn’t dissolved, your ice cream texture will be gritty, and nobody wants that. Once it’s smooth, cover this whole glorious mixture and slide it into the fridge. It needs to get seriously cold—at least two hours. Chilling deeply prevents icy results later on, so don’t rush this part!
Churning and Adding the Birthday Cake Elements
Once the base is ice-cold, pour it into your machine and let it churn according to those confusing directions the manufacturer gave you. Don’t panic! The crucial part is timing the solids. You wait until the ice cream is almost done—usually when it looks like soft-serve—and then, with only the last five minutes left on the timer, you toss in those rainbow sprinkles and your optional cake batter mix. Adding them too early means those beautiful sprinkles bleed color everywhere, and we want distinct pops of color!
Freezing the Birthday Cake Ice Cream to Finish
When the machine stops, you’ll have what I call “soft scoop” birthday cake ice cream. It’s delicious right there, but it’s not quite ready for a formal presentation! Scrape all that wonderful softness into an airtight container. You want a container that seals really well to keep freezer smells out. Then, put it in the deep freeze for another two to four hours. That finishing time allows it to firm up so you can actually get a nice, clean scoop when company comes over.
Tips for Achieving the Best Birthday Cake Ice Cream Texture
You want that perfect scoop—not rock hard, not soupy—and the texture is all down to a couple of tiny rules I live by. First, go for the best vanilla extract you can find. Seriously, high-quality vanilla makes such a difference in that background flavor; it separates the good stuff from the just-okay stuff. You can also find some great ideas for other amazing drinks if you need a break from ice cream in this ultimate chocolate milkshake guide.
Now, for my friends who don’t have a fancy churner—don’t worry for a second! We can totally do the no-churn method. You just whip your heavy cream up on its own until it gets stiff peaks, and then gently fold in the milk mixture and the flavorings. Then, you freeze it. It won’t be quite as silky smooth as the churned version, but it’s still delicious birthday cake ice cream, promise!
Variations on Your Birthday Cake Ice Cream
Okay, once you nail the basic recipe, this is where your inner kitchen mad scientist gets to come out and play! Half the fun of homemade stuff is tinkering around, right? We already talked about the cake batter mix, but there are so many easy swaps you can make to change the whole vibe of your **Birthday Cake Ice Cream**.
If you want to move away from classic vanilla flavor, try ditching that almond extract and going for something completely different. Maybe swirl in a tiny bit of lemon extract instead? That gives it a bright, sunny flavor that feels super fancy. Or, for a richer, butterier cake taste, swap the almond for a half-teaspoon of butter extract. Wow, does that make a difference!
And let’s talk mix-ins! Sprinkles are mandatory, but what else goes in a good cake mix? Melted white chocolate chips that freeze up hard are amazing—they give you that satisfying crunch. Or how about crumbling up a few shortbread cookies right at the end? If you need some inspiration for other fun textures, I found some great fluff recipes that might spark an idea for a lighter topping!
Serving Suggestions for Your Homemade Birthday Cake Ice Cream
Now that you’ve got this perfect, creamy concoction, we have to talk about how to serve it! Eating it straight out of the carton is totally acceptable, especially if you’re eating it standing up five minutes after it comes out of the freezer—I’ve been there. But when you want to make it an actual dessert moment, you have so many fantastic, easy options.
Since this ice cream is based on cake, pairing it with something baked just makes sense, doesn’t it? Try scooping a generous mound right next to a warm, gooey brownie. The temperature contrast is spectacular. If you made a pie recently—maybe apple or cherry—this **Birthday Cake Ice Cream** is an incredible replacement for plain vanilla. It elevates everything immediately!
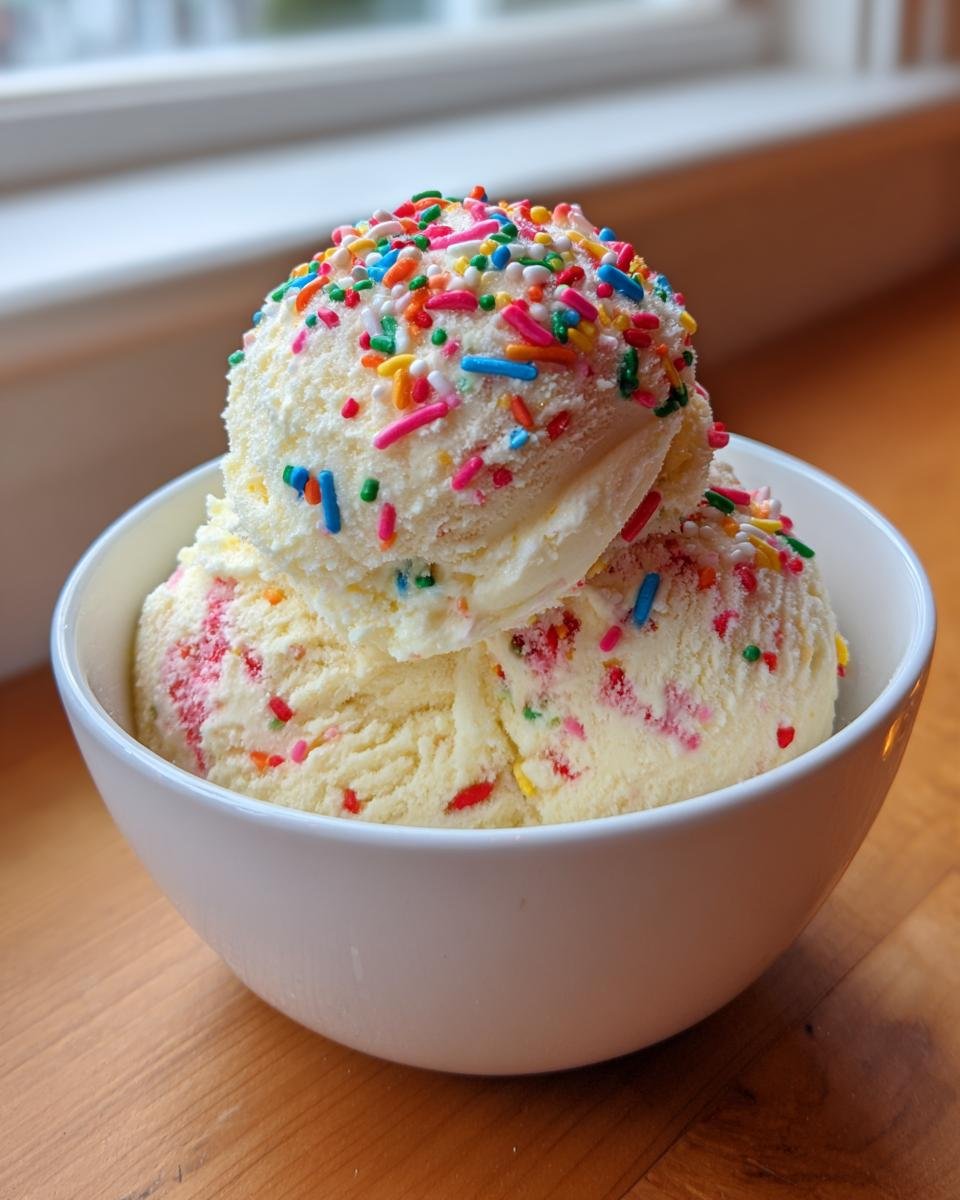
If you just want toppings, keep it simple. A drizzle of caramel fudge sauce? Yes, please! A massive swirl of fresh whipped cream on top, maybe decorated with just a few extra sprinkles? Perfection. If you are whipping up some muffins too, you have to try these delicious chocolate chip muffins to add to the dessert spread. It’s all about celebrating good, simple flavors!
Storage and Reheating Instructions for Birthday Cake Ice Cream
Alright, you’ve successfully churned and hardened your masterpiece, and now we need to keep it gorgeous! Homemade ice cream is temperamental, you know? It doesn’t have the industrial stabilizers that prevent freezer burn, so storing it right is key. The biggest enemy here is air—air promotes those nasty ice crystals that make your beautiful **Birthday Cake Ice Cream** taste crunchy instead of creamy.
You absolutely must use an airtight container. I prefer those fancy glass ones with the rubber seals, but any plastic container where you can press a piece of plastic wrap directly onto the surface of the ice cream before sealing the lid works wonders. That direct contact stops those little ice shards from forming on the top layer. Make sure you put it in the coldest part of your freezer, too—usually the very back, middle shelf.
How long does it last? Well, for the highest quality, you want to eat it up within about two weeks. After that, the flavors start to mute, and the texture might soften a bit. Since we aren’t reheating ice cream—unless you count setting it on the counter for five minutes!—the serving advice is all about the thaw. When you want a scoop, just pull the container out about 10 to 15 minutes before you plan on serving it. That little bit of time lets it temper just enough so you can get a beautiful, smooth dip instead of wrestling with a frozen brick!
Frequently Asked Questions About Birthday Cake Ice Cream
I get asked about this recipe all the time, especially when people are new to making homemade ice cream. Having the right expectations really makes the process way more fun! Here are a few things I hear most often when folks are prepping to make a batch.
Is the almond extract necessary for this Birthday Cake Ice Cream?
Okay, this is the question that comes up the most! I won’t lie and say you absolutely can’t make it without it, but I feel like you’d be selling yourself short on the flavor. That tiny bit of almond extract is basically my secret weapon for capturing that specific, nostalgic flavor profile that reminds you of dunking cake in milk. Vanilla is great, but almond extract gives it that extra bakery aroma that screams “birthday cake.” If you skip it, you’ll have vanilla sprinkle ice cream, which is still good, but it won’t be the same experience!
Can I make this recipe without an ice cream maker?
Yes, yes, a thousand times yes! Look, I love my machine, but I know not everyone has one sitting ready to go. If you’re making this in the no-churn style—which I mentioned before—you just need to whip your heavy cream until stiff peaks form, and then *gently* fold in the other liquids and flavorings. Then, you freeze it following the storage guide. It won’t be quite as smooth as churning, but it’s a lifesaver when you have a craving and no specialized gear. If you are curious about swapping out flour in other recipes, you might get some inspiration from this guide on cake flour substitutes!
How long does homemade ice cream last?
This is the sad part of homemade ice cream, isn’t it? Since we aren’t packing it full of preservatives, it doesn’t last forever like the stuff from the store. For the very best flavor and texture—when it’s perfectly creamy and those sprinkles still look bright—you want to eat it within about a week to ten days. If you manage to keep it sealed tightly and buried deep in the coldest part of your freezer, it’ll probably be fine for up to three weeks, but trust me, it usually disappears way before that!
Estimated Nutritional Data for Birthday Cake Ice Cream
Now, let’s talk about what you’re fueling up with! I always try to keep things lighthearted when it comes to ice cream nutrition—it’s a treat, after all! These numbers are estimates based on my standard portions and ingredients, so keep in mind that if you load up on extra cake batter mix or use a different type of cream, things might shift a little. But generally, for a half-cup serving size, here’s what we’re looking at.
Each scoop clocks in around 350 calories, which is pretty standard for a rich, cream-based frozen dessert. You’re looking at about 25 grams of fat per serving, with 15 grams of that being saturated fat, which is just the trade-off for that incredible smooth texture we worked so hard to achieve! The carbohydrate count is around 30 grams, most of which comes from the 30 grams of sugar.
On the upside, you do get about 3 grams of protein in that glorious scoop. Remember, this is homemade, so you avoid some of those weird additives found in store-bought tubs. Just keep in mind that these figures are my best guess, and homemade ice cream is best enjoyed guilt-free, especially when it tastes this good!
Print
Birthday Cake Ice Cream
- Total Time: 2 hours 10 min
- Yield: About 1 quart 1x
- Diet: Vegetarian
Description
A simple recipe for homemade ice cream flavored like birthday cake.
Ingredients
- 1 cup whole milk
- 2 cups heavy cream
- 3/4 cup granulated sugar
- 1 teaspoon vanilla extract
- 1/4 teaspoon almond extract
- Pinch of salt
- 1/2 cup rainbow sprinkles
- 1/4 cup cake batter mix (optional)
Instructions
- In a medium bowl, whisk together the whole milk, heavy cream, sugar, vanilla extract, almond extract, and salt until the sugar dissolves.
- Chill the mixture in the refrigerator for at least 2 hours, or until very cold.
- Pour the chilled mixture into your ice cream maker and churn according to the manufacturer’s instructions.
- During the last 5 minutes of churning, add the rainbow sprinkles and cake batter mix, if using.
- Transfer the soft ice cream to an airtight container.
- Freeze for 2 to 4 hours to firm up before serving.
Notes
- For a richer flavor, use high-quality vanilla extract.
- If you do not have an ice cream maker, you can use the no-churn method by whipping the cream separately and folding in the other ingredients before freezing.
- Prep Time: 10 min
- Cook Time: 0 min
- Category: Dessert
- Method: Churning
- Cuisine: American
Nutrition
- Serving Size: 1/2 cup
- Calories: 350
- Sugar: 30
- Sodium: 50
- Fat: 25
- Saturated Fat: 15
- Unsaturated Fat: 10
- Trans Fat: 0
- Carbohydrates: 30
- Fiber: 0
- Protein: 3
- Cholesterol: 80
Keywords: birthday cake, ice cream, sprinkles, homemade, dessert, sweet